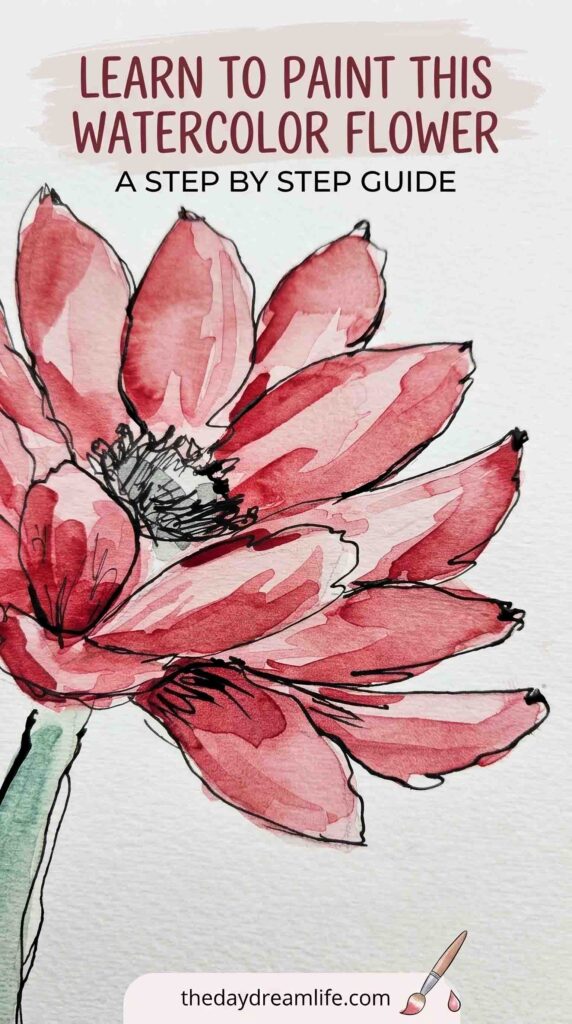
This is a quick and easy watercolor flower painting tutorial that anyone can follow! If you are learning to paint in watercolors or even an experienced artist just looking for some inspiration, this post is for you.
Pin me for later!

Watercolor can be a fun and relaxing activity, which is good for the mind. Just a little artistic license is needed and that’s all!
Art supplies
Paints: A good set of watercolor paints. In this tutorial I am using schmincke watercolor pan set.
Brushes: Having a good selection of brushes will help you get different variations in flowers.
Paper: Investing in good watercolor paper will also help you get the best results in your paintings. The heavier the paper, the better the results to absorb all the water.
Let’s take a look at how to paint an easy watercolor flower!
Tutorial
As mentioned above, I will be using this watercolor set but feel free to use any at hand.

Step 1
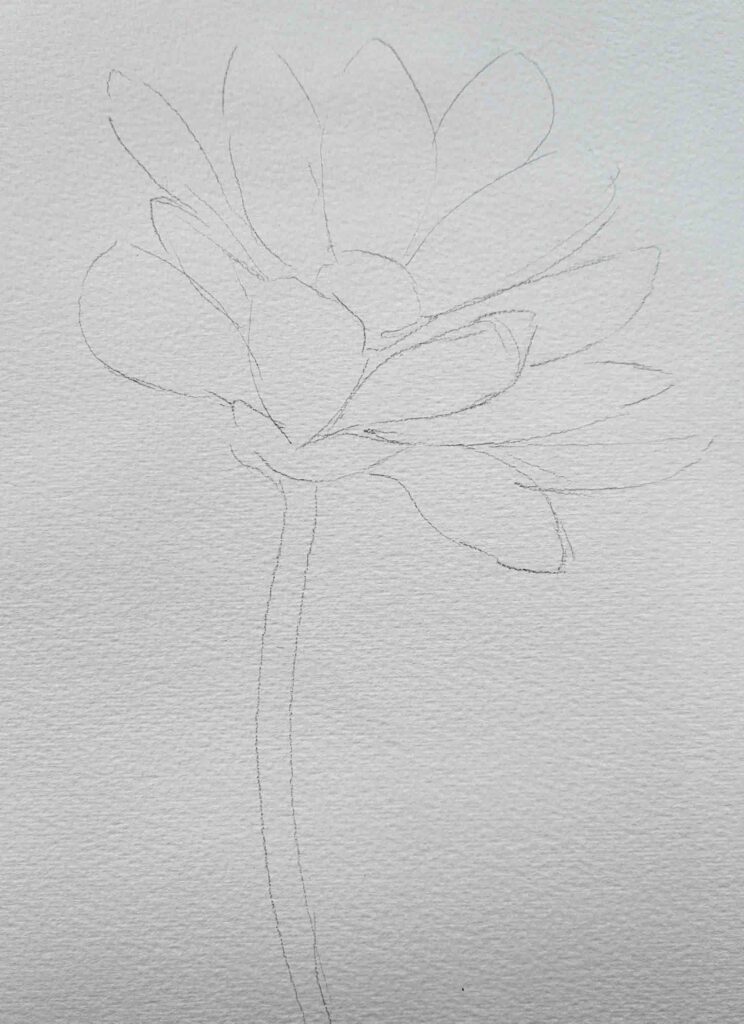
Draw out your flower beforehand so that you have a rough guide to work with.
Step 2
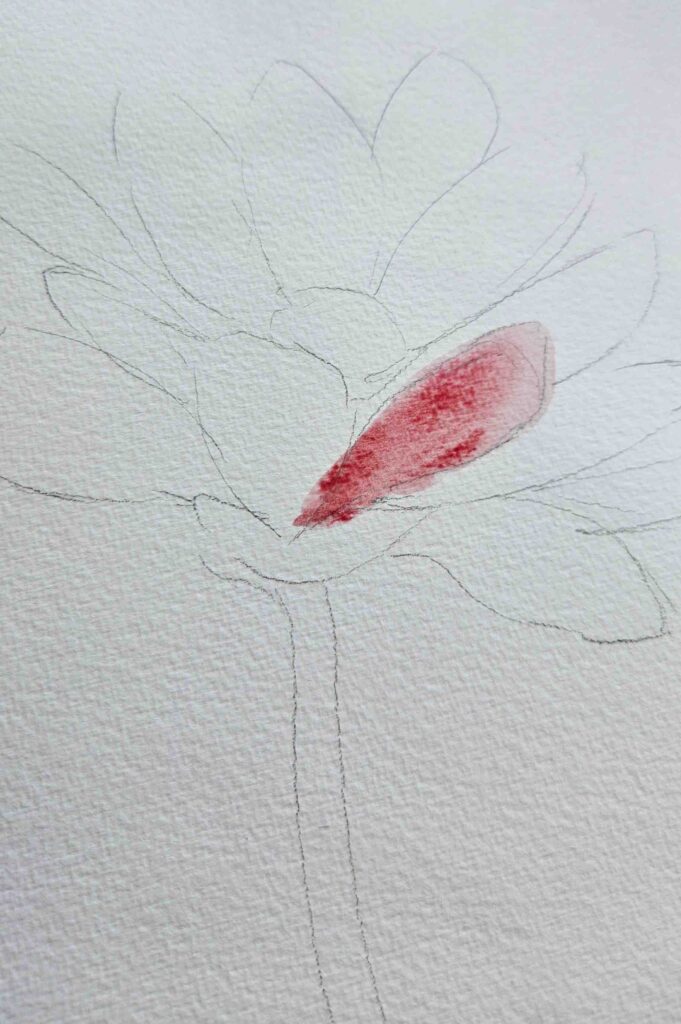
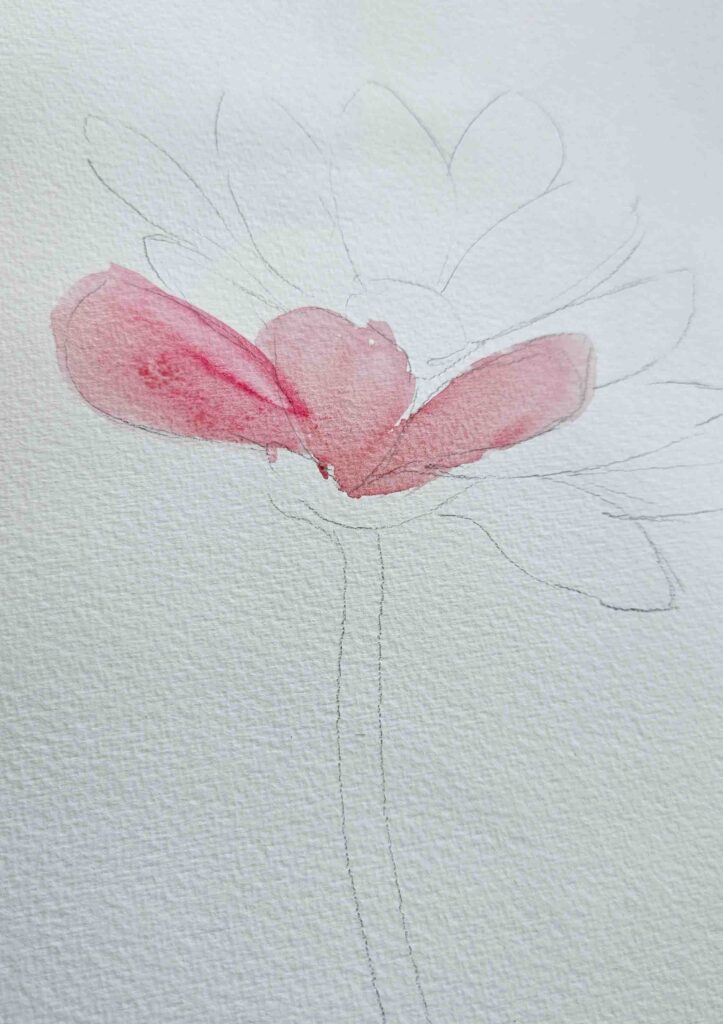
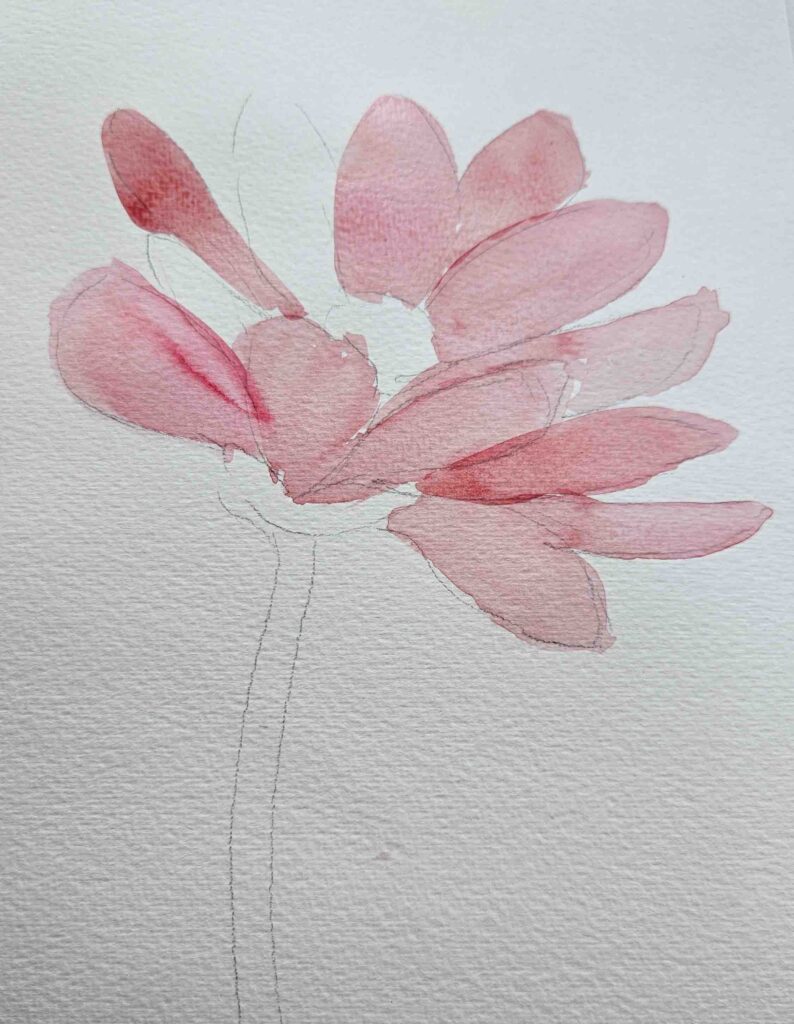
Choose your color and start to do a light wash on each petal. Be sure not to use too much paint but dilute it with water first. Use the side of your brush to paint out the petals and suck up any access water.

Step 3
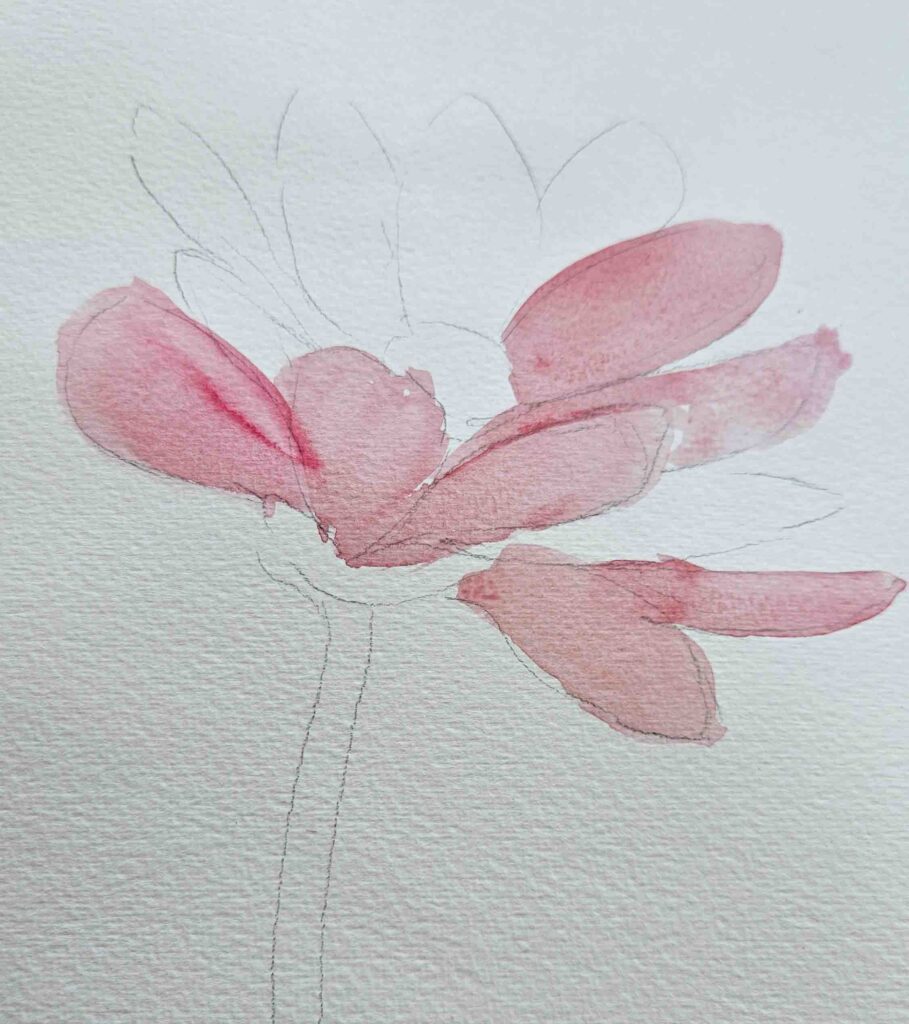
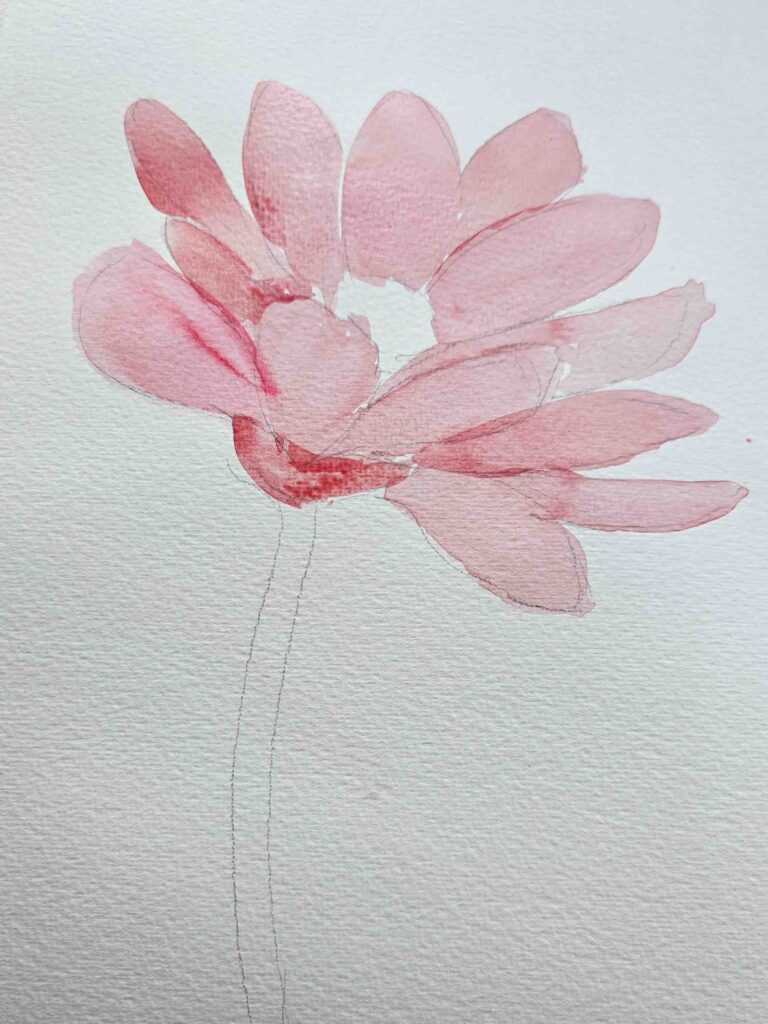
Keep going with filling out the petals with a light wash. Remember not to use too much water so that the paint dried nicely on the paper.
Step 4
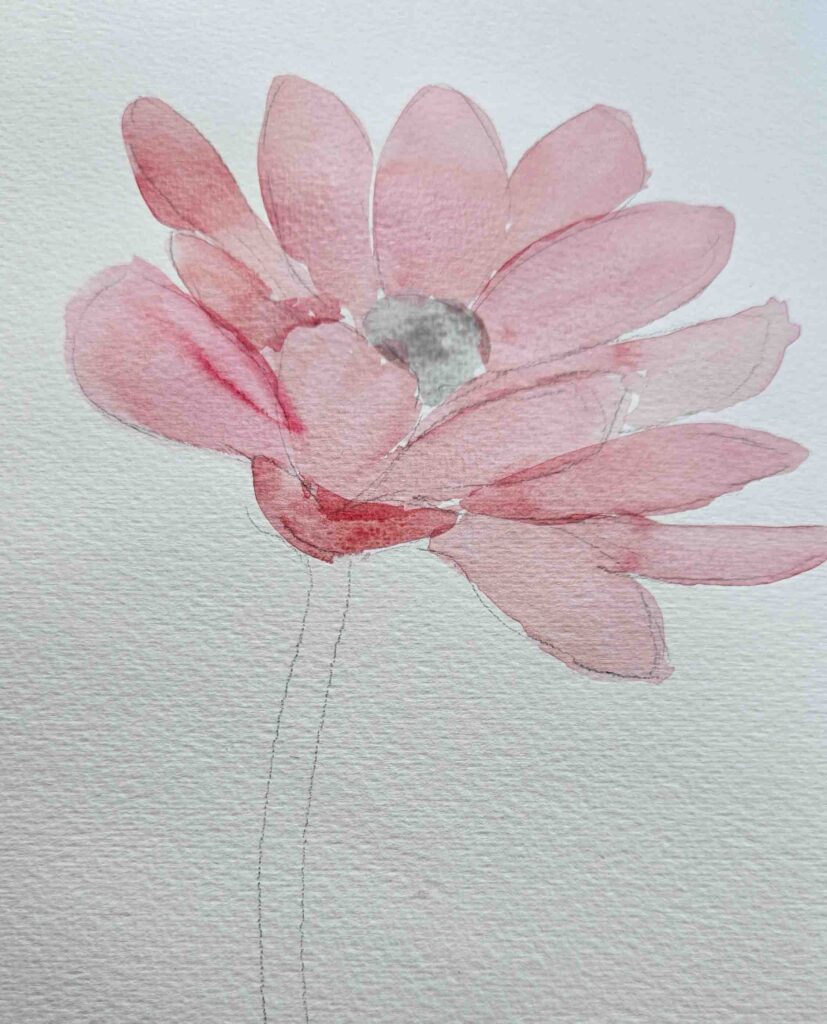
Do a light wash for the centre of the flower, I chose black for this one.
Step 5
Next paint the stem of the flower.

Step 6
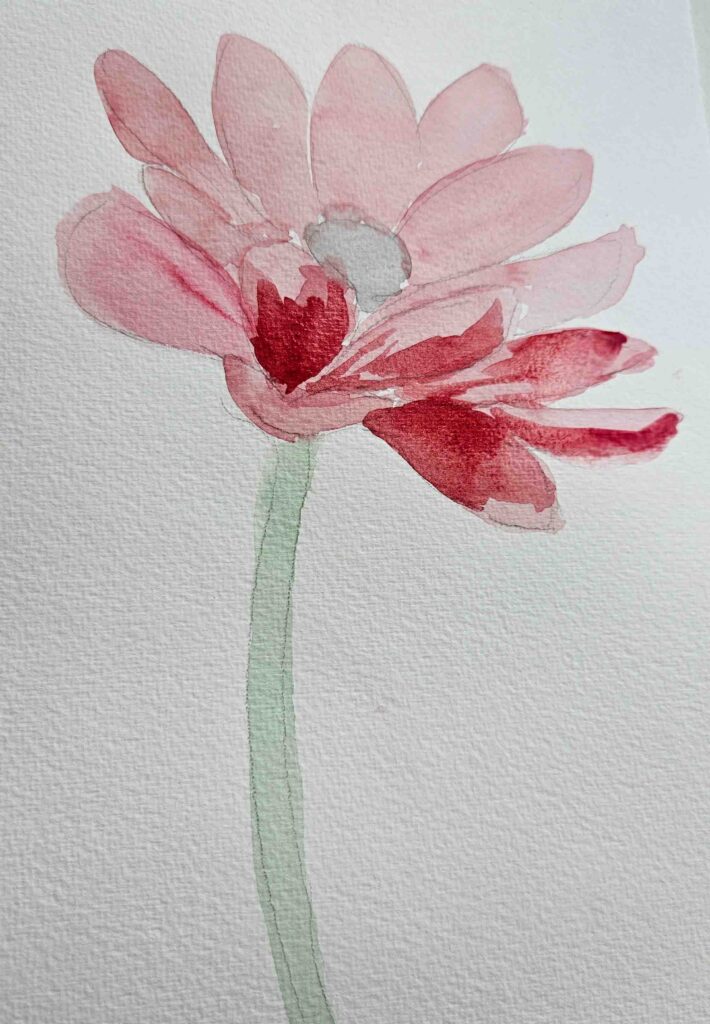
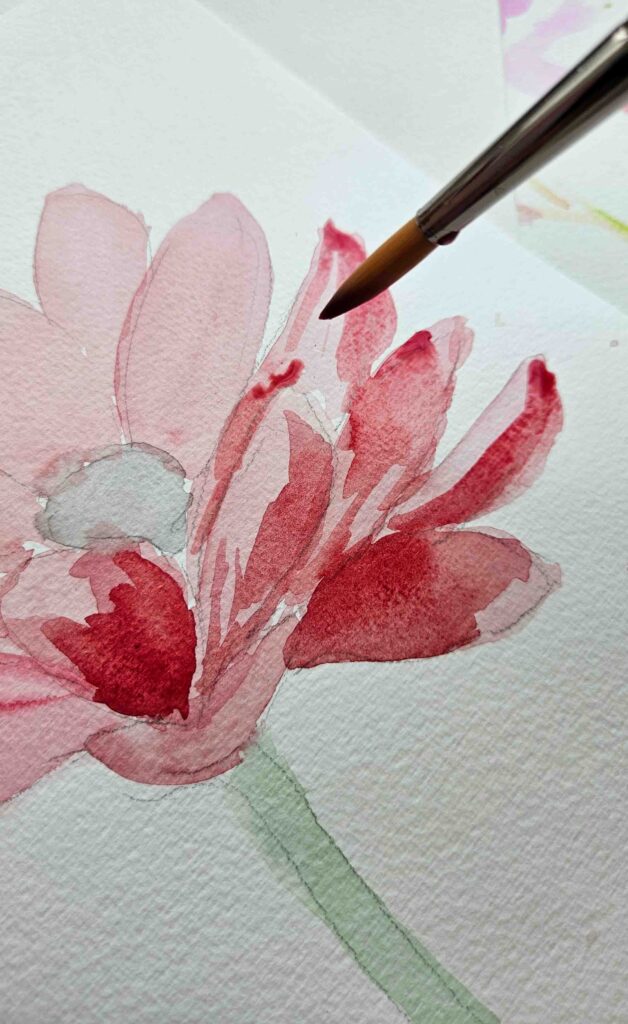
Once the initial wash has dried, start to go in with a darker color to give the painting more life. Work from the base of the petal and use your brush to push up the paint gently.
Try not to fill the while of the petal so that it gives the petal more dimension.


Step 7
Use the tip of your brush to work in some detail to the petals.

Step 8
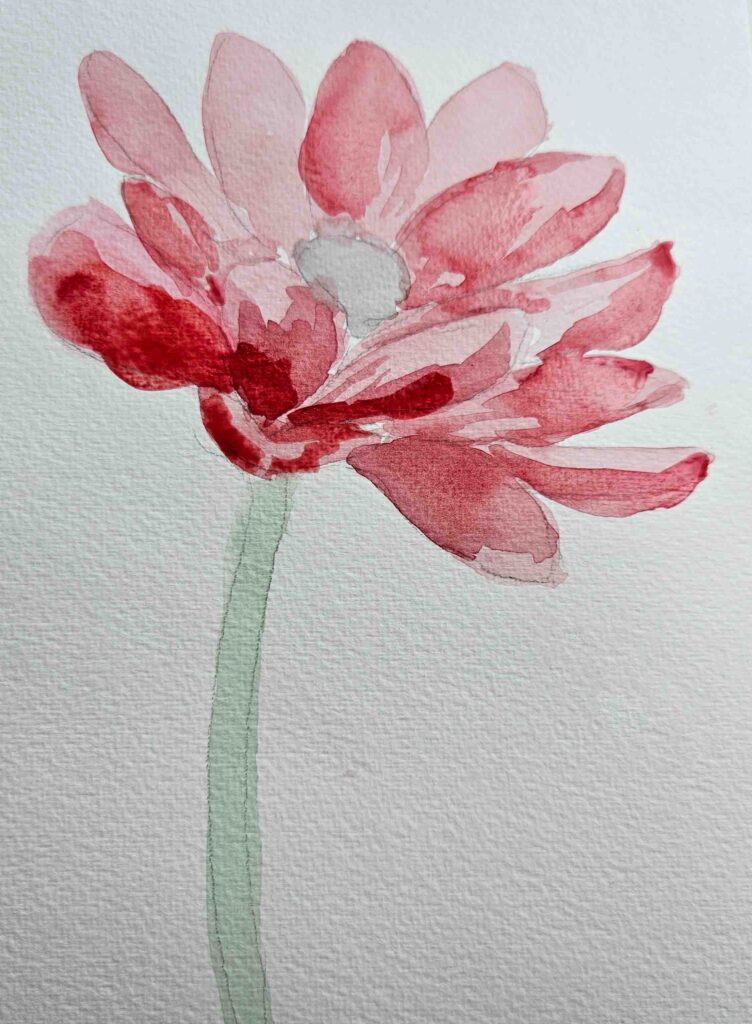
Fill in the centre and stem with a darker color too.

Keep filling in the petals with a darker color until you are satisfied.

step 9
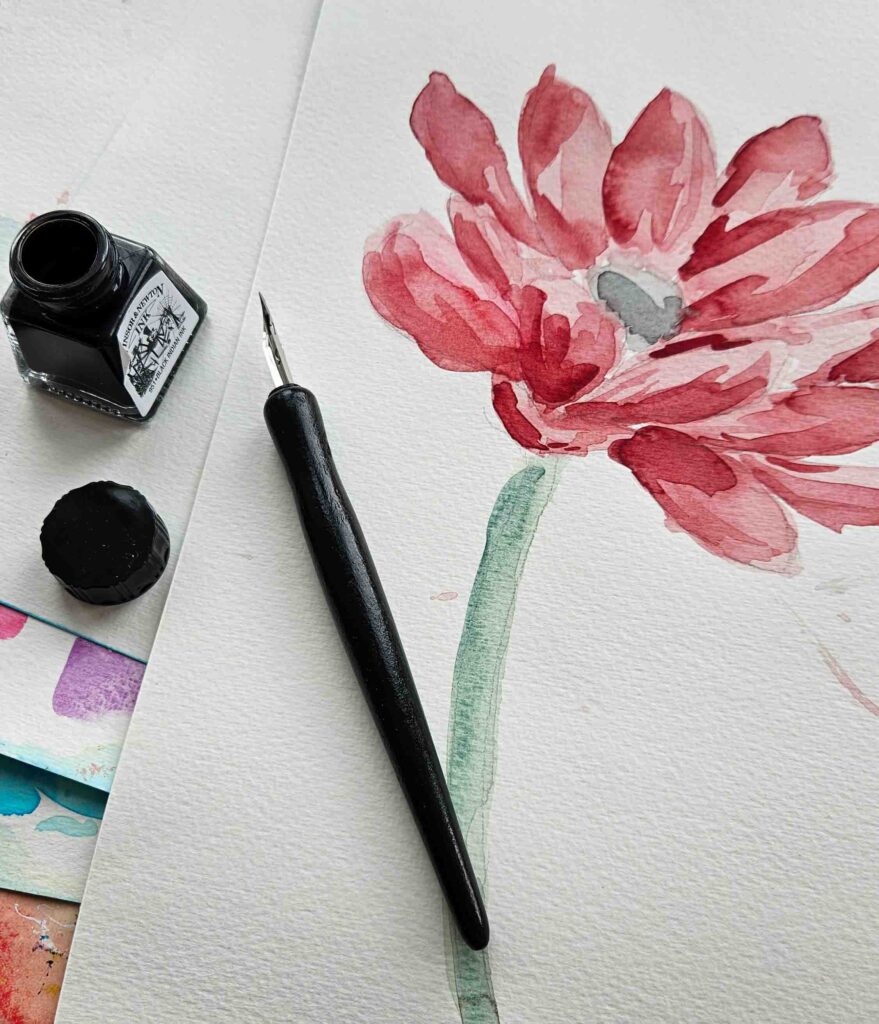
Once you have finished painting the flower and it’s dry. It’s time to go over with a pen, and in my opinion, the fun part!
Use any pen you have for this part, however, I am using a dip pen and ink to give it more of an artistic look as there isn’t too much control with a dip pen.
Start scribbling in the centre details of the flower. Try not to be too precise with this and have fun.

Next start on the petals, go over each petal with the pen and add in small scribbles inside the petal to give it more character.
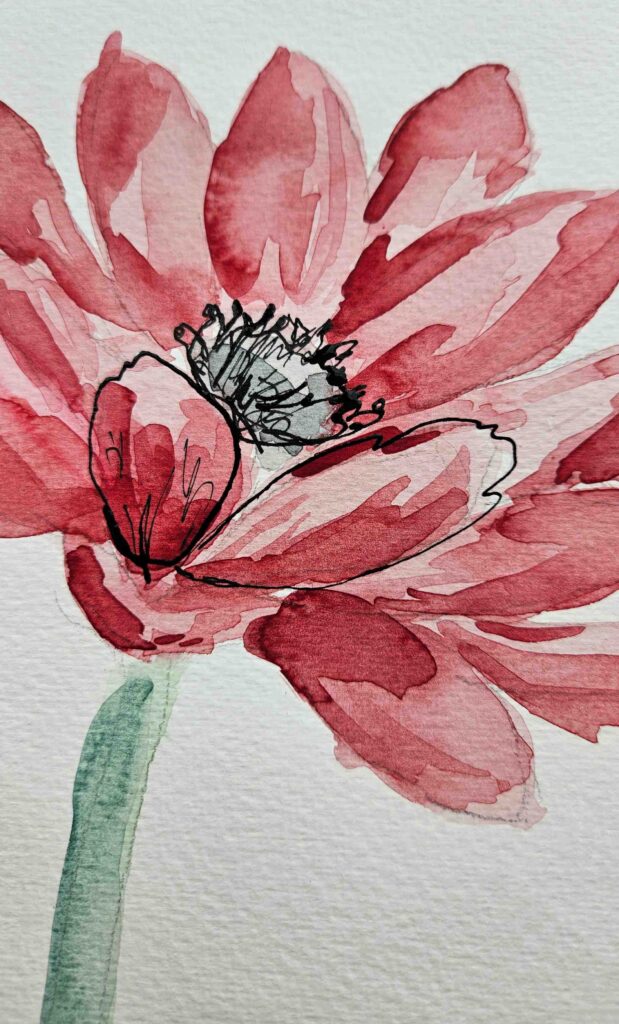


Lastly go over the stem of the flower.

And there you have it! A finished watercolor flower painting with ink!
Pin me for later!
If you liked this tutorial, be sure to check out some of our other watercolor posts below:
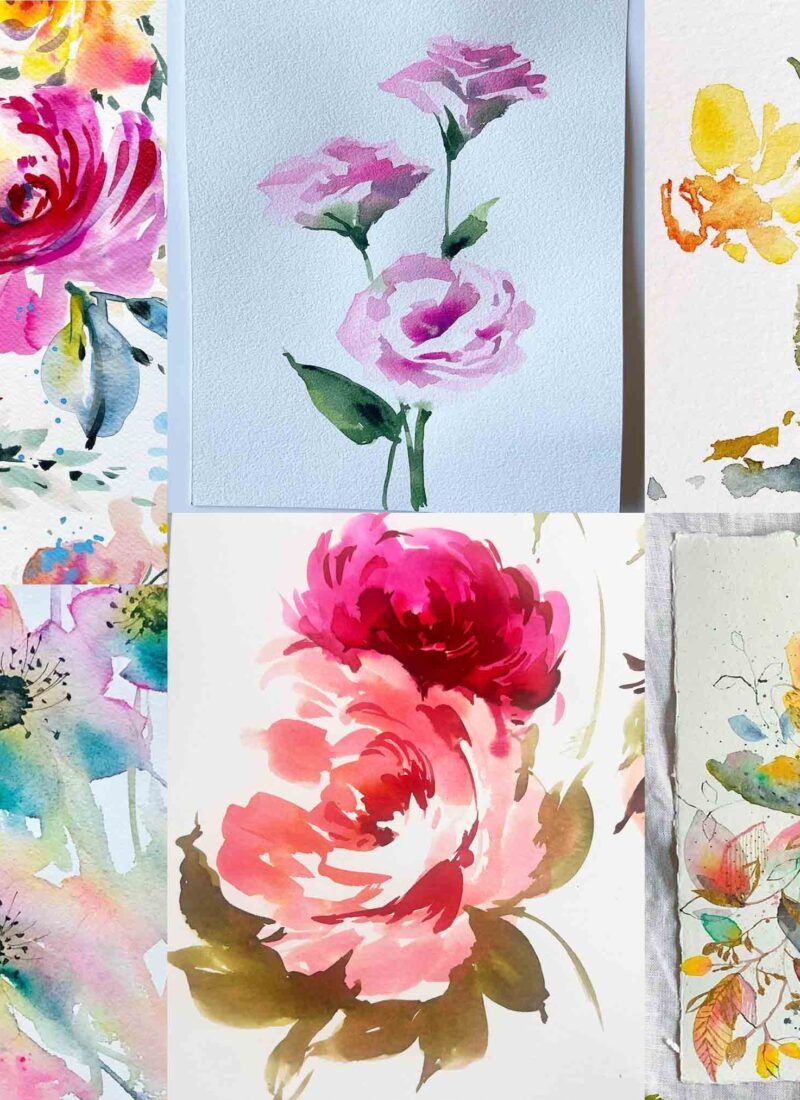
How To Paint Loose Watercolour Peonies: A Step-by-Step Tutorial.
Easy Step by Step Watercolor Flower Tutorial.
How To Paint A Loose Yellow Rose In Watercolor, The Easy Way.
Be sure to give this post a share on Pinterest and give us a follow! Happy painting!