If you’re looking for some easy watercolour ideas to paint for Christmas cards, we’ve got 22 painting ideas for you to take inspiration from!
Whether you do watercolor as a hobby or just want some quick, festive designs to work through this season, this list is packed with simple ideas that make gorgeous handmade cards.

From classic holly and baubles to snowy scenes and cosy winter motifs, you’ll have plenty to choose from.
Best of all, most of these designs only take a few minutes to paint, so you can easily work through the whole list in an afternoon and have a stack of cards ready to send.
What you’ll need:
- Watercolour paints (a basic set of reds, greens, and a metallic gold or white gel pen for details)
- Watercolour paper or blank cards with a watercolour-friendly surface
- A couple of brushes — a small round brush for detail and a slightly bigger one for washes
- A jar of water and some kitchen roll for blotting
Once you’ve got your supplies ready, grab your brushes and let’s get started!
1. Cosy Candle Lantern
This one’s all about contrast — bold red and black against plenty of white space. Wash in the red glass panes first, leaving the frame lines white and dry.
Once dry, block in the black roof and base with loose, slightly wobbly brushstrokes for charm, then add the wire handle with a fine pen.
Finish with a warm yellow flame, a white candle with soft grey shading, and a few sage green sprigs to soften the piece.

2. Cheerful Snowman
Keep the snowman’s body mostly white, using soft grey washes wet-on-wet for gentle shading along the edges and shadow beneath.
Paint the scarf and mittens in a loose, drippy red — let it bleed a little at the ends for that soft, unravelled look.
Add the black hat with a wobbly brim, a carrot nose in orange, twig arms in brown, and simple dot eyes with a pink blush on the cheeks to bring in the charm.

3. Winter Berry Sprigs
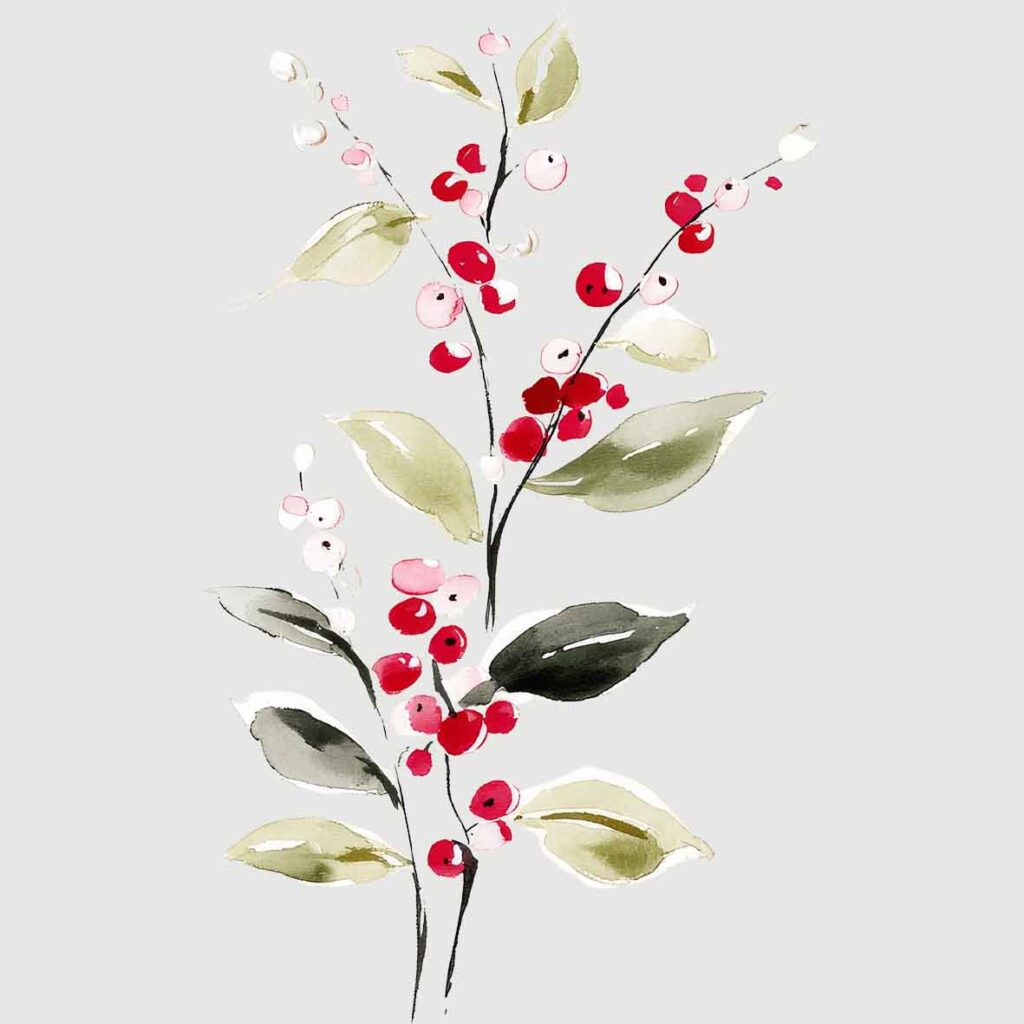
Start with thin, curving stems in a dark, almost black-brown, letting them branch naturally. Paint the leaves in loose dabs of sage and olive green, varying the tone slightly so some sit lighter than others.
For the berries, drop in small circles of red and dusty pink wet-on-wet, letting a few blend softly at the edges while others stay crisp — then add a tiny white highlight dot to each for that glossy, just-picked look.
4. Bow-Trimmed Stocking
Outline the stocking shape in a fine dark green line, then fill the body with a very pale grey-cream wash, leaving plenty of white paper showing through for highlights.
Paint the heel and toe in bold red, and add a thin gold line along the cuff edge for a touch of shine. Finish with a big, loose red bow at the top — let the ribbon strokes stay a little wild and overlapping, since that’s what gives it movement and charm.

5. Little Robin
Keep the body soft and round, using a pale grey wash on the head and wing and leaving the belly white. Paint the red breast in loose, overlapping strokes rather than one flat wash, so it keeps some texture and warmth.
Add fine black lines for the wing and tail feathers with a dry, dragged brush for that feathery, scratchy texture, then finish with thin gold legs and a black dot eye to bring the little robin to life.

6. Berry Candle Jar
Sketch the glass jar with a fine black outline, then fill it with a soft pink wash that pools slightly deeper at the base to suggest melted wax through glass.
Keep the flame warm with a loose yellow-to-orange wash and a fine black wick. Frame the jar with red berry sprigs on either side, dabbing in loose circles of red with a few black dots for shadow, and add sage green leaves to balance out all that red.

7. Steaming Hot Chocolate
Paint the mug in a bold red wash, leaving white gaps unpainted for those glossy highlights along the curve.
Keep the coffee’s surface loose and varied with tans and greys blended wet-on-wet, then add a cinnamon stick with warm brown stripes propped across the rim.
Finish with a few soft, wispy strokes of pale grey-beige rising up for the steam, keeping the edges loose and slightly blurred so it feels warm and inviting.

8. Winter Stag
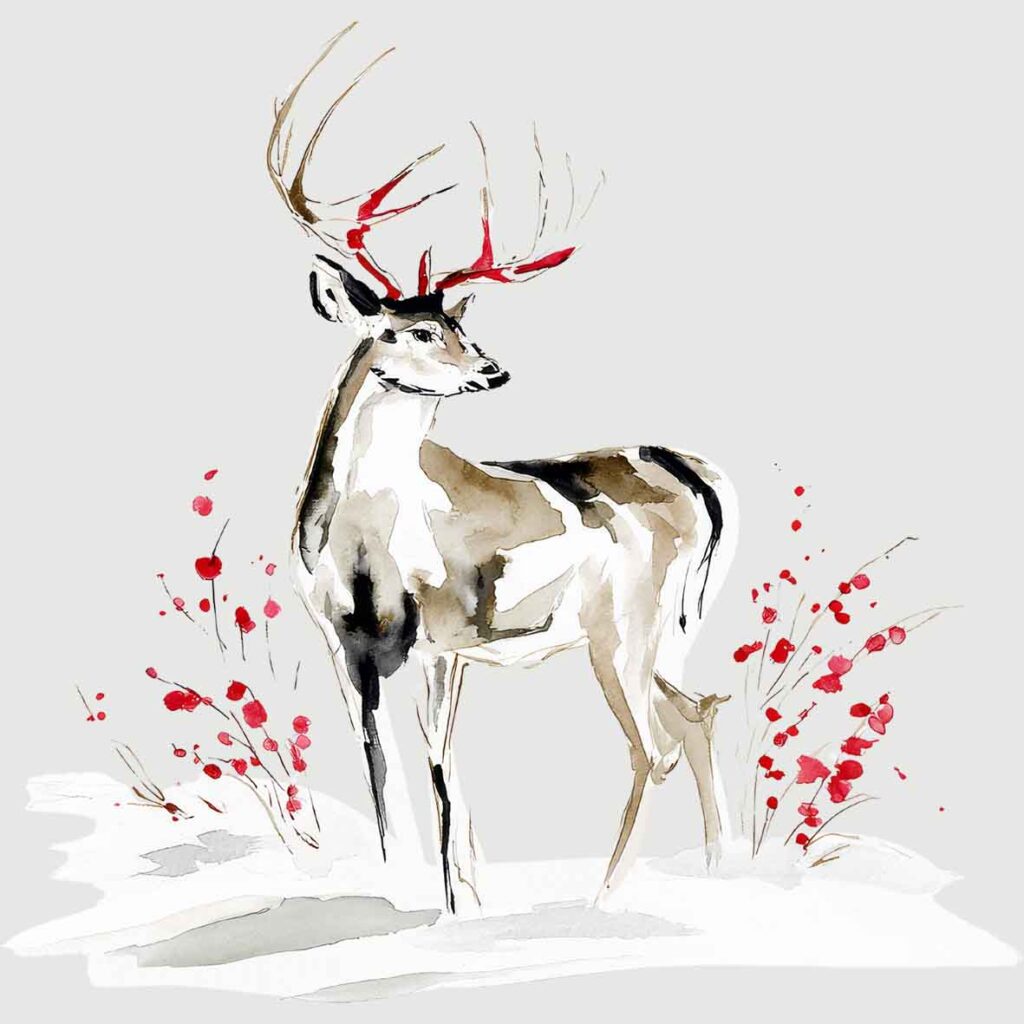
Build the deer’s body with soft tan and grey washes, keeping edges loose and leaving lots of white paper for the snowy patches on its coat.
Add darker brown and black accents along the back and legs to define the form, then paint the antlers with fine brown lines and a touch of red bleeding through for a striking finishing detail.
Scatter loose red dots and thin dark stems on either side for winter berries in the snow, keeping them light and speckled rather than solid.
9. Festive Pinecone
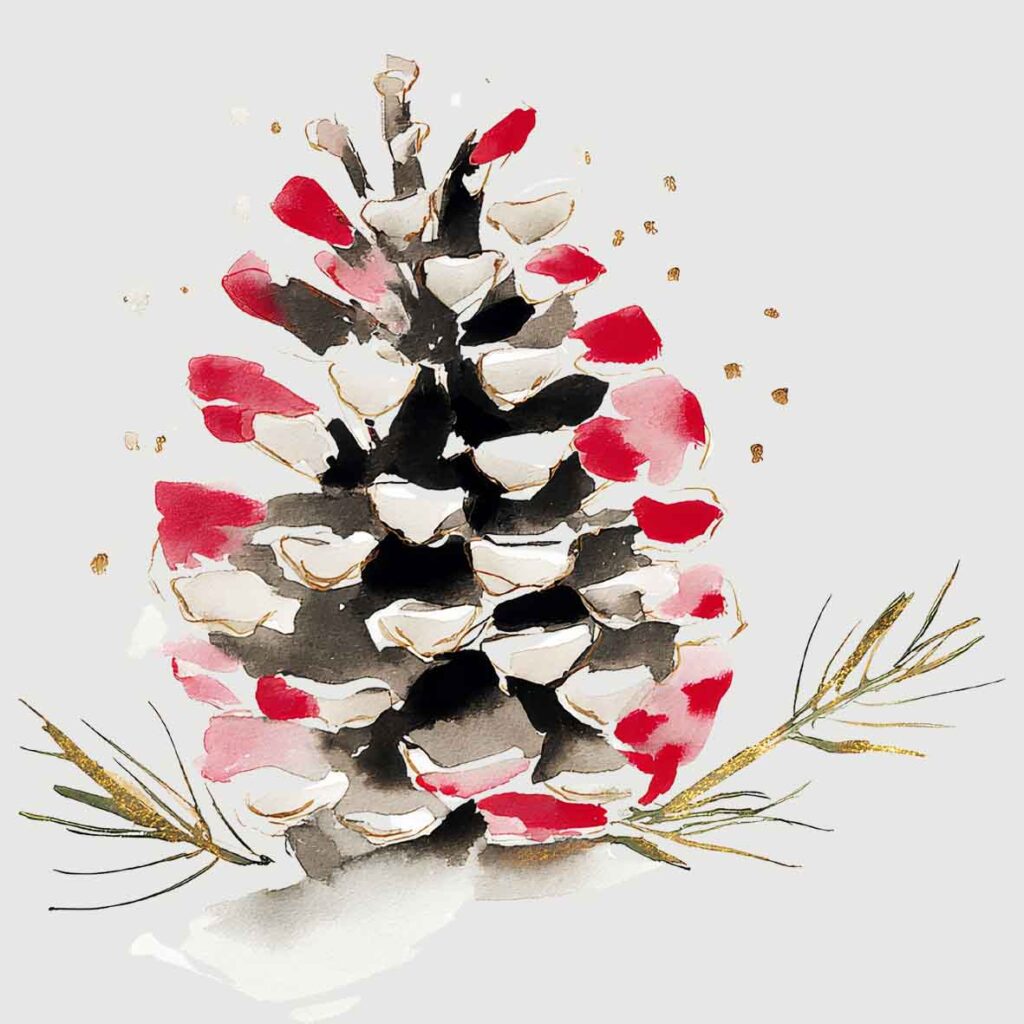
Build up the pinecone’s scales layer by layer, painting each one as a small curved shape in warm brown and black with a gap of white paper left between them.
Tuck in a few scales of red and dusty pink here and there among the brown for a festive twist, and outline some edges in gold for extra sparkle.
Finish with loose gold specks scattered around the cone and a couple of gold-tipped pine sprigs at the base to tie it all together.
10. Floral Bauble
Paint the bauble as a large circle in loose red and white bands, leaving a jagged, uneven edge between the colours for a glossy, reflective feel.
Add a gold cap at the top with the hanging string in a thin gold line. Build the foliage spray behind it with layered sage and dark green leaves, then tuck in loose red blossoms among the greenery, keeping the shapes soft and painterly rather than tightly detailed.

11. Sweet Fawn
Paint the fawn’s body in soft tan and cream, adding loose black-brown patches along the back for that classic spotted texture.
Keep the face gentle with a black nose and a large, expressive dot eye, then add soft pink ears with a touch of shading inside.
Surround the fawn with red floral sprays and delicate gold-flecked foliage on either side, painting the flowers with bold, loose petals for contrast against all the soft, muted tones.

12. Countryside Mailbox
Outline the mailbox in fine black line, then fill it in with a bold red wash, leaving streaks of white unpainted for a glossy, curved shine along the top.
Add the gold flag and a black post with loose, dry-brush strokes for texture.
Tuck soft white blossoms and green-gold foliage around the base and side of the mailbox, keeping the flowers loose and undefined so they read as a soft, wintery accent rather than the main focus.

13. Classic Holly Sprig
Paint the pointed holly leaves in dark olive green first, using gold outlines to define their spiky edges and add a bit of shine.
Cluster rounded berries in varying shades of red and pink around the centre stem, leaving a small white highlight on each for a glossy, plump look.
Vary the sizes and let some berries overlap slightly, keeping the cluster full and lively without becoming too tidy.

14. Big Festive Bow
Sketch the bow’s loops and streamers loosely with fine black lines first, so the ribbon twists read naturally.
Fill each loop with a different soft tone — red, pink, and pale sage-grey — leaving white gaps between them for that folded, ribbon-like sheen.
Add a darker red knot at the centre with a few scratchy black lines fanning out for texture, then let the streamers trail down with soft, uneven edges for movement.
15. Snow Boots
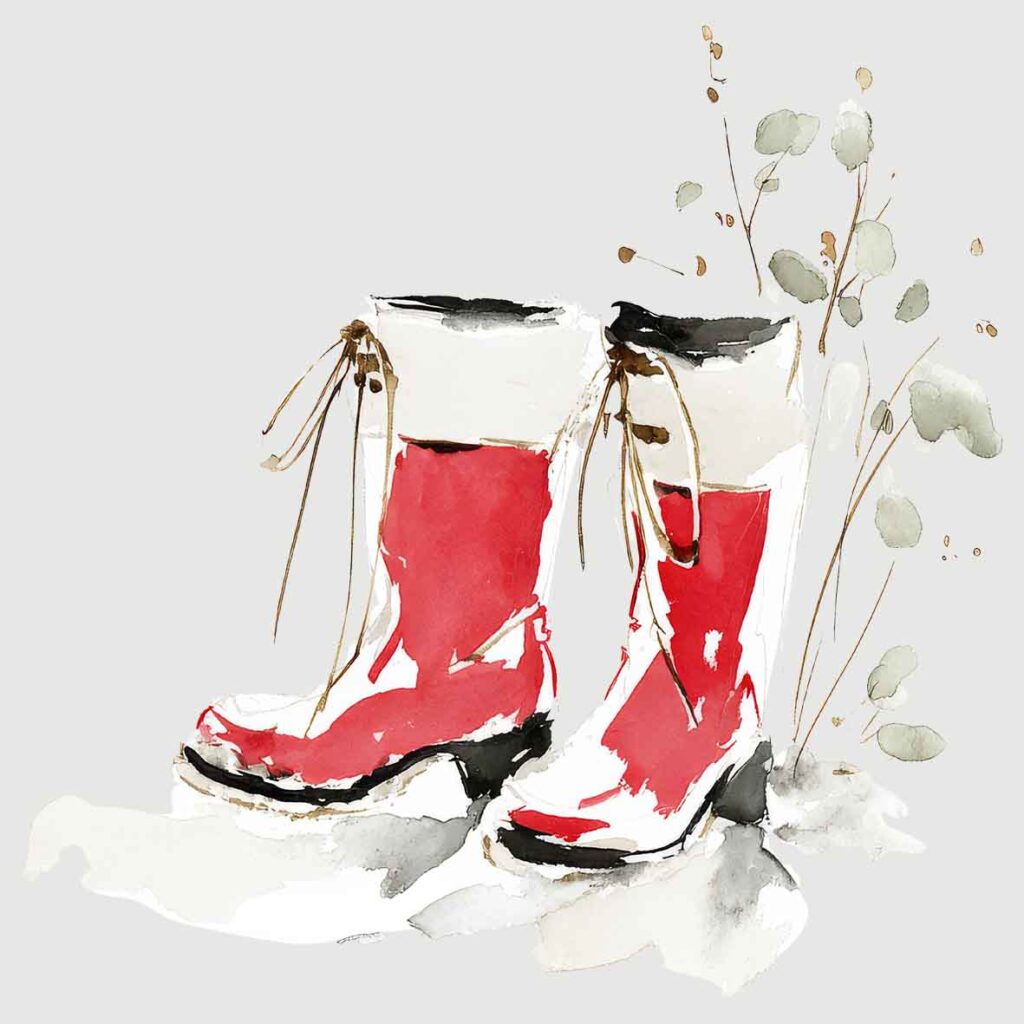
Paint the boots’ bodies in red and cream, keeping the top cuff and sole a soft white-grey and leaving plenty of white paper for highlights along the curves.
Add black shading at the sole and rim for depth, then loop in thin brown laces with a fine brush, letting them trail loosely for a cosy, worn-in feel.
Finish with a few dried winter stems and sage leaves beside the boots, and a soft grey wash of snow beneath for the ground.
16. Snowy Pine Tree
Paint a dark central trunk line first, then build the branches outward in loose, sweeping strokes of green, layering darker shadows underneath and lighter sage tones on top for depth.
Leave large, uneven patches of white paper untouched along each branch for snow, letting a few soft grey shadows tuck underneath for dimension.
Finish with tiny dots of red scattered through the branches for hidden berries, and a soft white mound at the base to ground the tree in snow.

17. Snowy Window
Paint the window frame in pale cream with a fine gold-brown outline for the panes, then use dark grey and black washes for the glass to suggest depth and a hint of curtain inside.
Add a soft mound of white for snow along the top and sill.
Finish with red and pink poinsettia-style flowers tucked around the corners, painting each petal boldly and loosely, with sage green leaves and thin black stems weaving the whole arrangement together.

18. Forest Deer
Paint the pine tree first as a loose, textured triangle in muted grey-green, using a dry brush for the shaggy edges and leaving patches of white for snow.
Build the deer beside it with soft brown washes, adding small white spots and a touch of black for the eyes and antlers.
Finish with tall red berry branches on one side and a fuller berry bush on the other, using scattered dots and dashes of red and gold to frame the scene without overpowering the deer.

19. Festive Star
Draw the star shape with a fine gold-brown outline, then flood one half in bold red with a few white dots left dry for a snowy, spotted effect, and keep the other half soft cream-white.
Add a gold starburst detail at the centre with a fine brush for sparkle. Finish with sage green leaves tucked behind the points and small clusters of red berries at the corners to soften the star’s sharp edges.

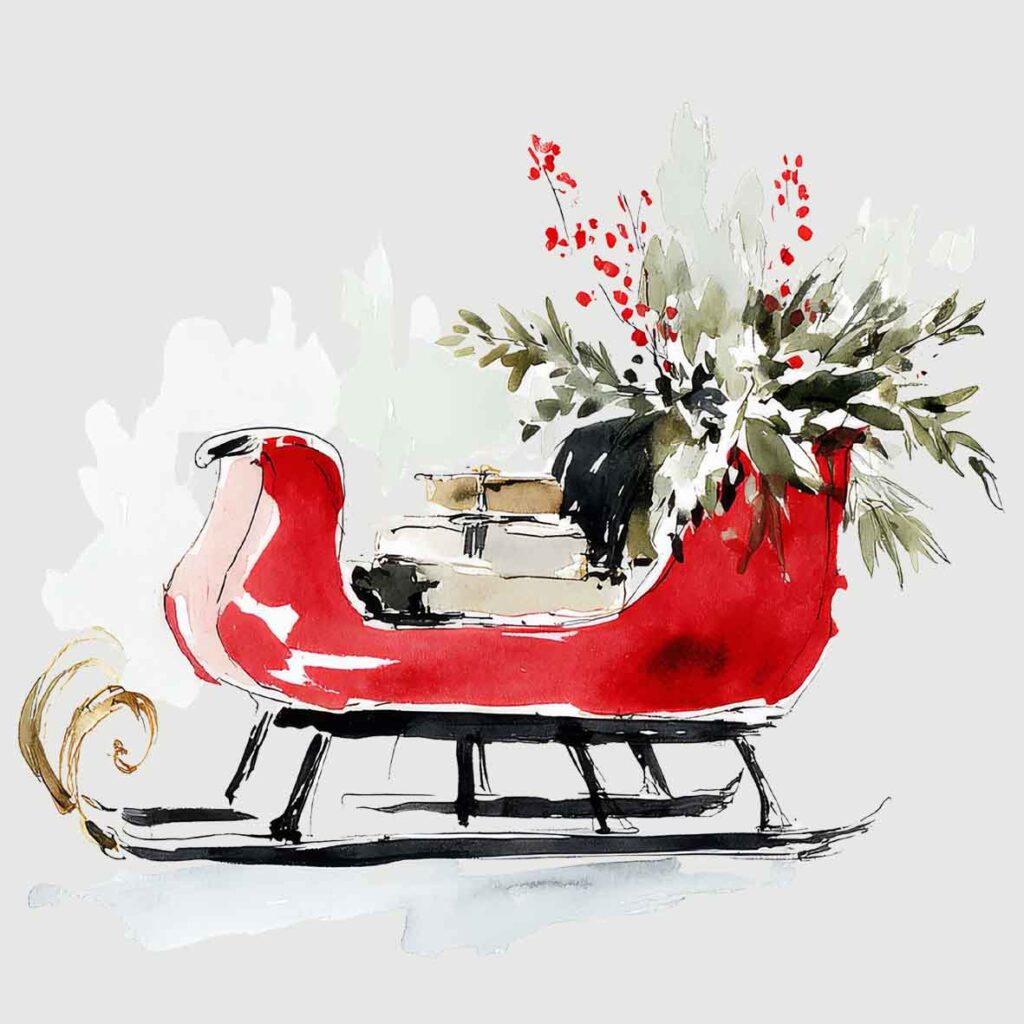
20. Santa’s Sleigh
Paint the sleigh’s curved body in a rich red, leaving streaks of white unpainted along the top edge for that glossy shine, and add the black runners with bold, confident strokes underneath.
Sketch in the gold curled front rail with a fine, looping line for movement.
Pile stacked gift boxes inside using simple cream and grey rectangles, then top it all off with a lush spray of greenery and red berries spilling over the back, using loose overlapping leaf shapes for fullness.
21. Wrapped Gift Box
Paint the box’s front faces in soft cream with a touch of grey shading down one side to suggest form, adding thin gold outlines along the edges for a subtle glow.
Wrap a bold red ribbon straight down the front and side, keeping the edges crisp against the softer box tones.
Finish with a large, loosely painted bow on top in red and dusty pink, with a few white paper-dot highlights left in the petals for a playful, polka-dot finish.

22. Festive Red Cottage
Block in the house shape with a grey roof and bold red walls, keeping the windows and door crisp white with black shutters and fine window-pane lines for contrast.
Add a small wreath on the door with loose dabs of green and touches of colour, and paint the front steps and pathway in soft grey.
Finish with a few evergreen shrubs at the base and tall gold-flecked grasses on either side for a wintry, textured frame around the house.


And there you have it — 22 easy Christmas watercolour ideas to inspire your handmade cards this year!
Whether you fancy painting a cosy candle, a cheerful snowman, or a classic sprig of holly, there’s plenty here to keep you busy through the festive season.
Pick a few favourites, grab your paints, and enjoy the process — your friends and family are going to love receiving these.
If you liked this post, be sure to check out our other Christmas posts below:
16 Cute Christmas Watercolor Ideas That Are Easy To Paint.
19 Enchanting Watercolor Christmas Card Ideas For Handmade Inspiration.





Leave a Reply