Are you looking for a quick and easy tutorial on how to paint a yellow watercolor rose? Or looking for how to paint in watercolor? We have just the post for you, because this is an easy step-by-step guide on how to paint a loose yellow watercolor rose.
Painting in watercolors is pretty easy, all you need is some good paints, a brush and paper, and you are ready to go. But using watercolor paints is a skill in itself and it can be daunting to use a new medium if you are using it for the first time. Whether you are a beginner or are used to using watercolors, this step-by-step guide to painting a watercolor rose will help you paint a rose, in any color not just yellow!
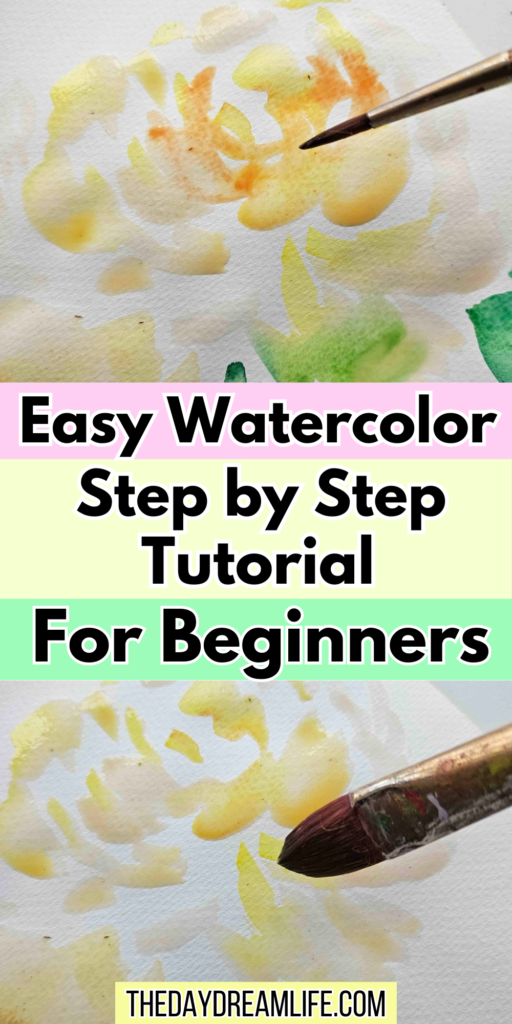
Deciding on the right supplies is very important and starting off on the right foot with watercolors will give you a good outcome. Below are a few watercolor supplies to get you started on the right track
supplies
Watercolor paper
We all need good watercolor paper for our paintings as the paper makes a huge difference to how the painting turns out. I always recommend going with thick watercolor paper, because a lot of water is used in watercolor painting.
Both of these papers are very good watercolor papers. Cold press, textured paper will give you a good grounding to paint on.
Brushes
Brushes are your technical ‘hands’ so you need good quality ones to get going! But they aren’t as important as good paper. But these ones are great for watercolors. Getting a set of brushes with different shaped heads will give you flexibility in your painting.
Paints
Lastly, paints which can be just as important as paper! Good quality paints which are more pigmented will last you longer and give you the best results in painting.
Winsor and Newton are known for their amazing watercolors and these are amazing to start off with
Below are some really good watercolor inks if you want to go for a more fluid feel but still work with watercolor
Painting a watercolor rose
Let’s get started on how to paint your watercolor rose!
For this step-by-step guide, I am using a reference picture to paint from. Most likely with all paintings, it’s good to have a reference picture to work from and not from your imagination. This is so you can see the light and dark shades of the flower. Below is the picture I have chosen for this painting.

Instead of painting all three roses, we will only be painting the middle rose for this step-by-guide.
Next, decide on what paints you want to use. For this, I am using my Windor & Newton pan set watercolors. Unlike the watercolor inks, these give a more natural look. Mixing in colors can be easier to get the most realistic shades.

Next up, choose your brushes. I have chosen a round brush for the rose, a pointed brush for the leaves and a thinner brush for the details at the end.
step one

Start off with loading some yellow paint onto your brush, but really water down the color so it turns into the lightest shade of yellow. Then with the top of your brush, push down to make the center strokes of the rose, an a round movement of the brush.
step two
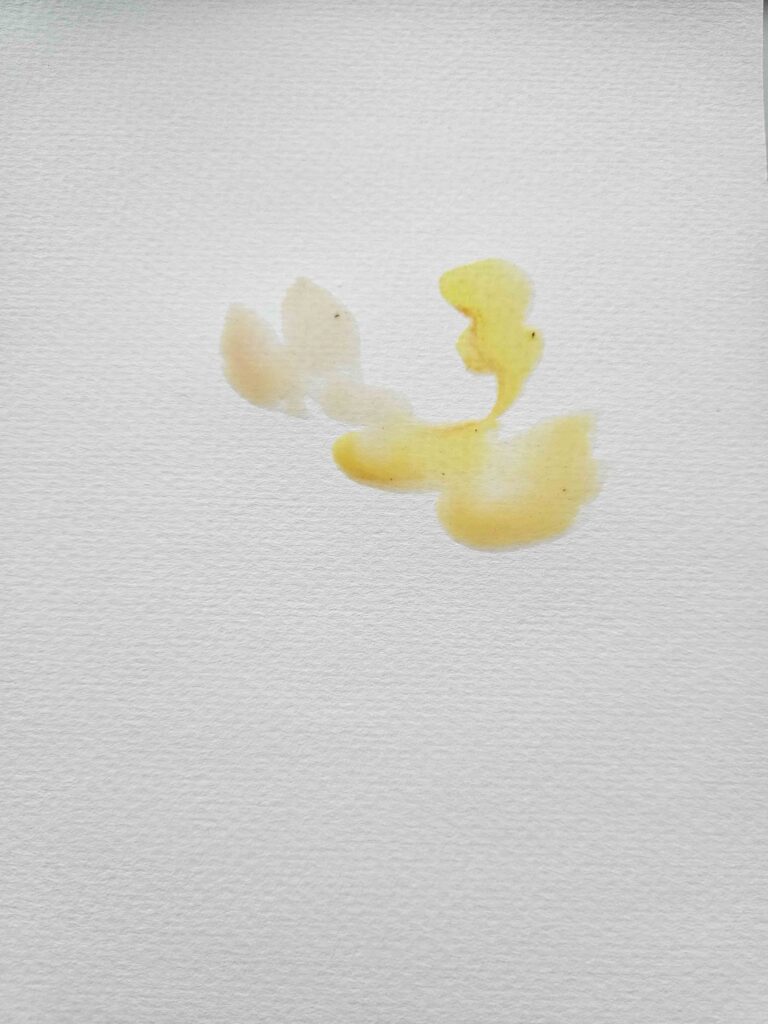
Looking closely at the picture, work in some more petals to start filling in the rose. Work loosely with your brush, not applying too much pressure. Add in some more paint with a hint of orange or amber added in. Remember to add more water with the paint to make it translucent but just enough for the paper to handle.
step three

Add in more petals, taking in the lighter areas and refining the shapes of the petals. Remember to keep your strokes light, because this is just the first layer of the rose and with watercolor it’s all about the layers.
step four

Start working on the lower petals in a light wash. These strokes of the brush are bigger with just one ‘swipe’ almost.
step five

Build on the petals and take in the shape of the flower. There are some lighter petals and some darker. Use slightly more paint in the darker areas but not too much.
step six

With the top of your brush, lightly stroke in paint in the lighter areas. This bleeds in nicely to the layer before and has an almost ‘washed’ look.
step seven

By now you should have the first layer of your rose and the base of the flower. Yours might look a little different to this but you can add more petals where you see fit.

step eight

With the tip of your pointed brush, work in a long stem from the top of the rose to the bottom. The stem should be lightly curved to not give it such a rigid look. Mix in different greens to get the color you want.
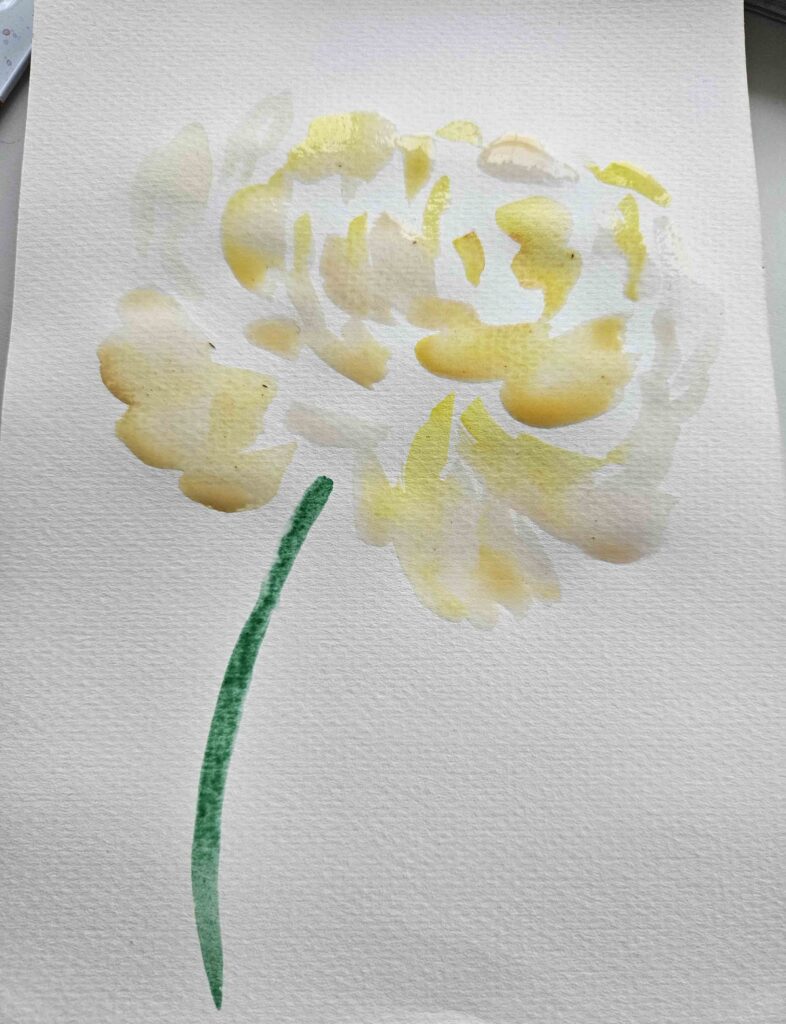
step nine
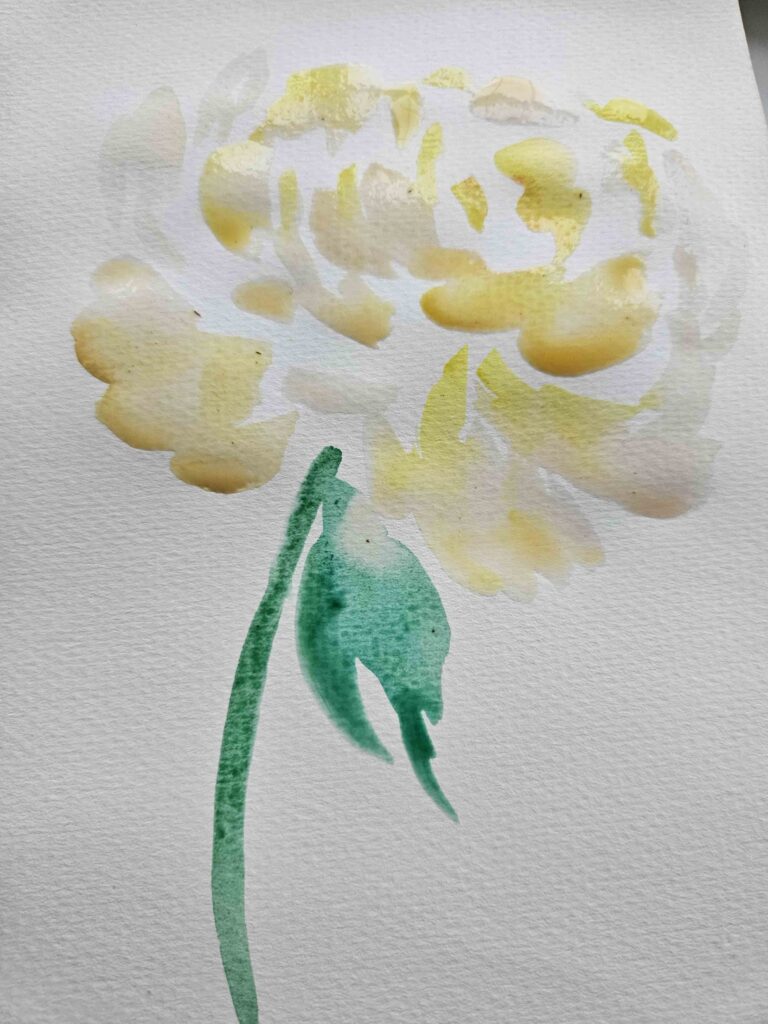
With your brush loaded with green paint, push the tip of the brush down on the paper and then let all of the brush push down on the paper make a leaf shape. Finish off the leaf by lifting the brush back to the tip. This method creates a nice leaf shape without too much effort.
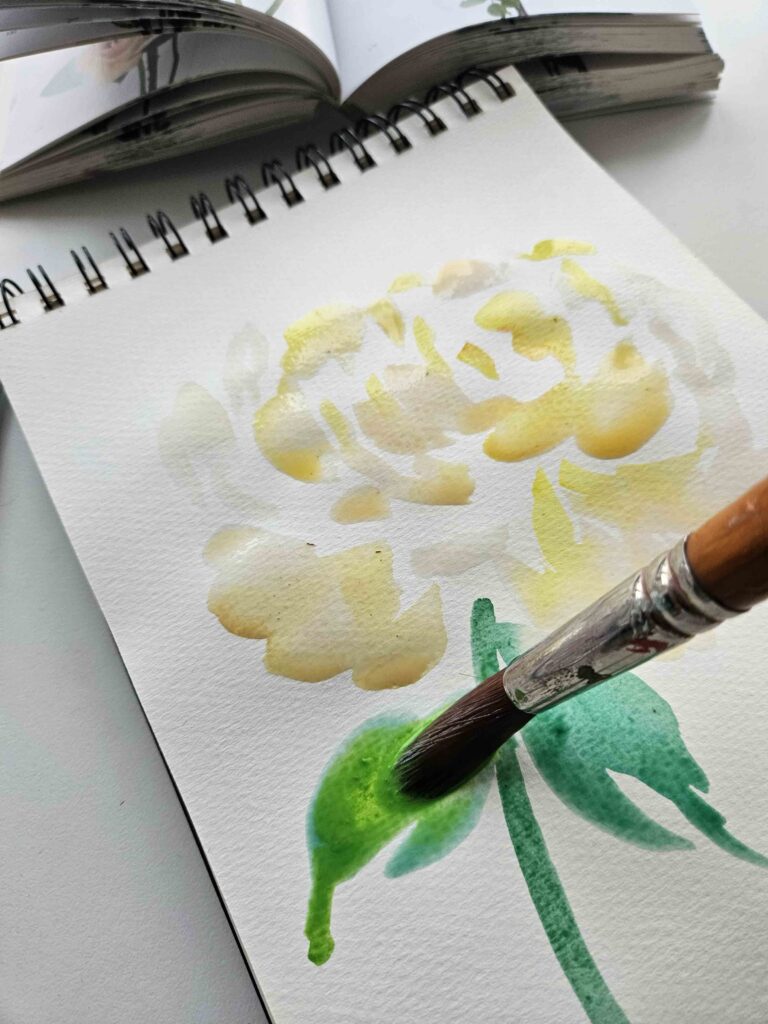
This picture shows how to work your brush to create the leaf shape.
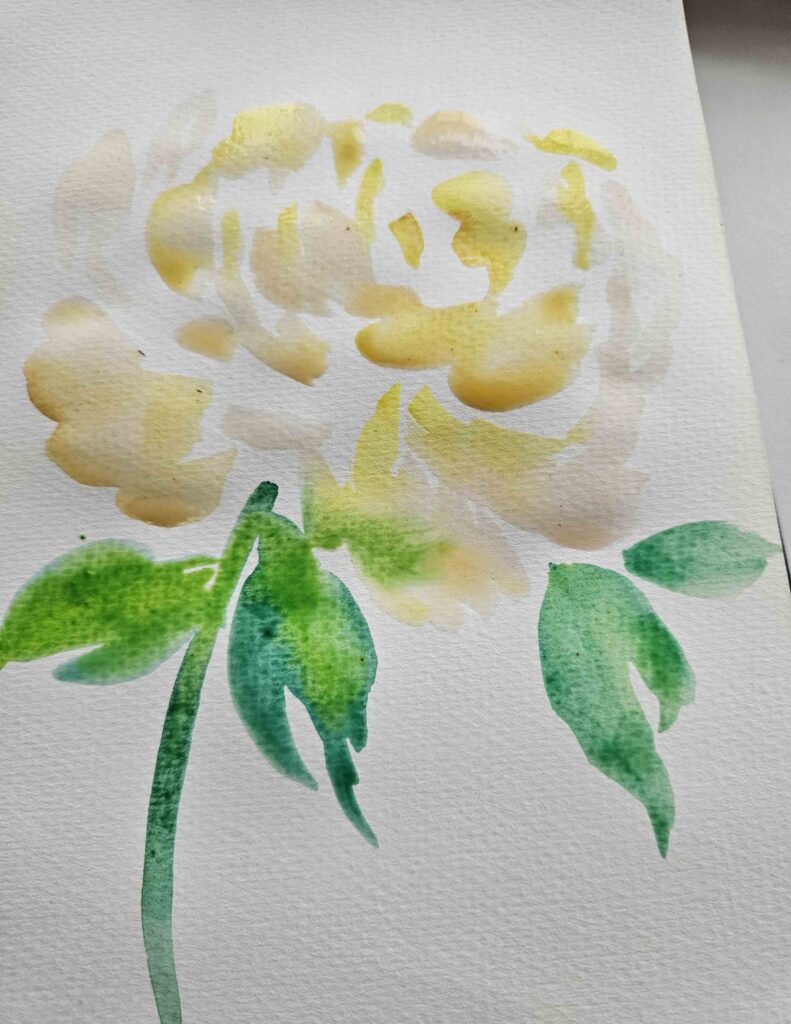
Work in more leaves around the rose.

Add in some stems to give it some character.
step ten
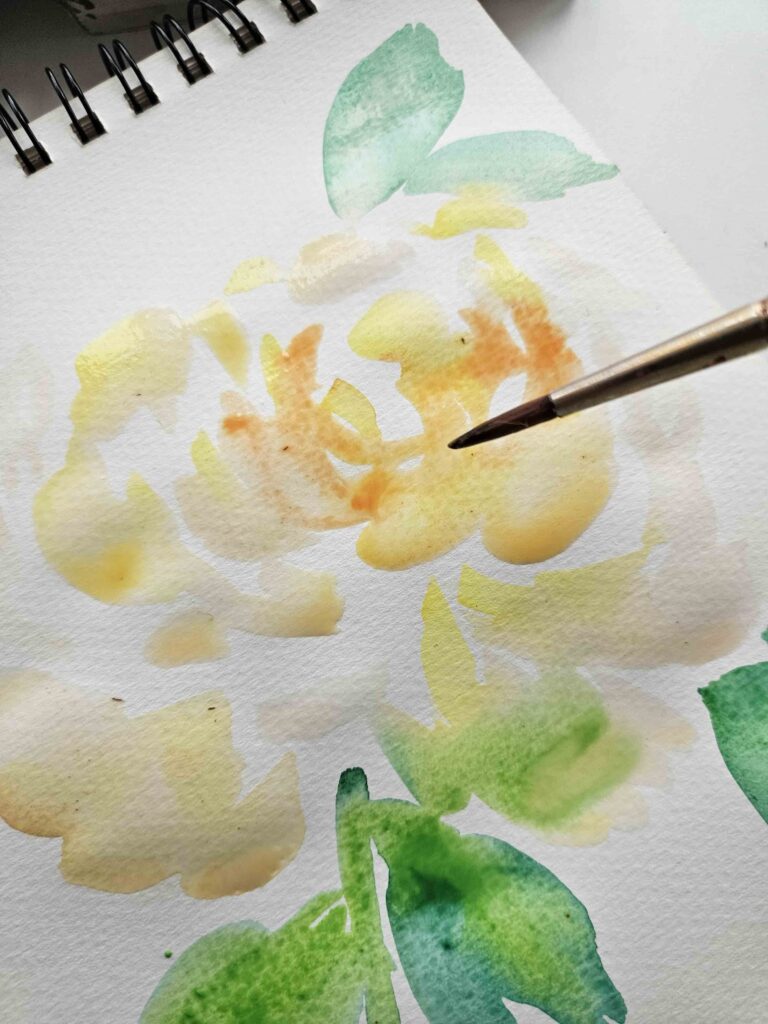
With your smaller brush, add in some orange color to the centre of the rose to start defining it.

Add in bits of orange paint where you feel will fit around the centre, while the paint is still a bit wet. It will blend into the yellow paint.
step eleven
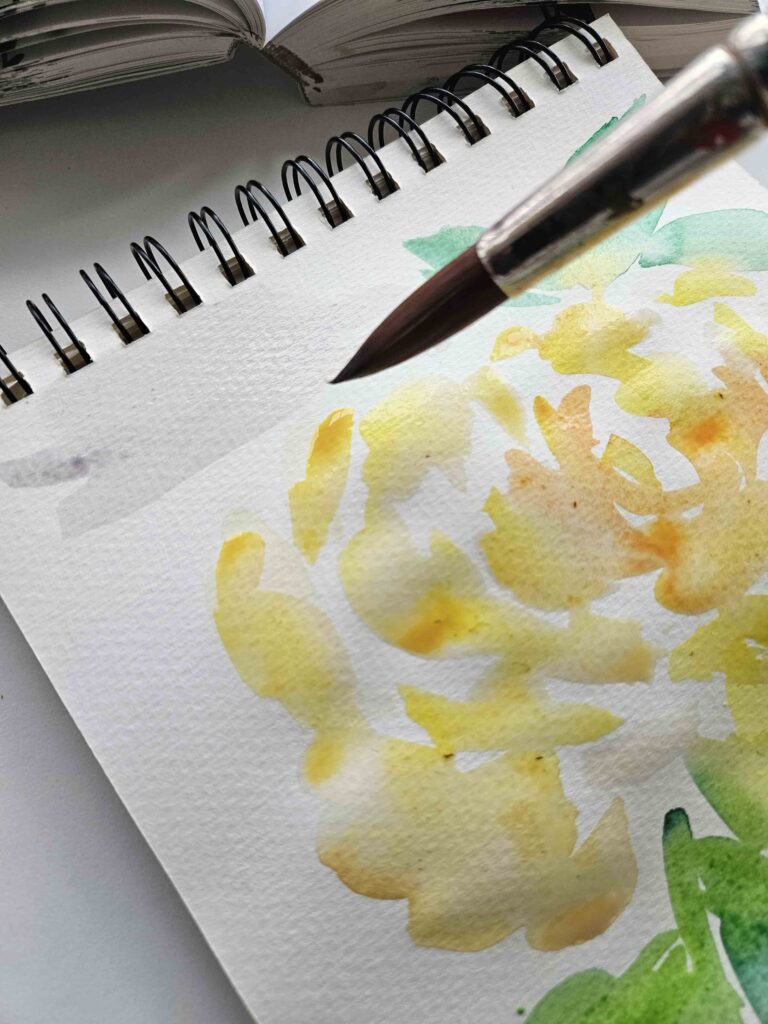
This part is completely optional, but I have added a light grey wash to the background. The yellow rose is light in color so the grey background will give it a nice contrast and set it off. You can create a light grey wash by either using watered down dark blue paint, or watered own black paint. Be sure to really put lots of water into the paint to make the paint light and not dark.
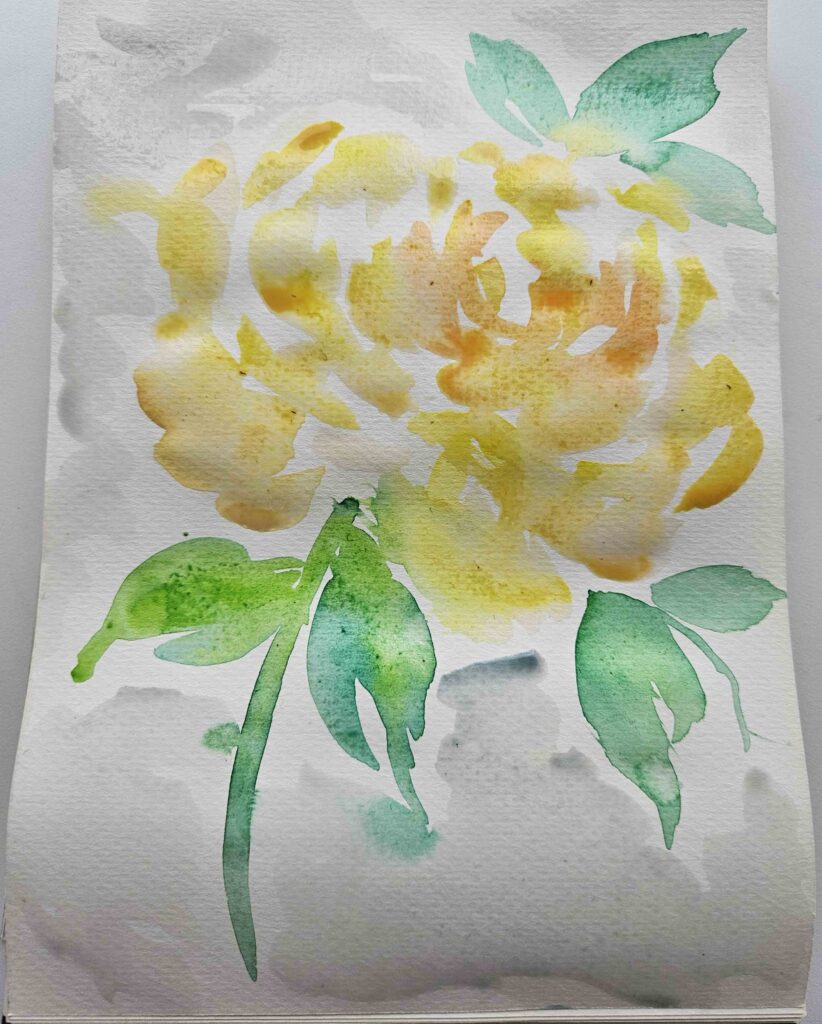
Let the painting completely dry out, you can leave it on this step if you want a more loose look or carry onto the last step if you want it more defined.
step twelve
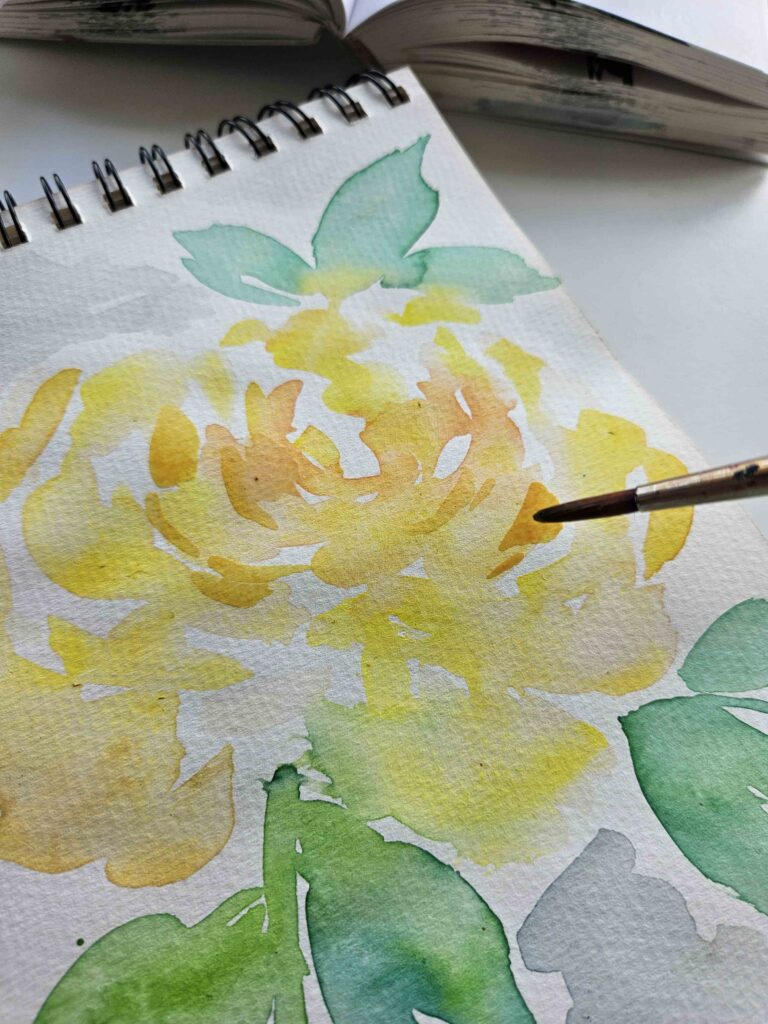
With your thinner brush, mix in some yellow, orange and a bit of amber to get a nice golden color for the highlights. Start off with the lighter highlights and work more with the yellow and orange paint, then work darker into the centre.
You can also use a darker green to add in some lines onto the leaves and give them more definition.
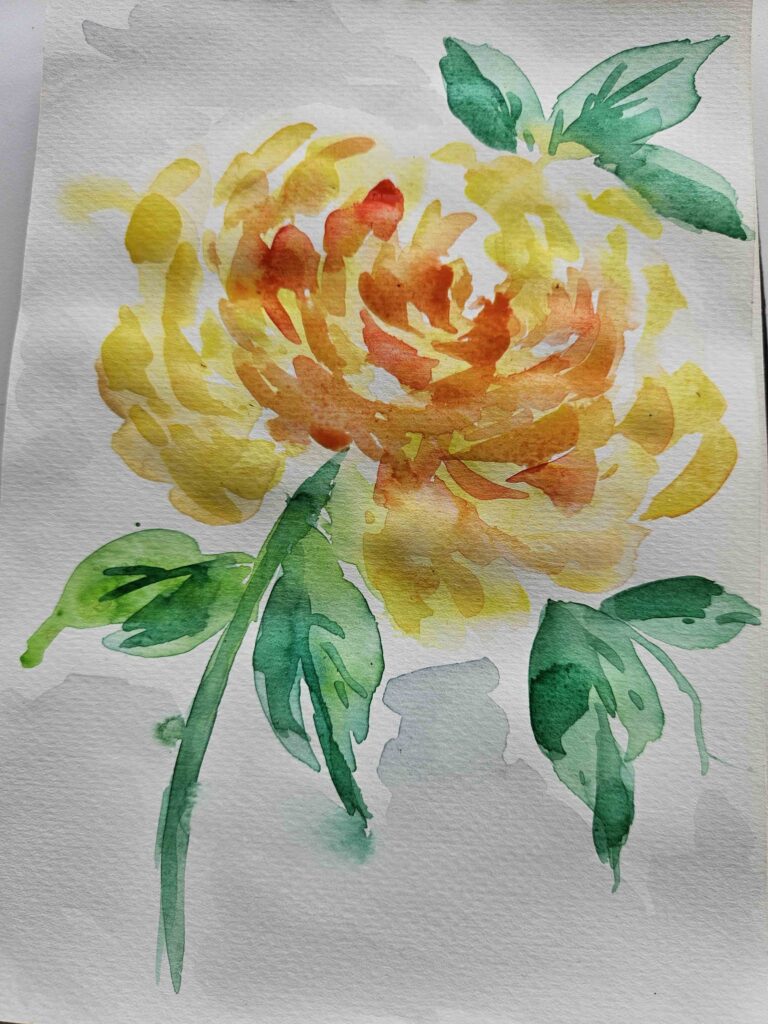
Once you are done with the highlights, let the painting completely dry and you are done! You can either leave it without the highlights and have a more subtle look or add in the highlights to define it more.
As you can see, painting a watercolor rose in a loose way isn’t too difficult and once you get the hang of watercolors, you will always find your own style. If you want to paint in another color and not yellow, then go for it as painting this rose in watercolor can be done in any color you like.
If you liked this watercolor post, be sure to check out our other posts on watercolor painting below:
Master Loose Watercolor Florals with These 20 Simple Designs.
23 Amazing Watercolor Flower Painting Ideas To Inspire Your Painting.
Check out some of our Art Journaling posts!
26 Mixed Media Art Journaling Ideas To Inspire Your Creativity.
17 Stunning Art Journal Ideas To Enhance Your Creative Journaling.
Be sure to give this post a share on Pinterest and give us a follow! Happy painting!