If you are looking for some printmaking ideas, then we have an easy and fun tutorial in this post; printmaking with yarn!
Yarn is such a simple and inexpensive way to create beautiful prints with. It’s a basic method but the possibilities are endless, as they always are with printmaking. Once you create one, it’s easy to get carried away.
Pin me for later!
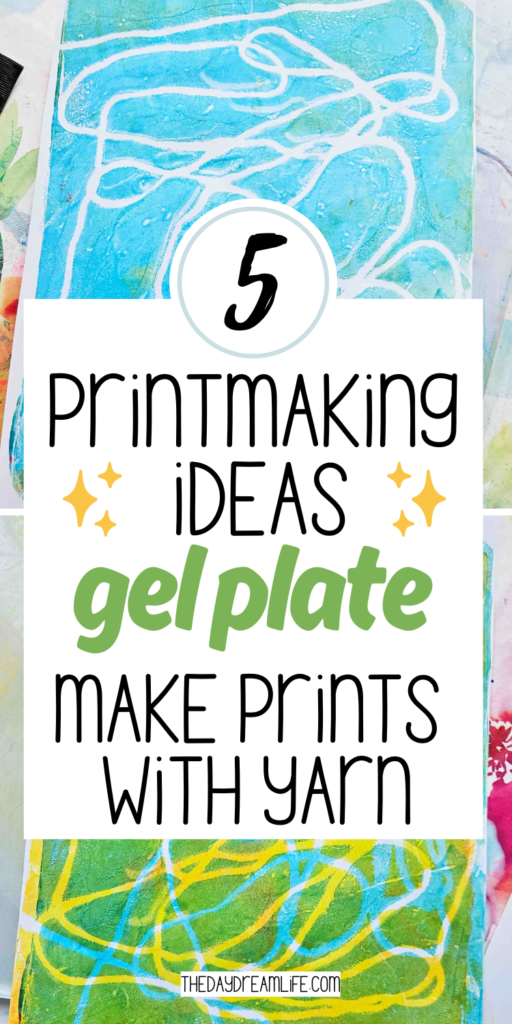
Creating some prints with yarn can be a good way to create collage papers, as well as just exploring some ideas in your sketchbook, or using in your art journal. This idea is good for beginners and even good to do with children.
This post contains affiliate links with no extra cost to you 🙂
Art Supplies
Before we begin, we need to gather the right art supplies for this project.
I have used a gelli plate for printmaking, this is the one I am using for my prints. But any gelli plate will do!
Next is good quality acrylic paints, my favourite is to use Liqiutex Basic Acrylic paint, as they aren’t too thick and the consistency works just right for gelli printing.
You will also need a brayer, to roll on your paint.
The last two things are paper and yarn; any type of paper will be fine to use. I have used normal copy paper as there aren’t too many layers involved. Yarn, well any you have laying around!
Printmaking with Yarn
Let’s get started in all the different prints we can make with yarn!
1st Technique
1.
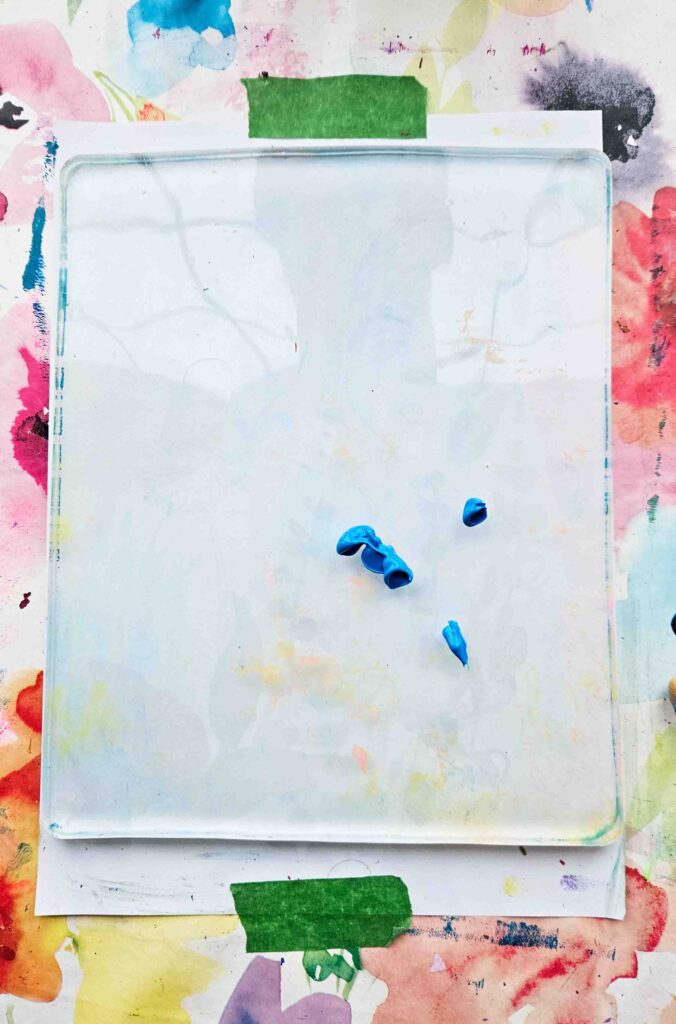
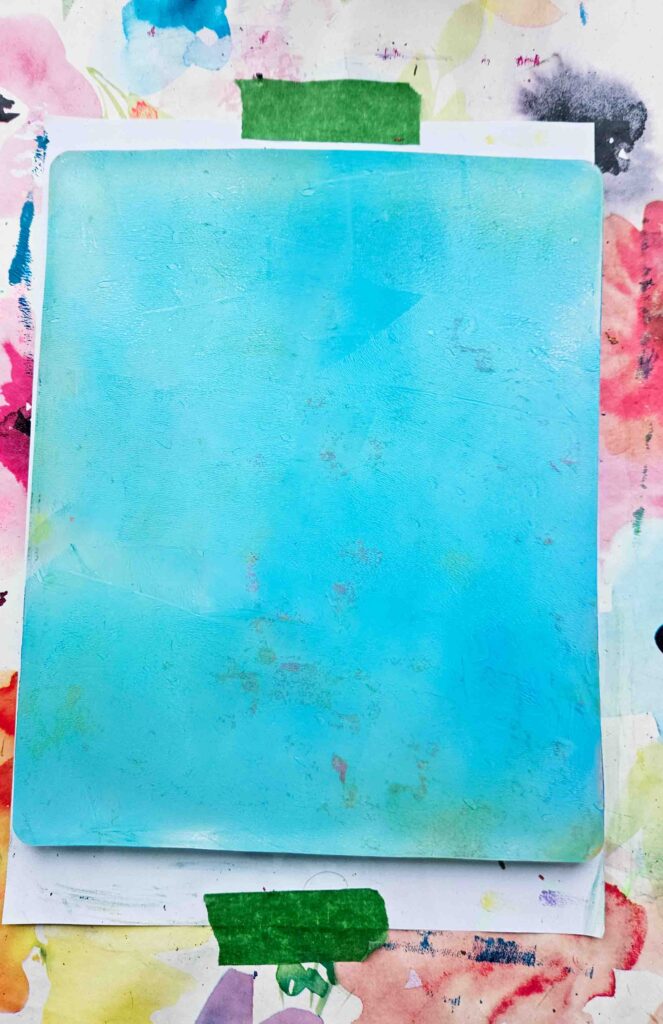
Start off with some paint on your gelli plate.
2.
Spread the paint around evenly with your brayer.
3
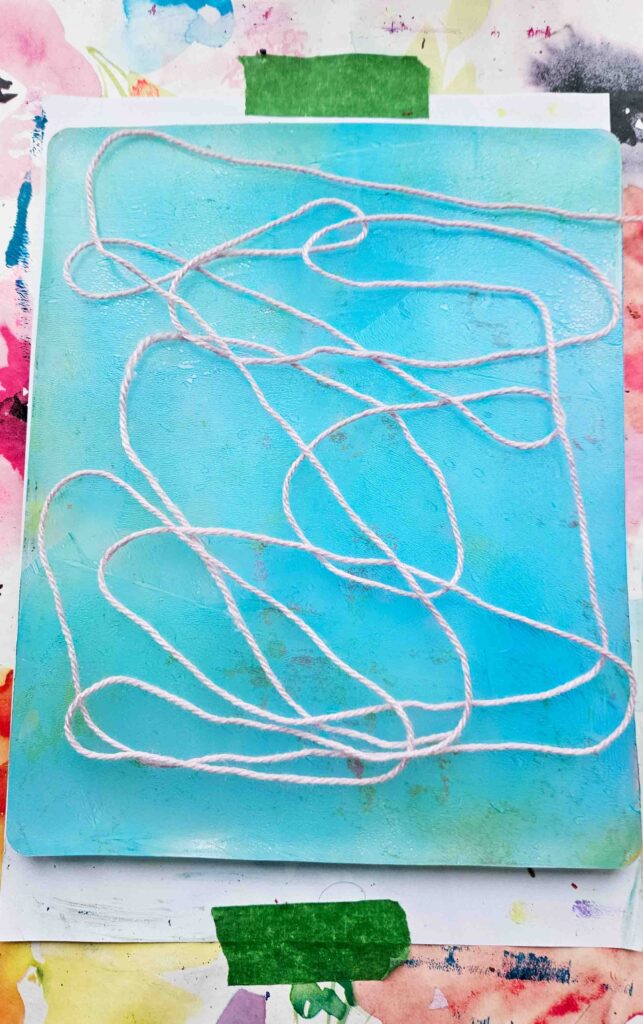
Get your yarn, and place it as you wish onto your gelli plate. Be careful to do this quickly before your paint dries.
4
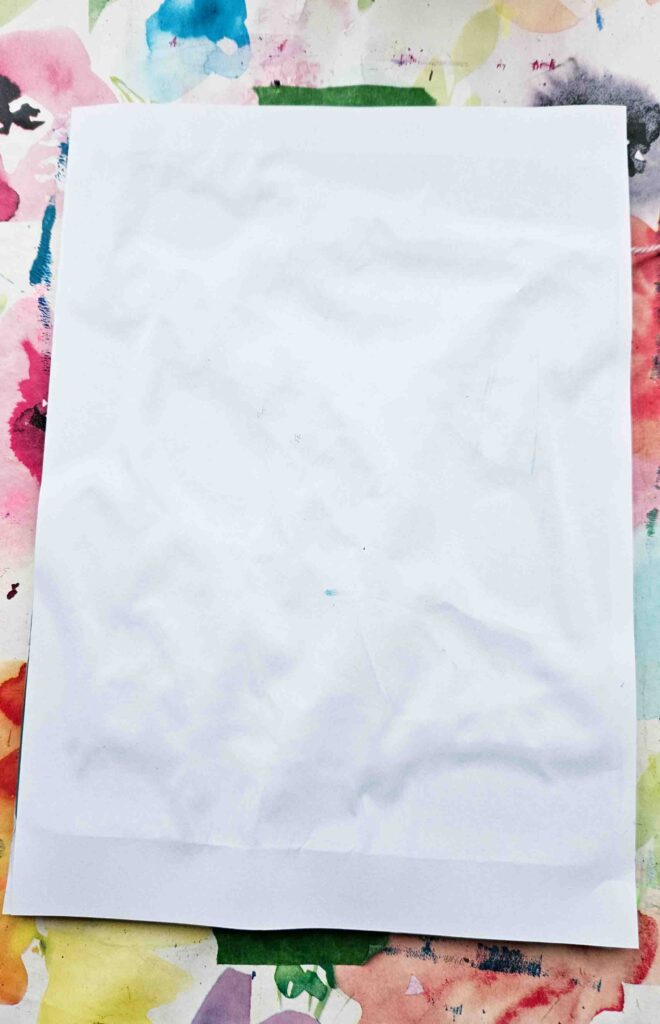
Place your piece of paper ontop of the yarn. Press down on the paper and be sure to press your fingers onto the yarn so that the paper picks it up.
5
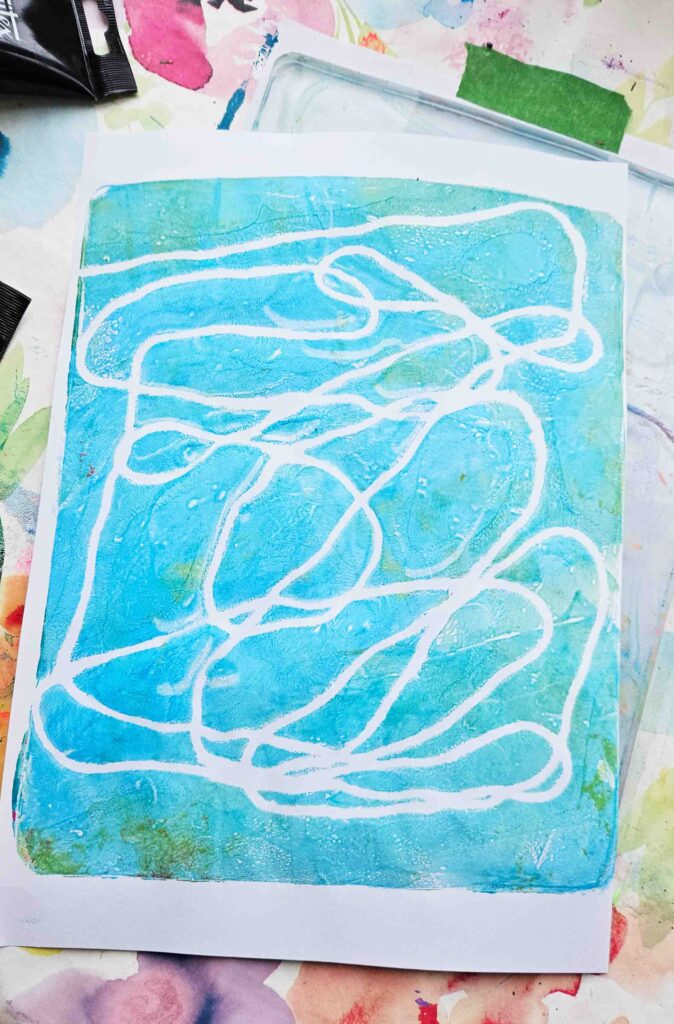
Remove your print and see what you got!
6
On your gelli plate there is probably a ‘ghost’ print, which means some of the pattern is left onto the plate. As you can see from mine, there is a slight pattern left.
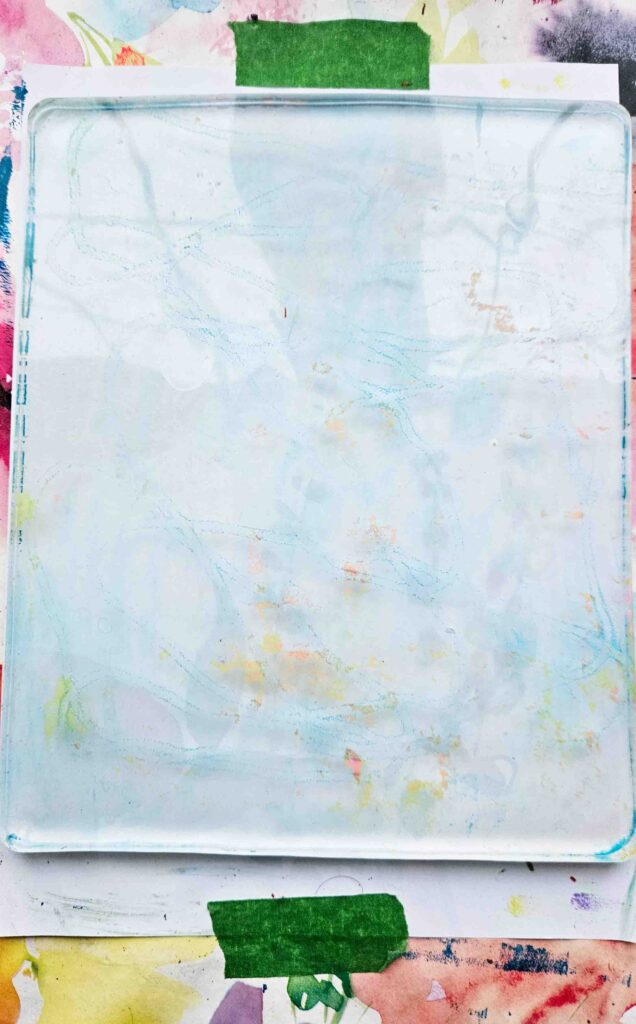
7
Roll on some more paint to pick up this print with some paper, this will be good to use for later.
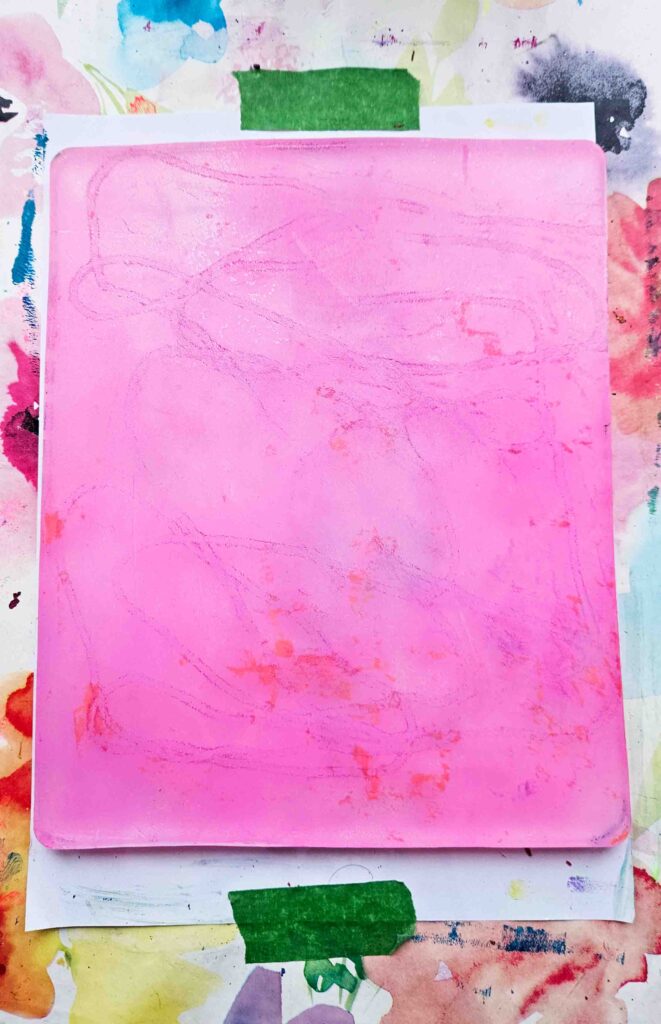
8
As you can see, it has left a lovely print onto the paper.
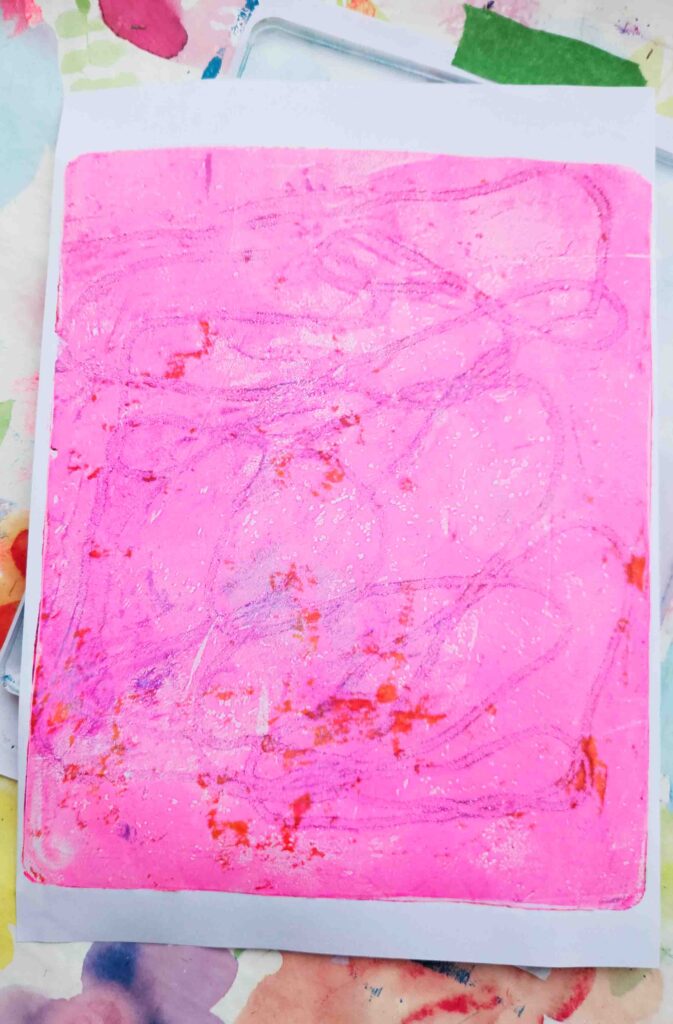
2st Technique
1
This time we are ‘double printing’ the print we made earlier. Load your plate up with some more paint.
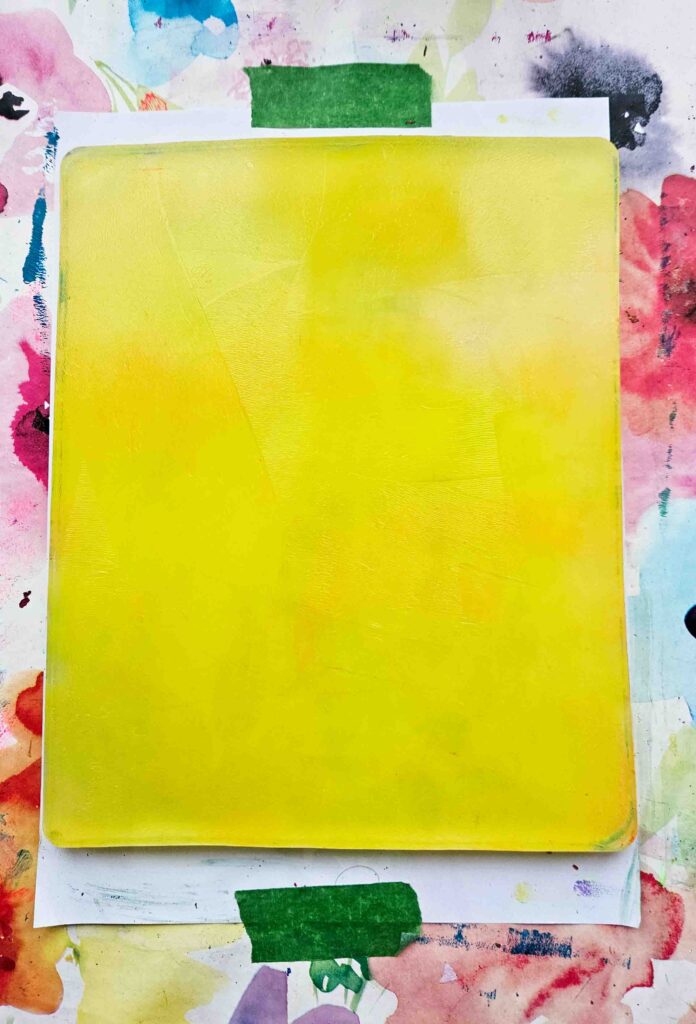
2
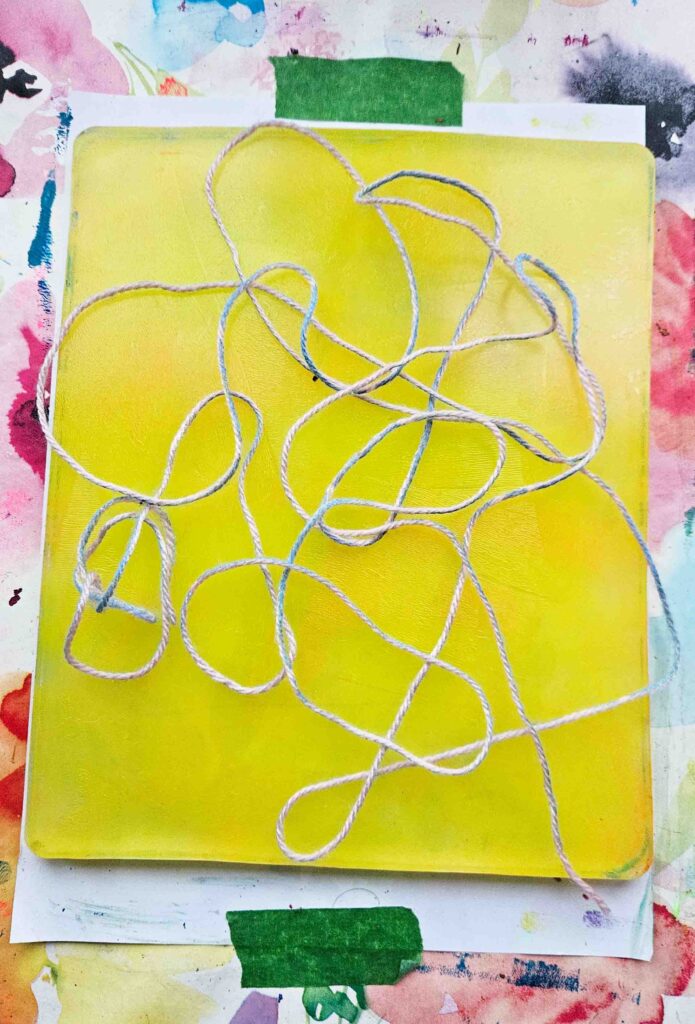
Place some more yarn onto the plate.
3
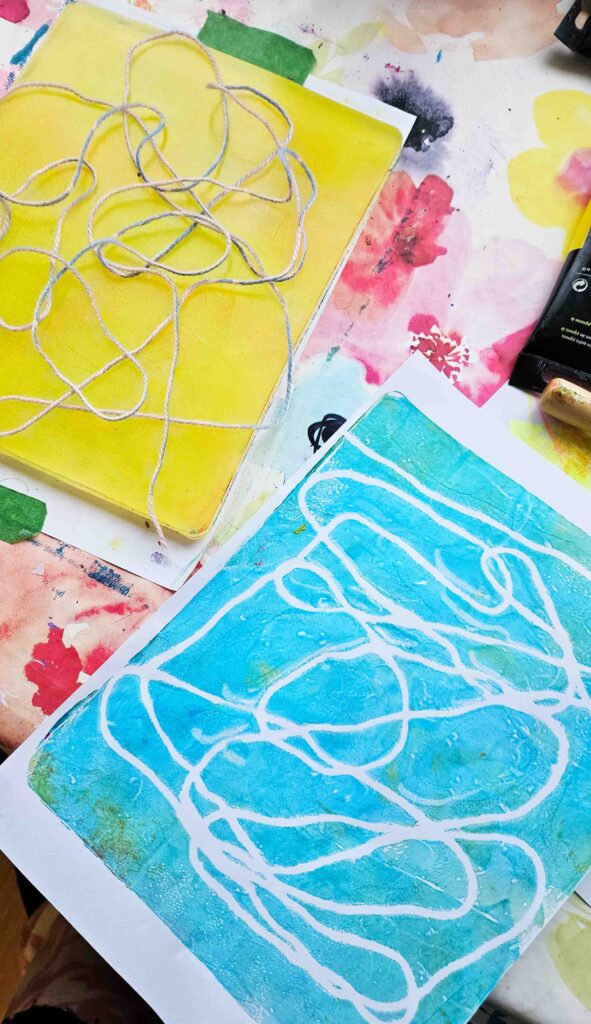
Next get the print that we previously made and plate that print on top and press down.
4
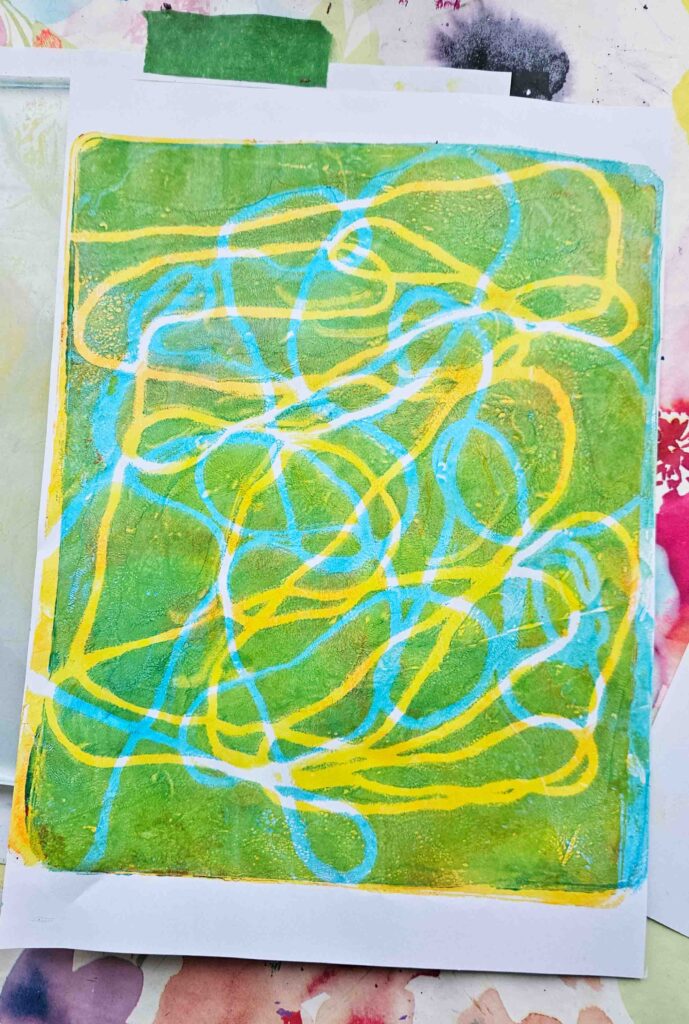
Then reveal your print! A lovely double print with lots of beautiful swirls. Notice how the paper has changed color, because yellow and blue make green.
3rd Technique
1
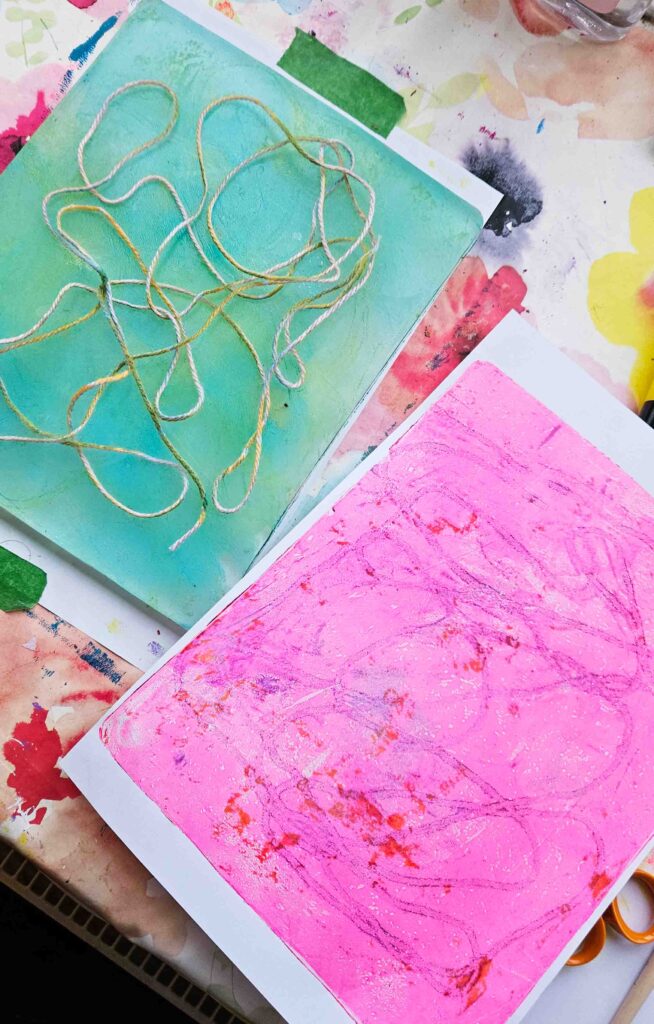
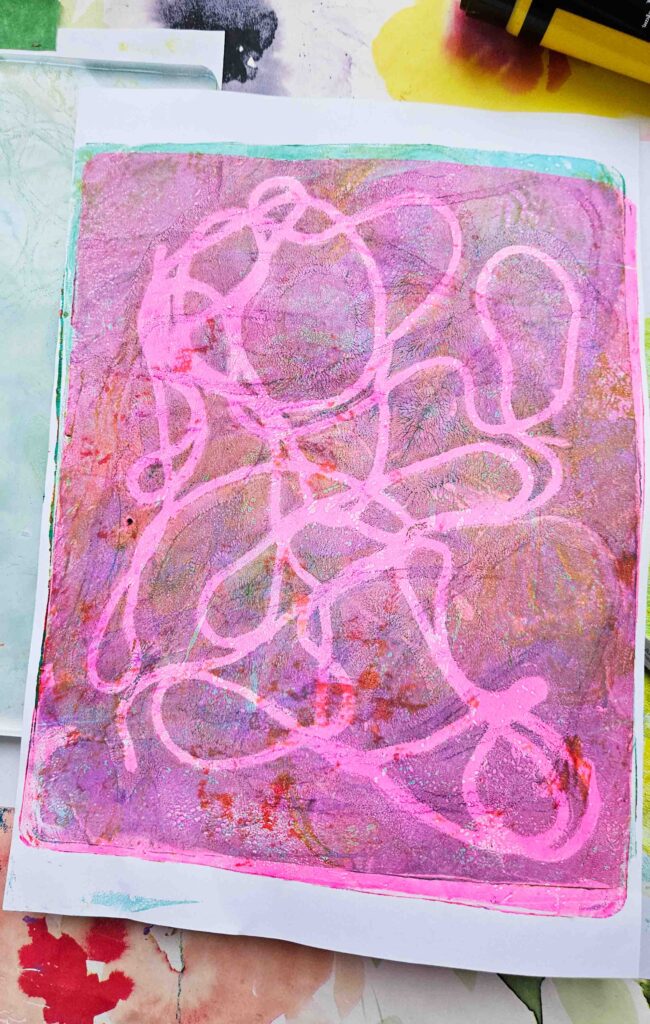
Let’s do another double print of the ghost print we had before.
2
This one came out slightly muddy because the colors didn’t go well together, but even ‘ugly’ prints look nice and have great texture.
3
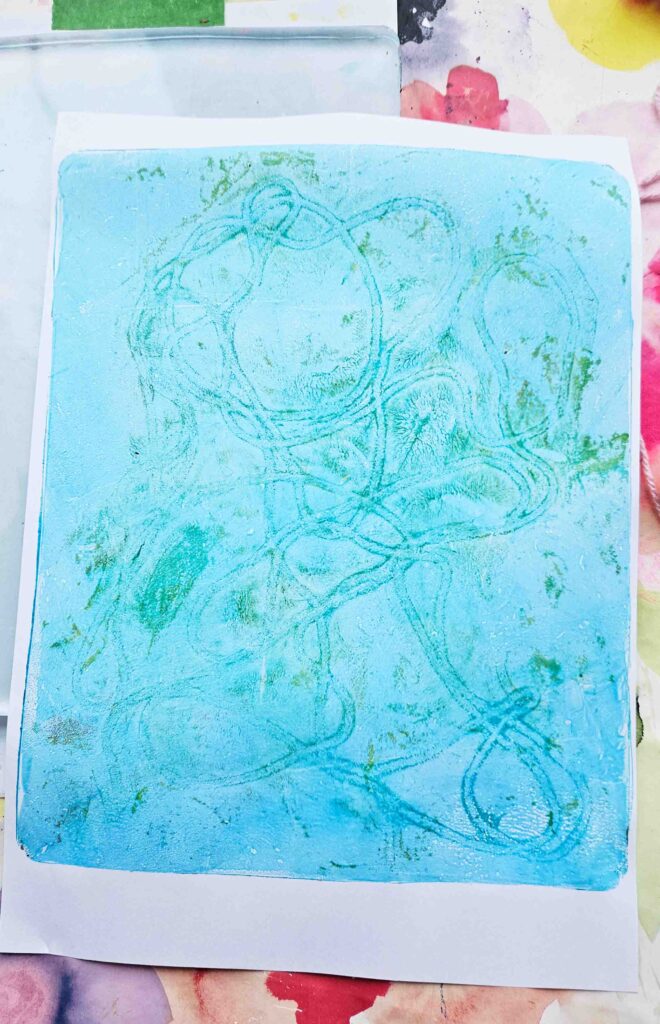
To clean my gelli plate, I put on some blue paint and got another lovely ghost print.
Pin me for later!
4th Technique
1
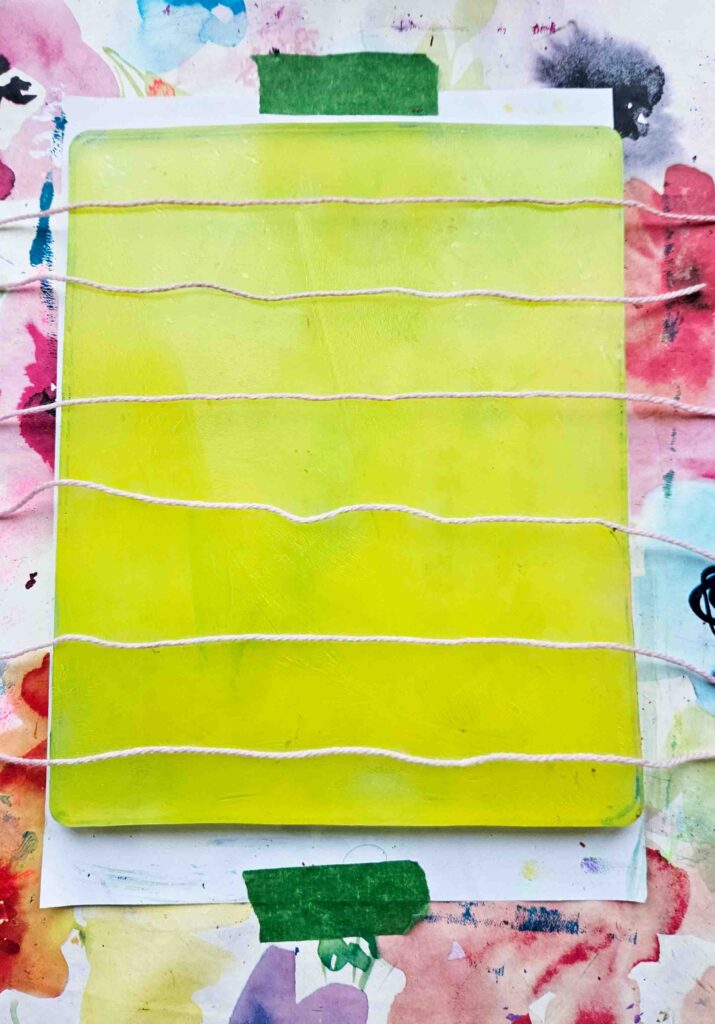
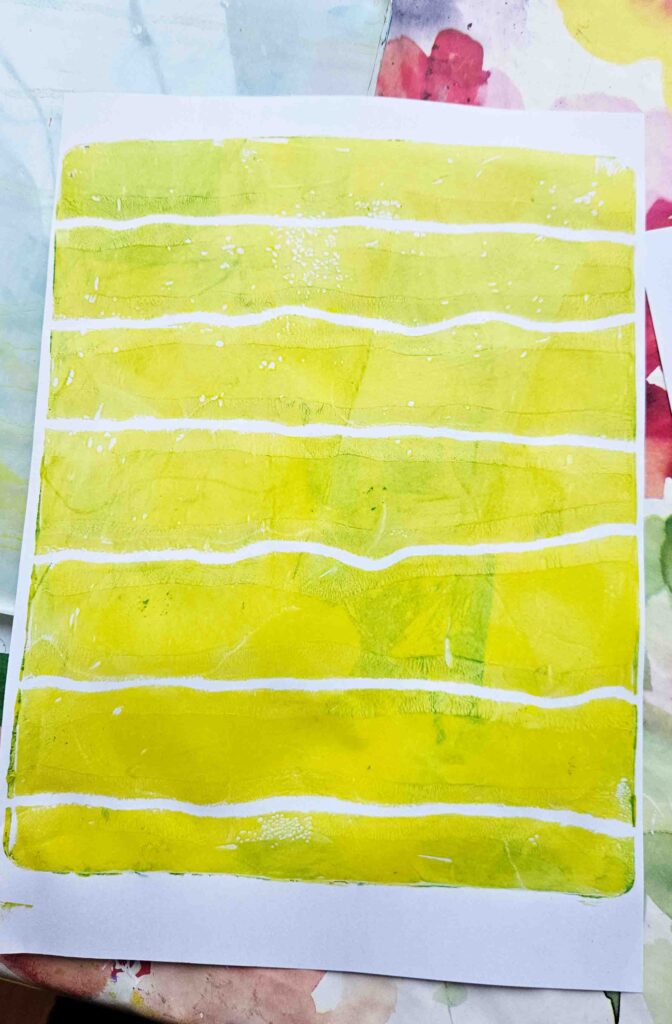
For this print, be sure to get some yarn pre cut before you roll paint onto your gelli plate, just incase the paint dries while you’re getting the yarn ready. Once your yarn is ready, put it over your painted gelli plate.
2
Put your paper on top, rub it into the yarn and pull it off.
3
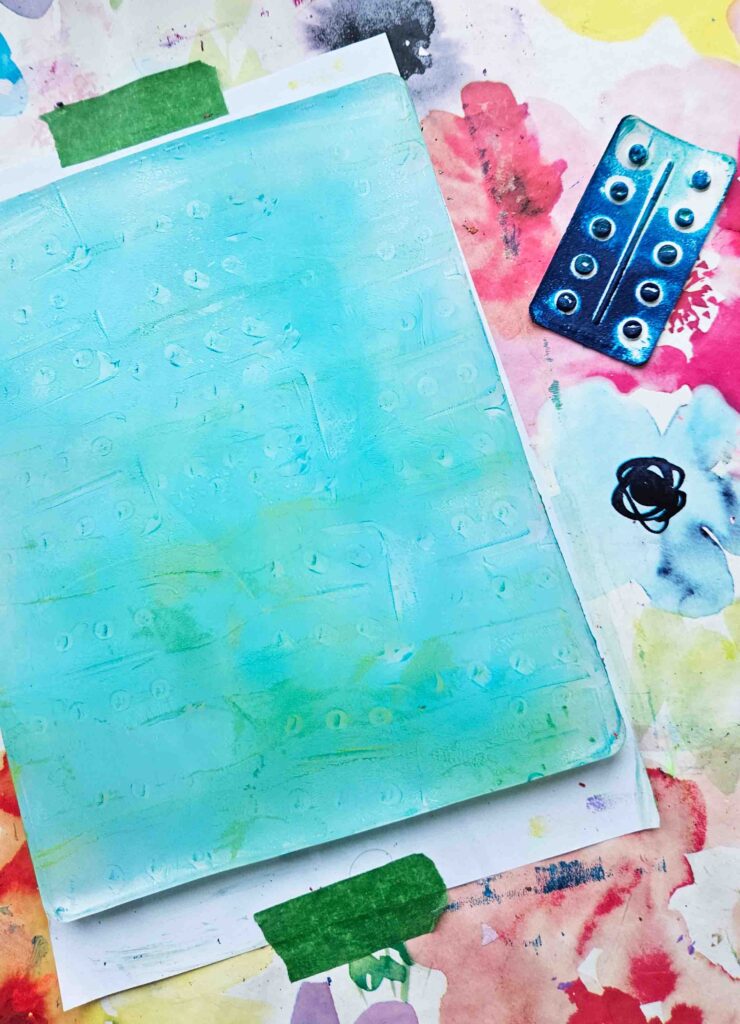
Put some more paint onto your gelli plate, and find something to add some stamp marks onto the plate. I used a used tablet packet to make some marks,
4
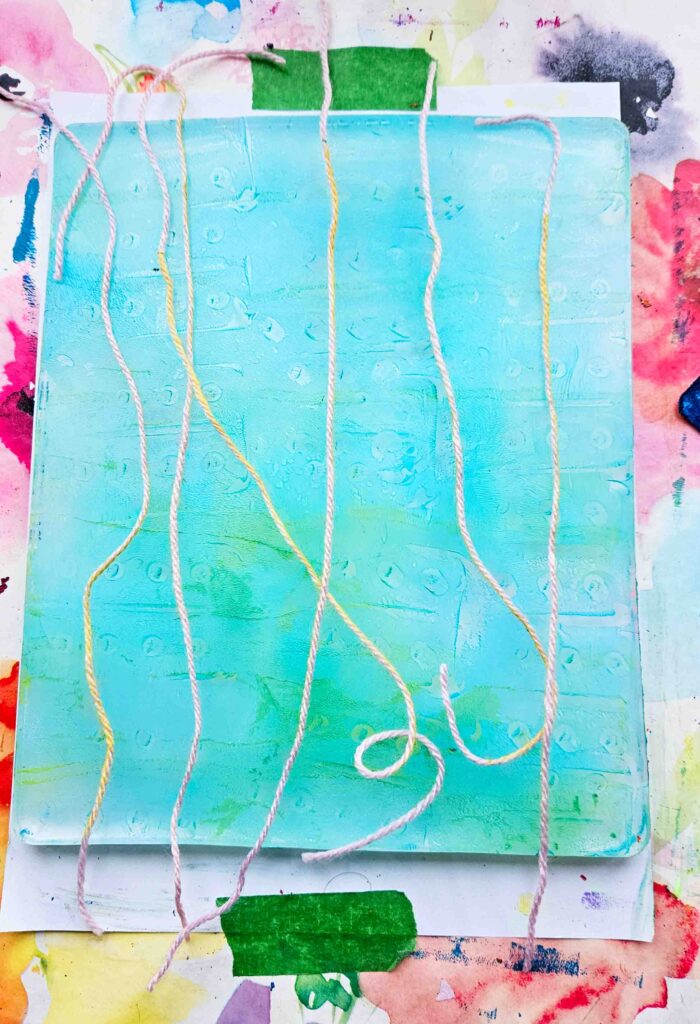
Next, put some the yarn vertically on the plate. Be sure to do this quickly before the paint dries.
5
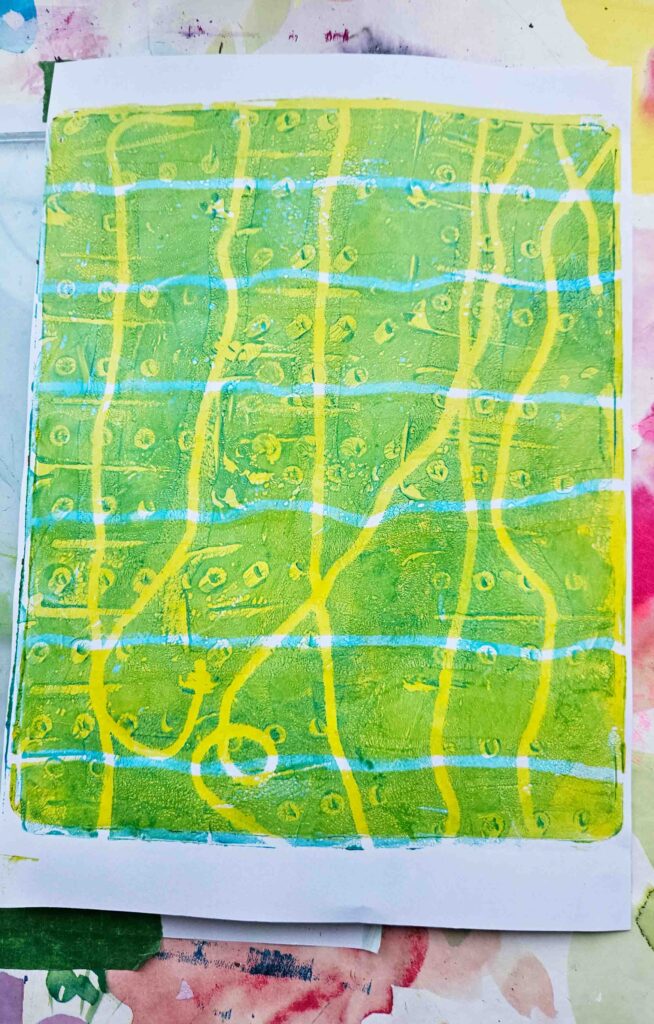
Put your previous print which was made with the horizontal yarn on top and create a print with it.
5th Technique
1
This technique is just for a little fun and like the previous one. I used a tissue roll to make marks on my painted gelli plate, you can use whatever you have on hand for some marks.
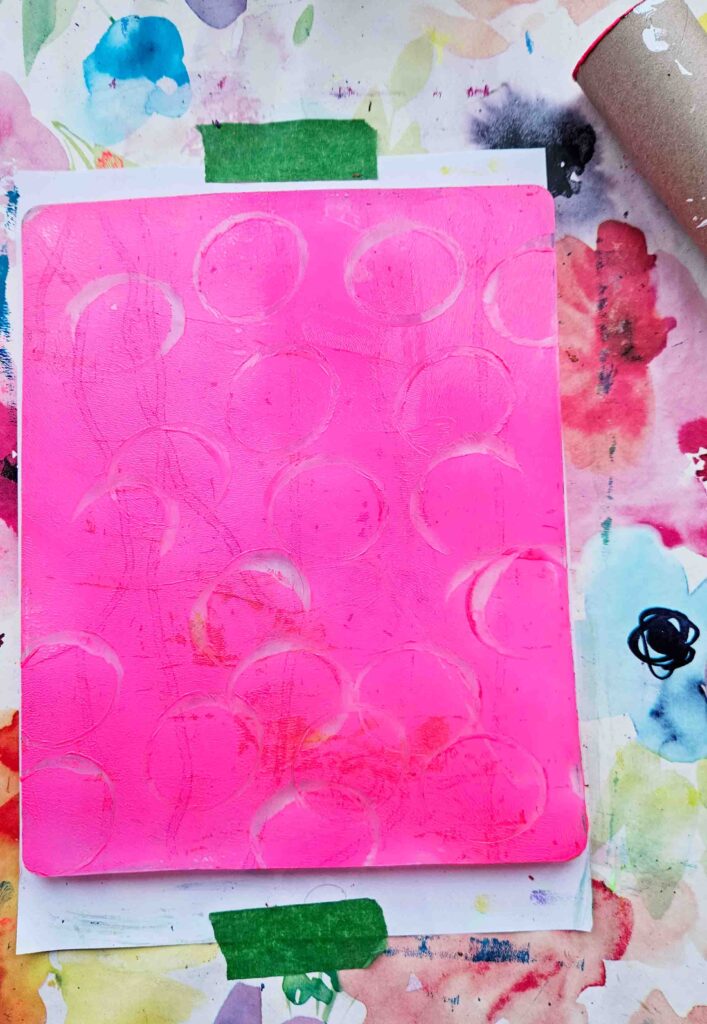
2
Next put some yarn on top, it can be however you like. I chose to do it all squiggly.
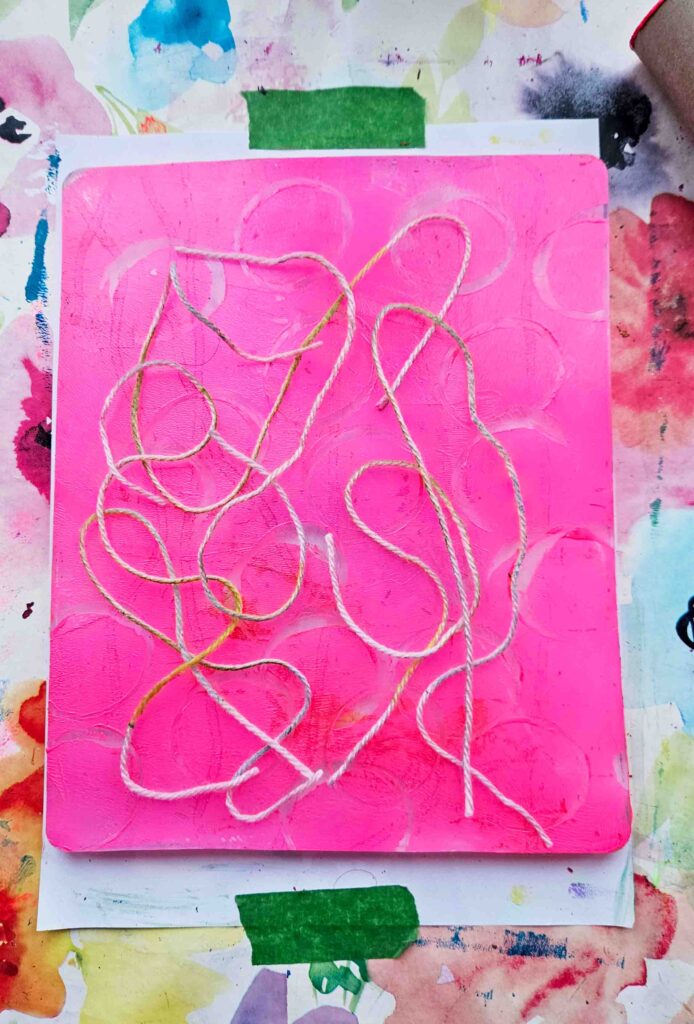
3
Put some paper on top and pull the print! The outcome is always a surprise.
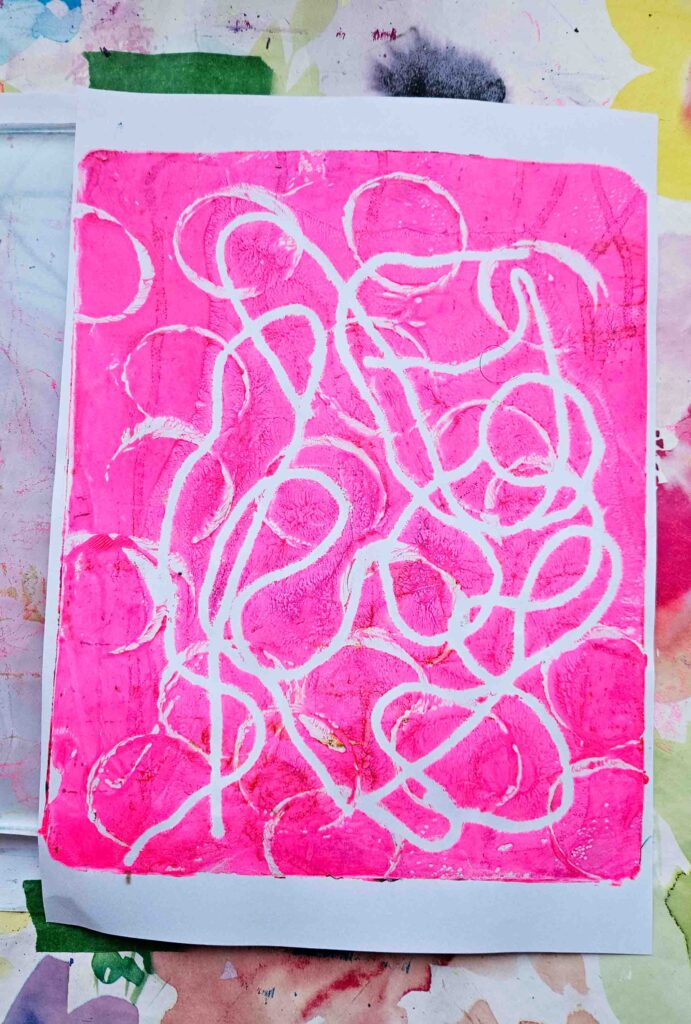
This come comes up to the end of our printmaking with yarn techniques. As you can see, the possibilities are endless and you can explore so much more with just yarn. Add more layers to your prints and more marks with various different things.
If you liked this post, be sure to check out our other posts with mixed media approaches below:
Mixed Media Collage Art: Easy Flowers.
17 Stunning Art Journal Ideas To Enhance Your Creative Journaling.
17 Junk Journal Ideas For The Creative Nomad.
Be sure to give this post a share on Pinterest and give us a follow! Happy printmaking!