Collage art is such a fun and creative way to make something that doesn’t have to be perfect. Just the freedom to create something beautiful from whatever is in front of you!
Collage is one of the most easy and expressive art forms out there. It asks nothing of you except curiosity. You don’t need to know how to draw or paint. You don’t need expensive supplies or years of practice.
Pin me for later!
At its heart, collage is simply the act of gathering, arranging, and layering — and that instinct is something we all have.
The materials you choose are entirely up to you: tissue paper, magazine clippings, painted papers, fabric scraps, old book pages, pressed botanicals, even packaging.
Mixed media collage takes that freedom even further, inviting you to combine paint, ink, stamps, stitch, and texture in the same piece until something unexpected and entirely your own emerges.
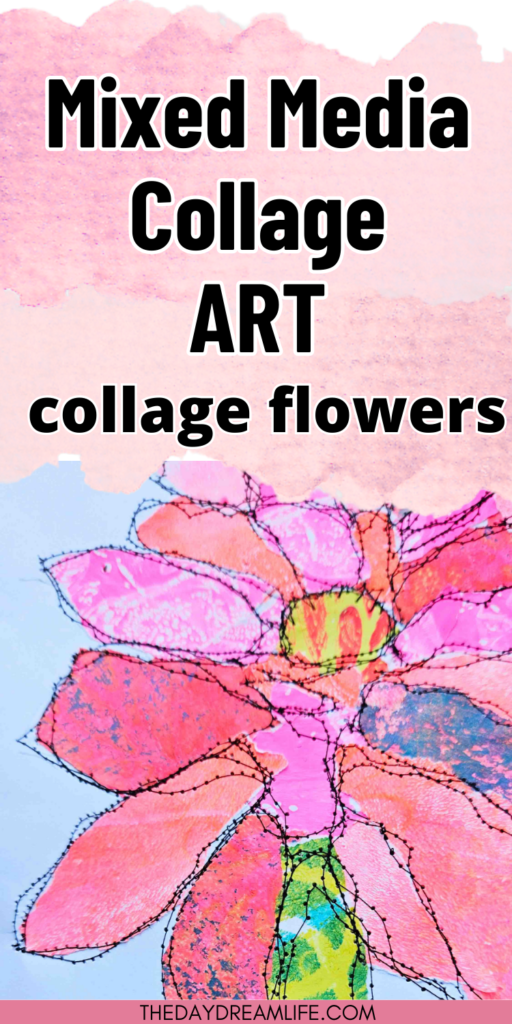
In this post, I have created a bold, oversized bloom started as a pile of painted and printed gelli art papers in different shades of green, pinks, and blues. To make it mixed media, we also have some stitching involved!
In this tutorial, I’ll walk you through every step: how I prepared my papers, how I built up the layers, and how I approached the free-motion stitching without it feeling overwhelming.
Whether you’re new to mixed media or just looking for a fresh way to use up your painted paper stash, I hope this inspires you to make something joyfully messy and colourful.
Let’s get into it. 🌸
Art Supplies
If you don’t have any collage art supplies at hand, below are some you can buy to complete this project.
There are loads of bundles of scrapbook papers you can buy for collaging. It will save you time on looking for collage paper.
Glue is also needed for this project, normal glue sticks with just fine.
How To Make A Collage Flower
The first thing you will need to do is choose an image for your collage flower. My chosen image is this picture I found on Pinterest below.

Source: Pinterest
Step One
After you have decided on your image, or use the one I have above. Sketch out a light drawing of the flower.

Remember you don’t have to be precise about this, and it’s just an interpretation of what you see. The end collage will be completely different anyway.
Step Two
Next, choose your collage papers. I have a bunch of printed gelli art prints which are great for collage.

All different patterns and colors to add some extra artsy flare.

For the centre of the flower, I choose this patterned print with a yellow background to make it stand out a bit.
Step Three
One I decided on the centre piece paper, I tore some paper for the middle to fit the centre. Instead of cutting, torn paper collage has a different edge to it and makes it look, ‘not so perfect’.

Step Four
Pick out some papers with different shades of pink. Using different pink papers will give the flower more personality and depth.
I choose these three papers with different variants of pink and even some scattered blue marks in one of them.

One you have chosen your papers, start tearing and filling in your petals.

Try not to be too precise with how to tear the petals, that’s what makes collage art so fun!

Use different size paper tears for the petals. Some large and some smaller.
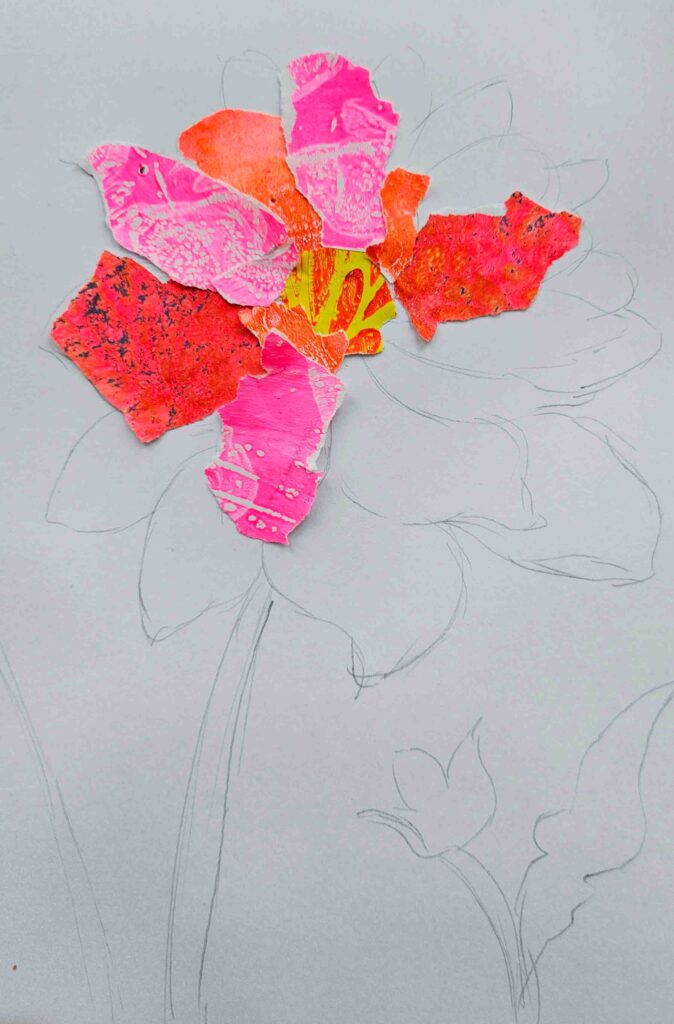
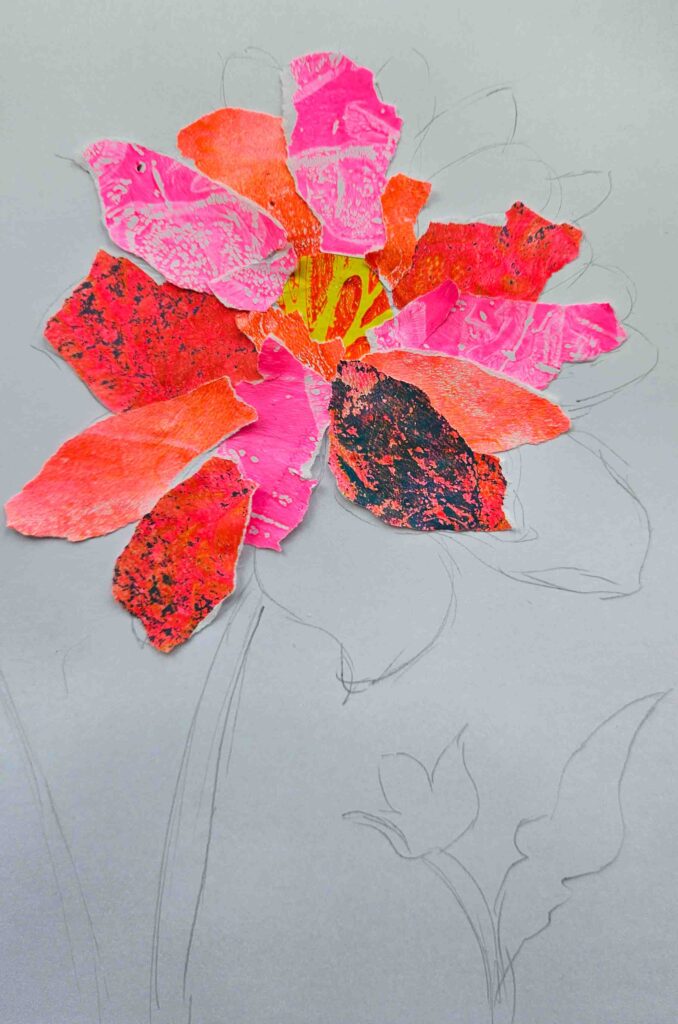
I started to add the pink paper with some blue in to give it a little pop and I’m loving how it looks.
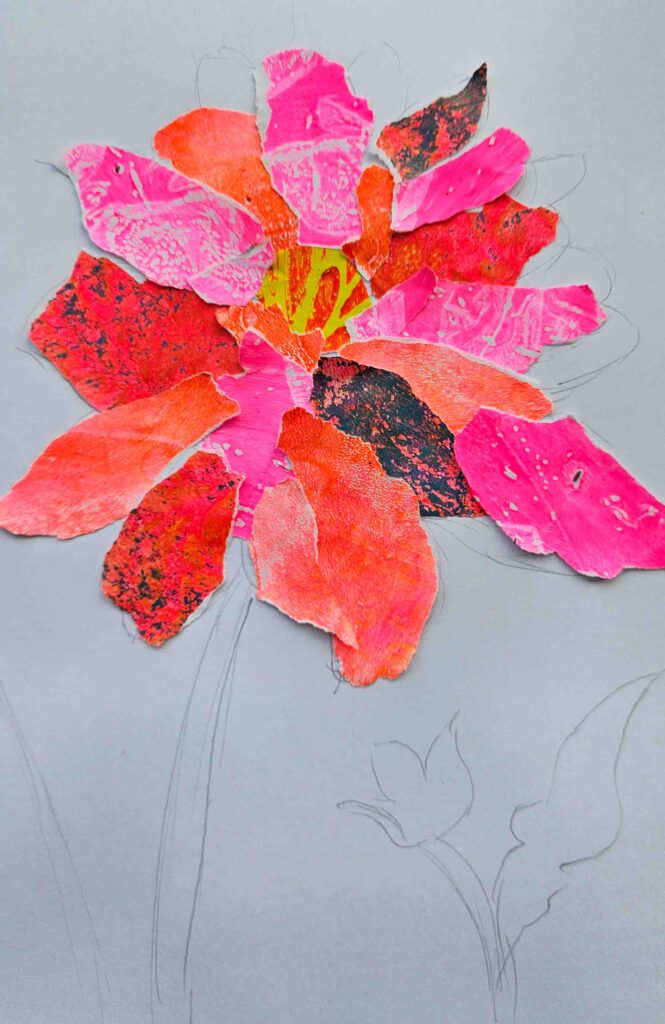
For some of the larger petals, I even ripped some smaller paper to fill in the larger petal as you can see from above. I feel like this just just the petal more dimension.
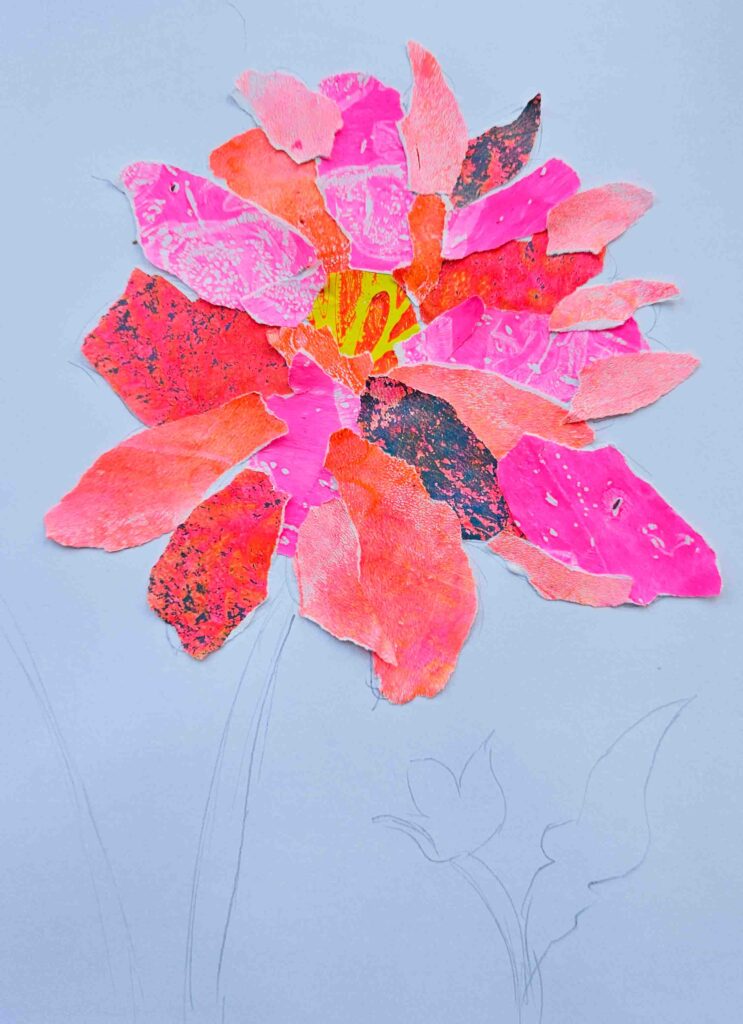
Add different shades to each petal, and sometimes I used different shades within a petal too.
Step Five
Once you have collaged your flower, it’s time to do the stems of the flower and the little flower at the bottom.

I choose all these different greens with different patterns.
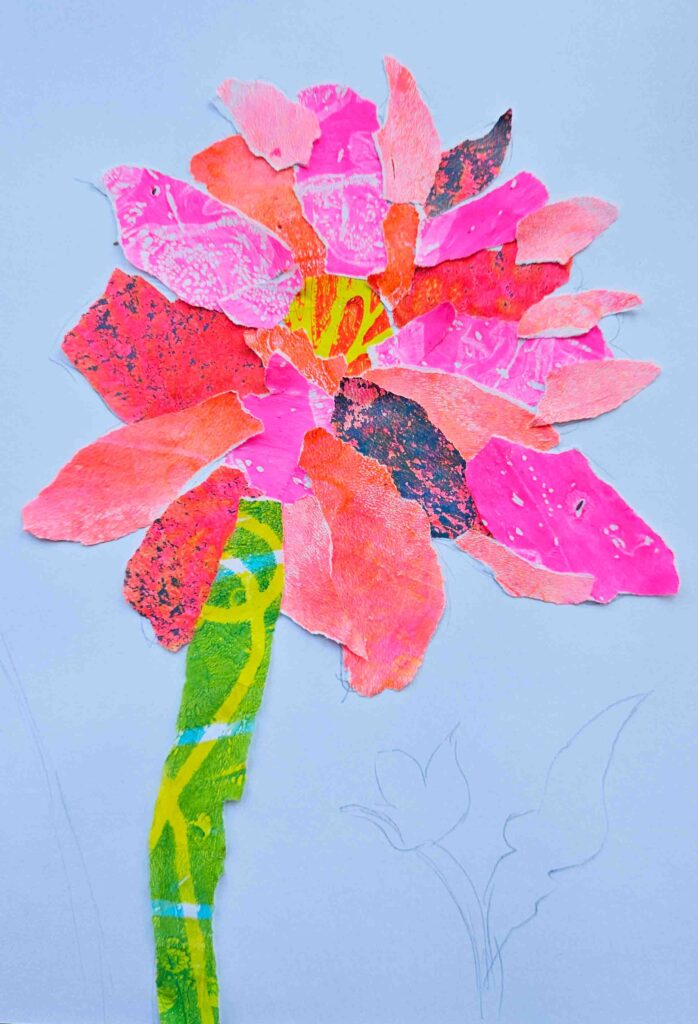
I tore one long strip for the stem.
Step Six
For the little flower at the bottom, I have chosen a dark blue print paper as I feel it goes well with the pinks.

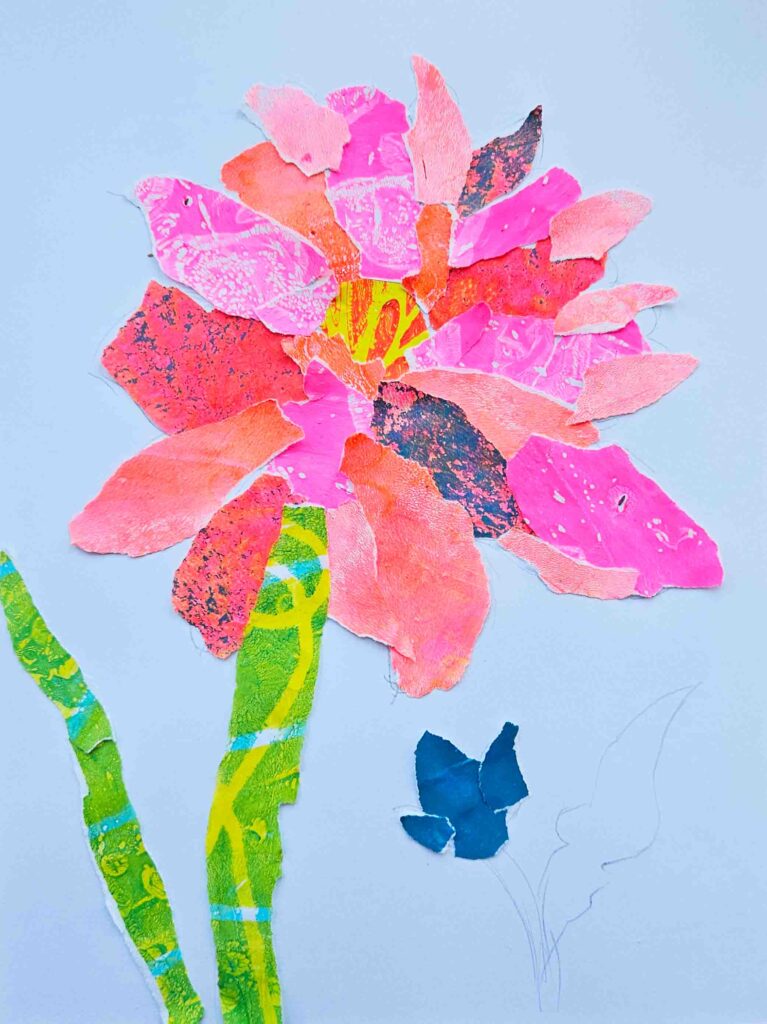
I started to tear smaller petals for the little flower.
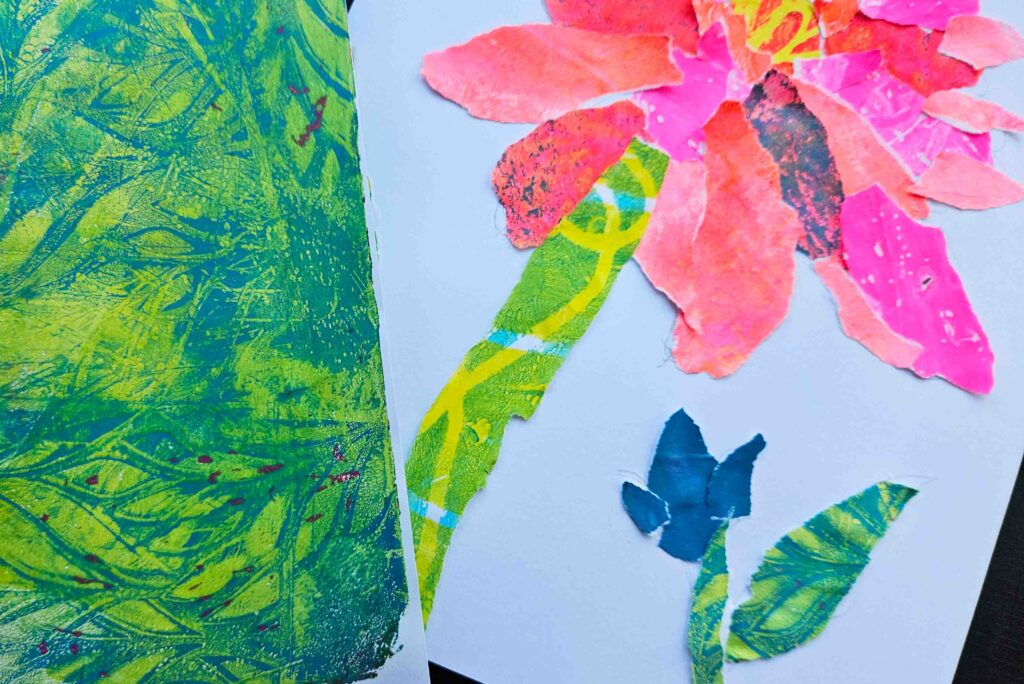
One that was done, I also did the small stem and leaf with a different printed paper.

Once you have the finished collage flower, now it’s time for the fun part!
Pin me for later!
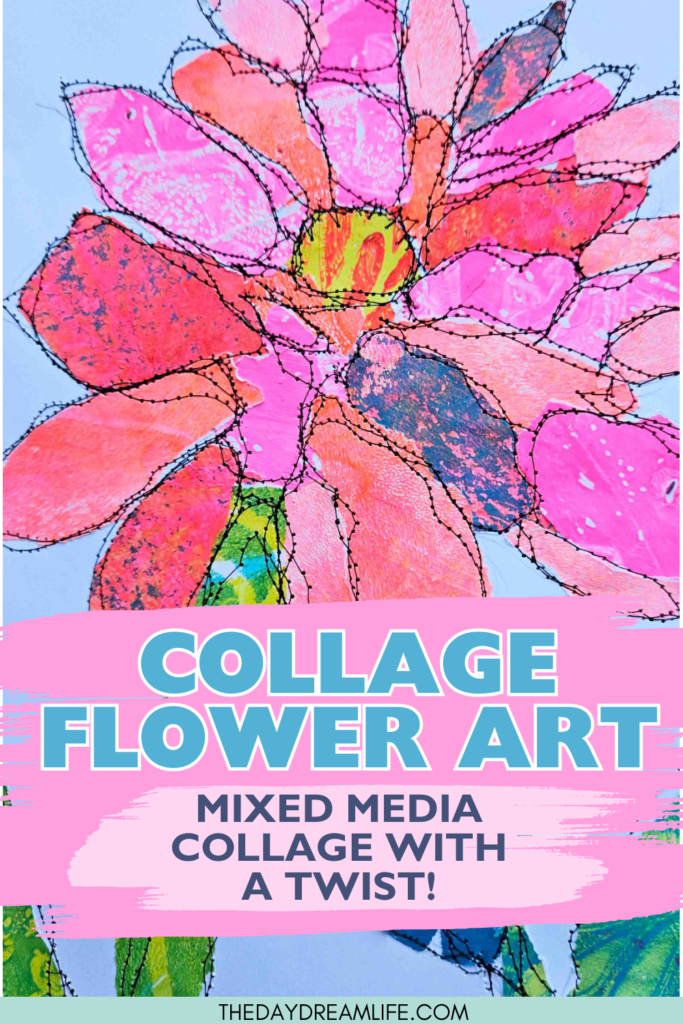
Step Six
This is where I add the ‘mixed media’ to it and add some stitching to it. If you don’t have a sewing machine, you can use a black pen for this part.

I am using a ‘darning foot’ on my sewing machine to do free motion embroidery on my collage flower. You can do this with the normal sewing foot too, however, with the darning foot it’s more free flowing and easy to ‘draw’ with.

I am going over each petal twice but being very loose with it and not making sure it’s super precise. This way it gives it an edgier look and more unrefined.
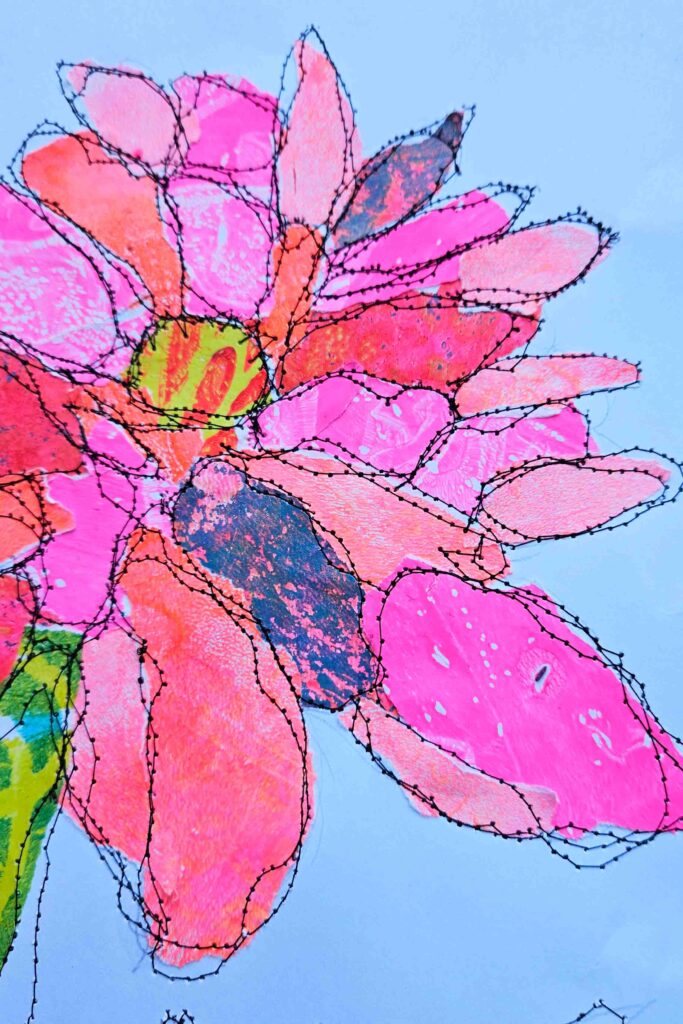
Go over all the petals and the stems in one go, kind of like a continuous line drawing but several times.
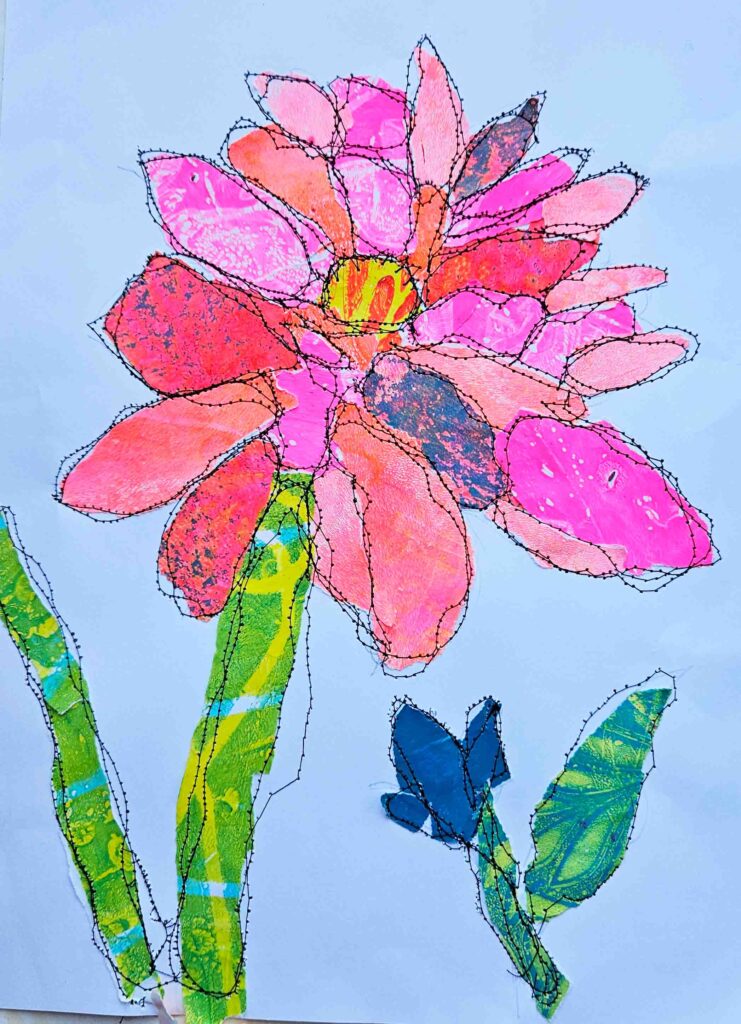
Once you have gone over it, and the small flower below, you have a lovely collage flower art worth framing!

This type of mixed media collage is lovely because it looks so imperfect but perfect at the same time.


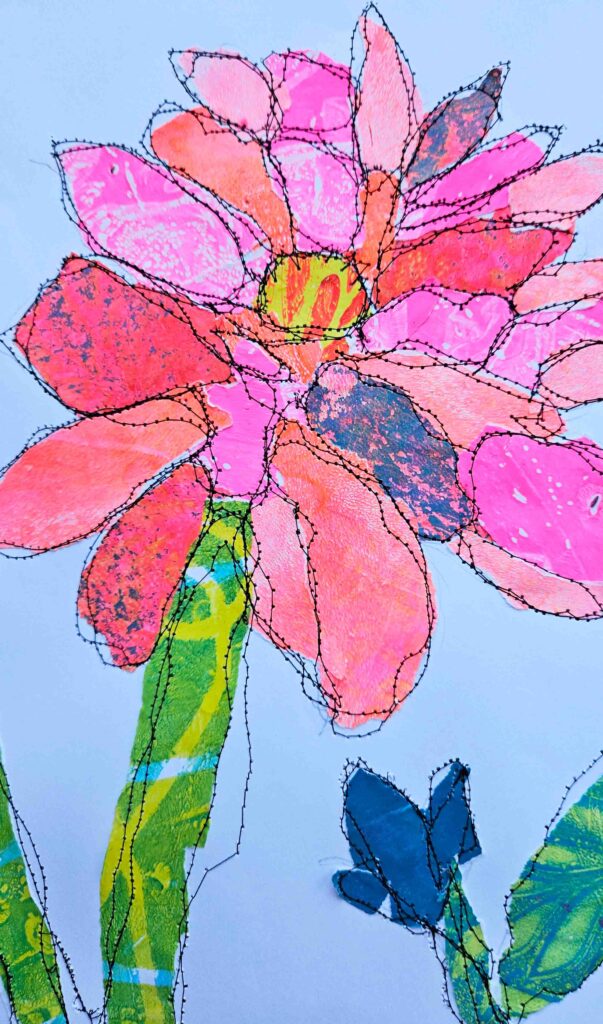
I hope this tutorial has shown you that making art really can be this simple. A few scraps of paper, some colour, and a willingness to play — that’s genuinely all it takes to create something you’re proud of.
Collage has a way of surprising you. You start with a pile of torn pieces that seem like they’ll never come together, and then suddenly, they do. That moment is worth chasing, and the more you make, the more often you’ll find it.
So save your scraps, tear instead of cut, and don’t worry about getting it perfect. The imperfection is the point — and more often than not, it’s the most beautiful part.
If you liked this post, be sure to check out our other mixed media post below:
Mixed Media Collage Art: Easy Flowers.
Be sure to give this post a share on Pinterest and give us a follow! Happy making. 🌸