If you are looking for a tutorial on how to draw a hibiscus, then you landed on the right page! We have a step by step guide, with follow along pictures on how to draw a hibiscus to make it super easy to draw.
Few flowers command attention quite like the hibiscus. With its bold, trumpet-shaped petals, dramatic stamen, and has rich tropical colours.
Pin me for later!
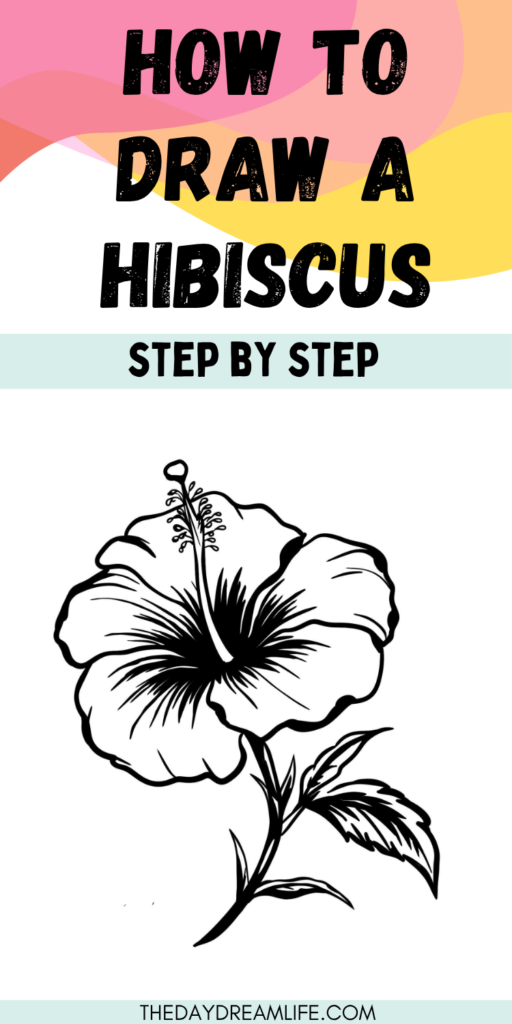
It’s one of nature’s most striking creations — and, as it turns out, one of the most rewarding subjects to draw.
Whether you’re a complete beginner picking up a pencil for the first time or an artist looking to add a new bloom to your repertoire, breaking the hibiscus down into simple, manageable steps makes the whole process far less intimidating than you might expect.
In this tutorial, we’ll walk you through exactly how to draw a hibiscus from scratch — from the first light sketch of its petals to the final details that bring it to life on the page.
No artistic degree required, just a little patience and a willingness to let your hand follow the flow of one of the world’s most beloved flowers.
Let’s get started!
Tutorial:
step 1
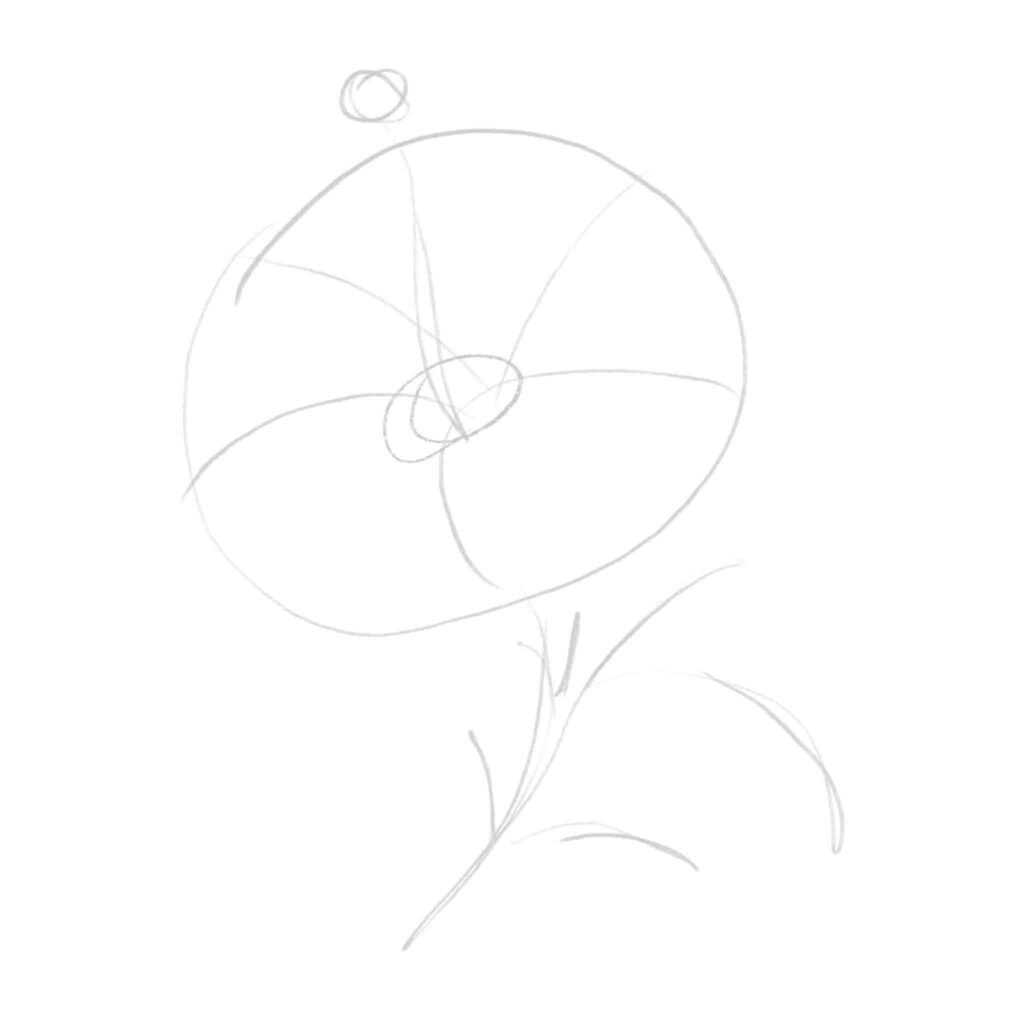
Start off with doing a light sketch of the shapes that make up the hibiscus. This will help you to put the flower together step by step and have a base to work with.
step 2
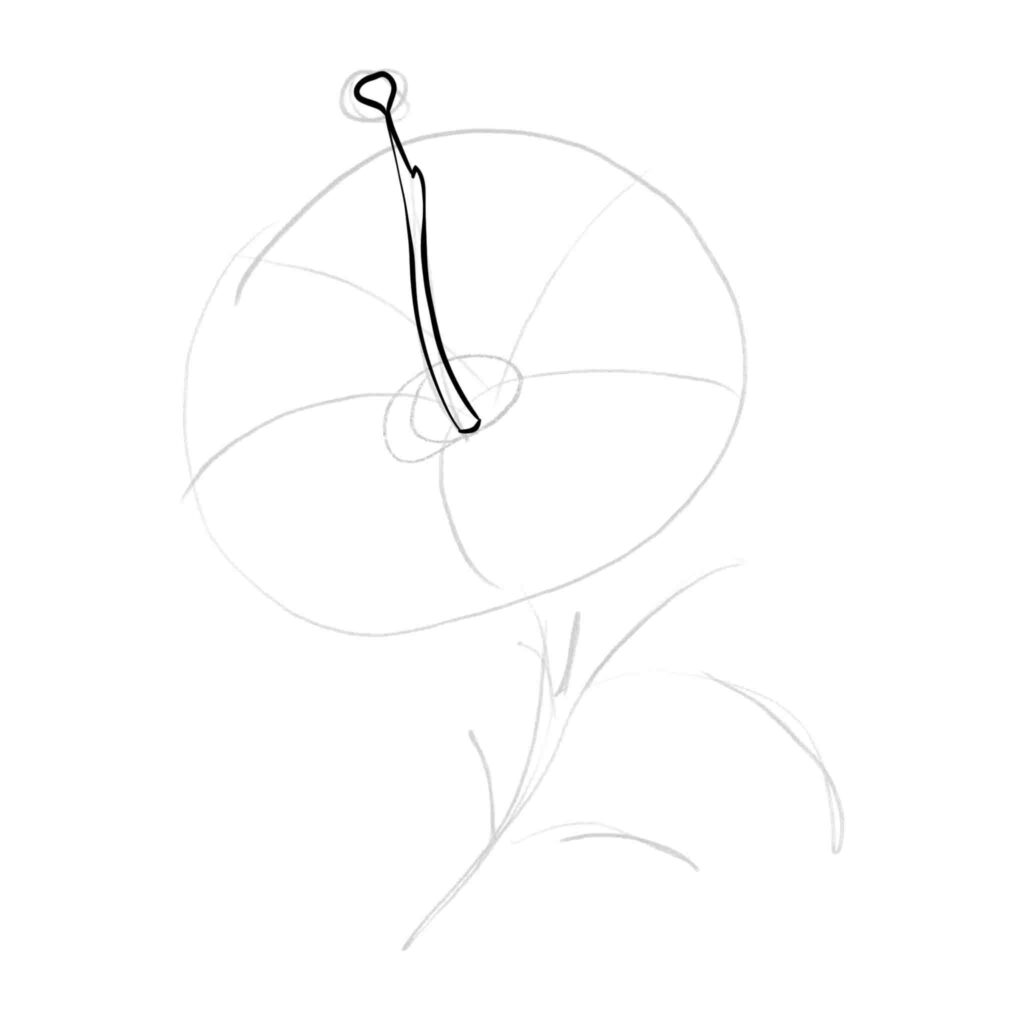
Next, switch to a pen draw the stamen. It’s a slender tube rising from the flower’s centre, with a small rounded tip at the top.
This is the focal point of the flower, so get it in early before building the petals around it.
step 3
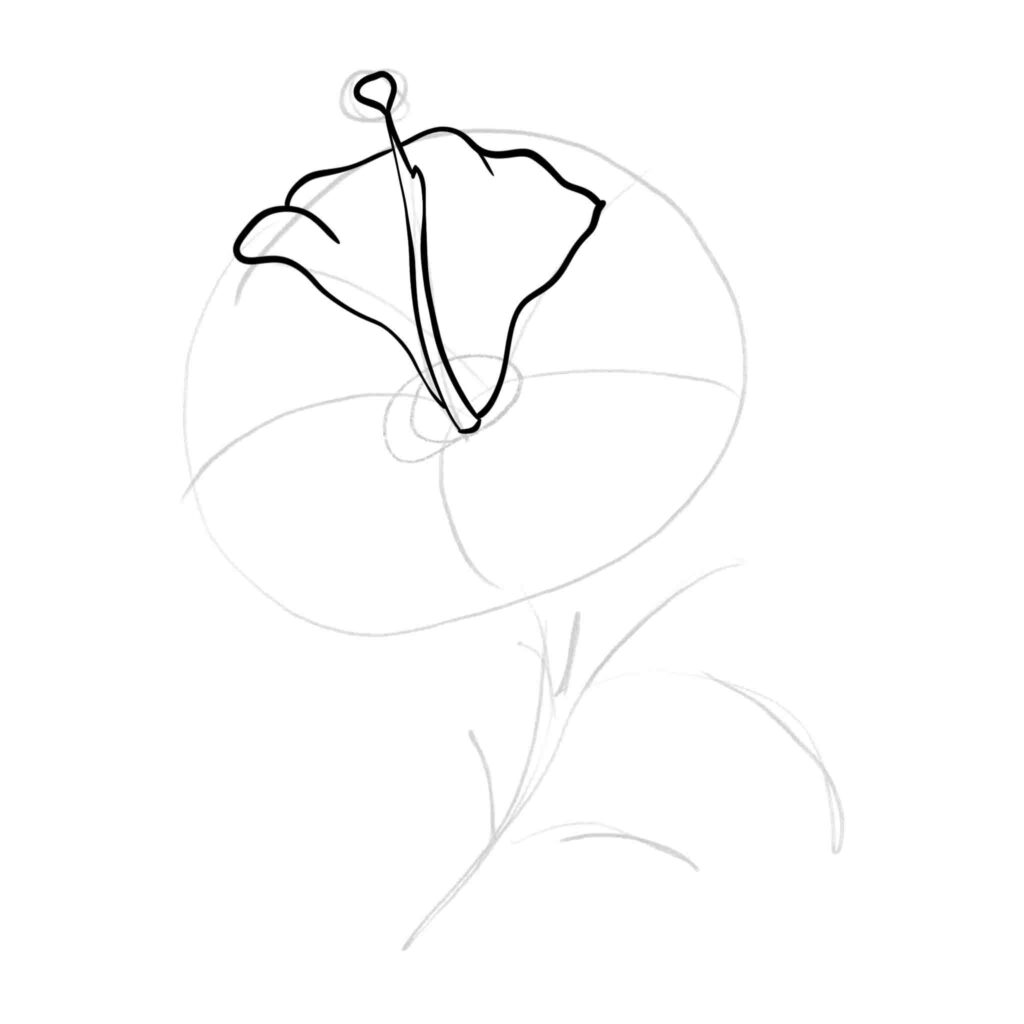
Add the first petal alongside the stamen, using your guide circle to stay within the flower’s boundaries.
The edge has a gentle, slightly ruffled quality — avoid making it too smooth or too jagged.
It narrows at the base where it meets the flower’s centre, then fans out softly upward.

step 4
Carry on drawing the petal shape one the other side of the centre stem.
step 5
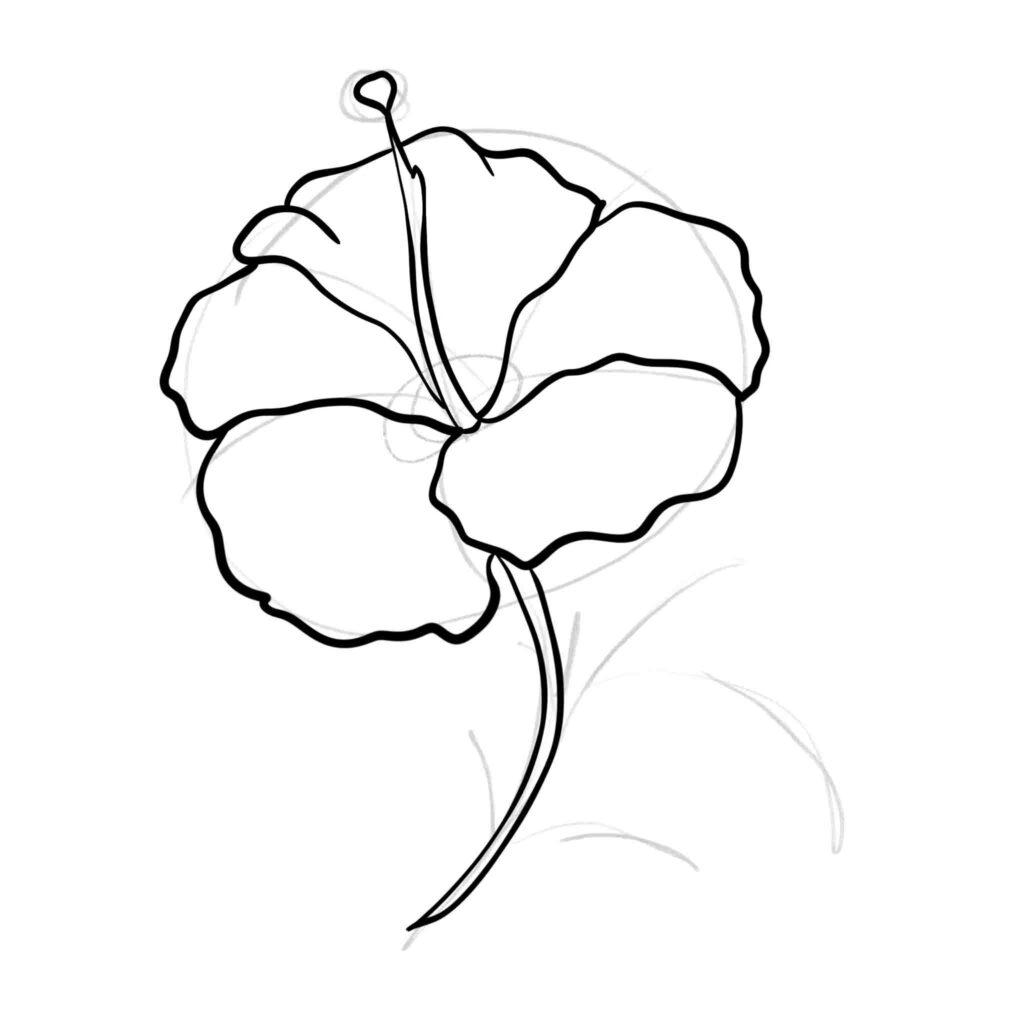
Continue drawing in the petals.

step 6

step 7

step 8

step 9
Draw the stem as a single, confident curved line flowing down from the base of the flower. Keep it slightly tapered — thicker at the top where it meets the flower, narrowing as it descends.
step 10
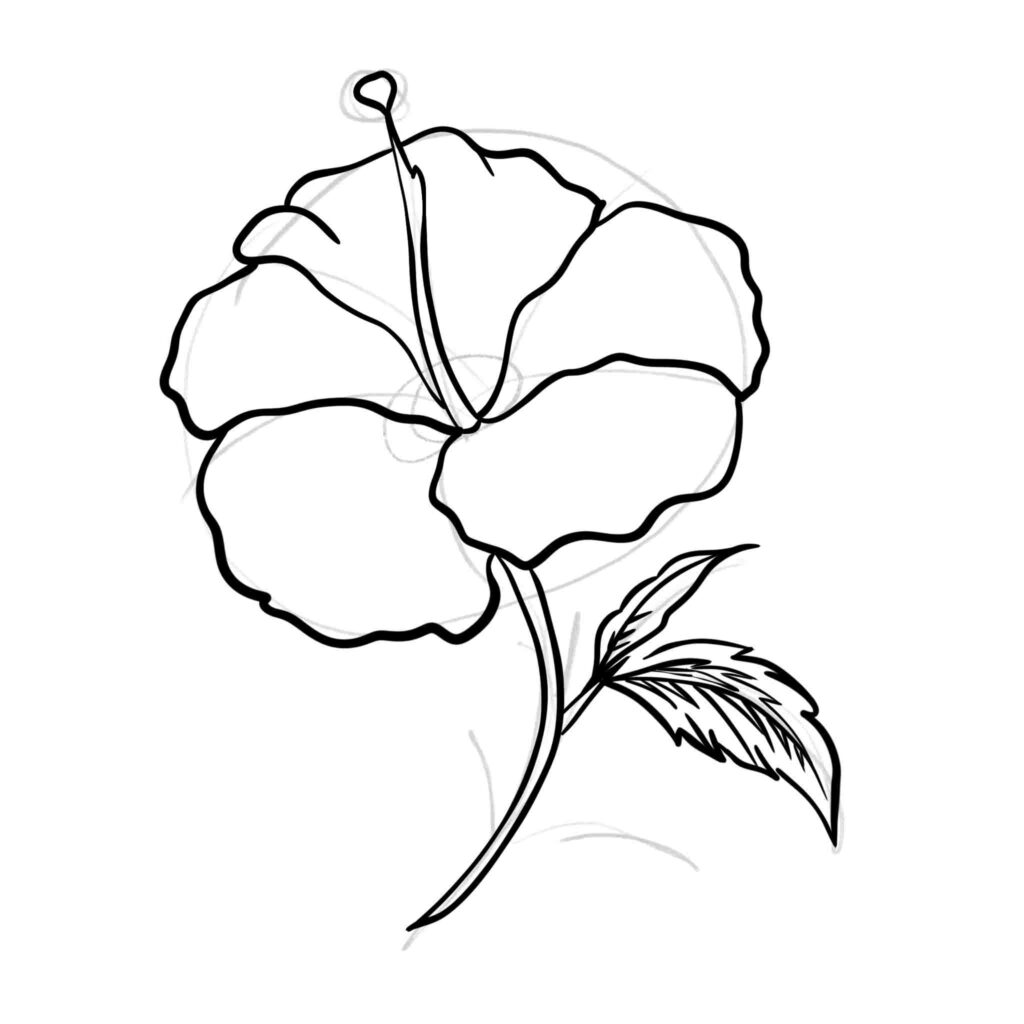
It’s time to start drawing in some leaves. Let’s start with a small leaf branching out to the right, with a slightly curvy shape to it.

step 11
Next, draw in the bigger leaf. Here is where we start to draw in the details and it starts off with the bigger leaf’s centre. Draw in the veins of the leaf, we will fill them in later!
step 12
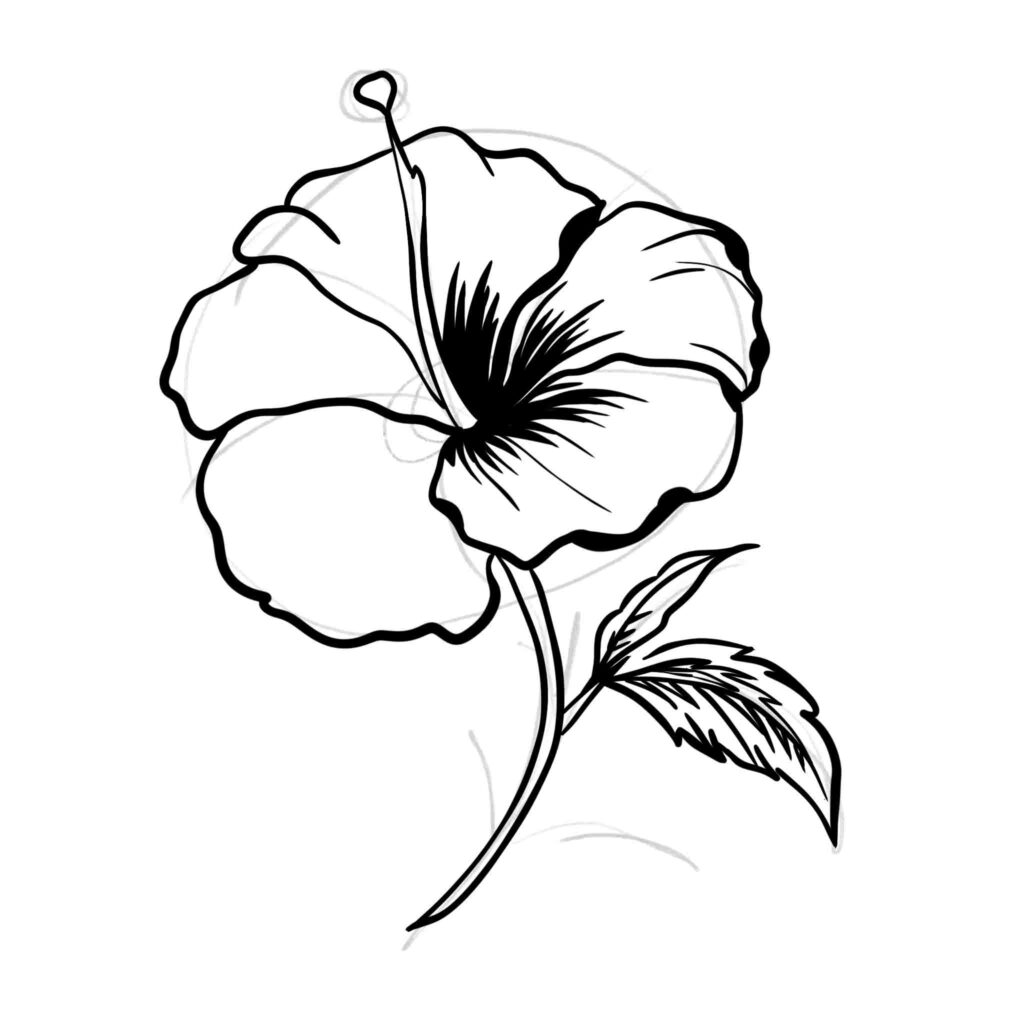
Here is where we start to fill in the details on the petals and giving the flower some personality.
Start shading in the centre of the flower, which is one of the main features of the hibiscus flower.
Some darker shading can be added to the outer lines of the petal too so that the petal doesn’t look too flat.

step 13
Continue to add in the details on each petal and on the outskirts of the petal.

step 14
step 15

step 16

step 17

step 18
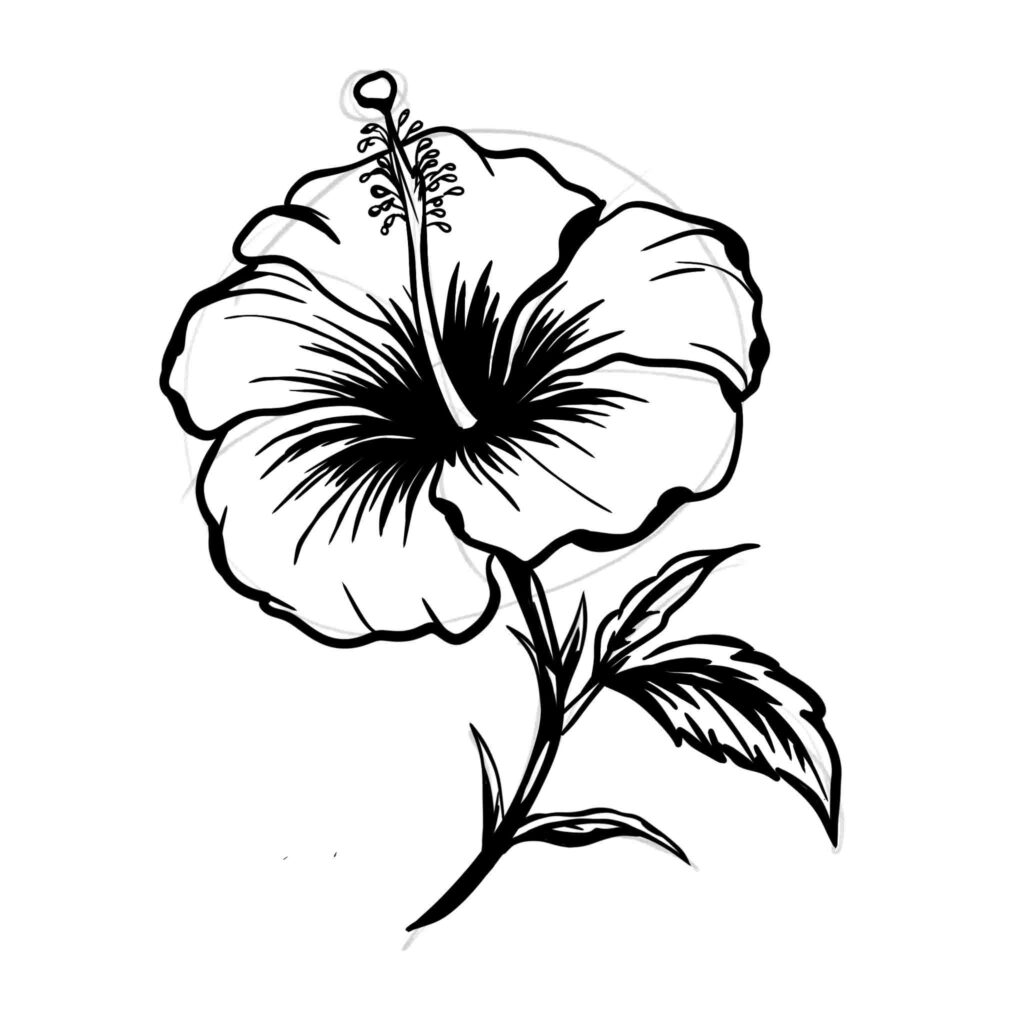
Next, add small branching filaments along the stamen tube, each tipped with a tiny round anther.
These don’t need to be perfectly uniform — a little variation makes them look natural. Keep them clustered toward the upper portion of the tube.

step 19
To finish off, draw in smaller leaves on either side of the stem, keeping them slightly curved and tapered.
Fill in the middle of the main leaf and the smaller leaf.
Once you have all your leafy bits drawn in, use an eraser to rub out the initial pencil marks which we did for the outline and shape.
finished result
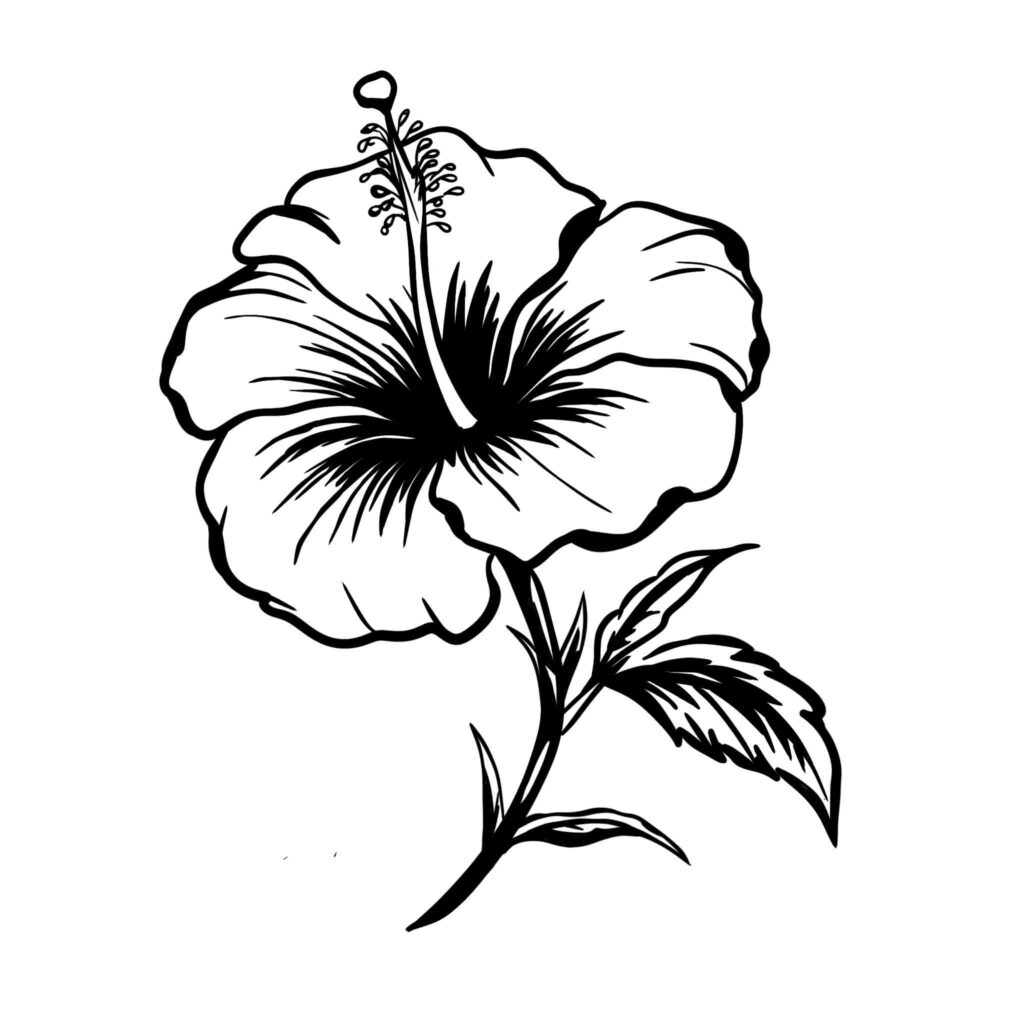
And there you have your step by step hibiscus drawing! It’s as easy as that! Drawing the hibiscus is satisfying and rewarding at the same time, and the end result is stunning.
Pin me for later!

Add some color to this hibiscus drawing to give it some more personality or keep it black and white.
If you liked this tutorial, be sure to check out our other flower drawing posts below:
10 Simple Flower Drawings : Step-by-Step Guides for Stunning Floral Doodles.
13 Super Simple Flower Doodles: With a Step by Step Guide.
11 Simple Zentangle Patterns For A Creative Mind.
Be sure to give this post a share on Pinterest and give us a follow. Happy drawing!