If you are looking for a beginner friendly tutorial on how to create something beautiful with oil pastels, then this is the post for you!
This oil pastel flower is easy, but at the same time, bold and creamy! With some creative licensing as all artists use 🙂
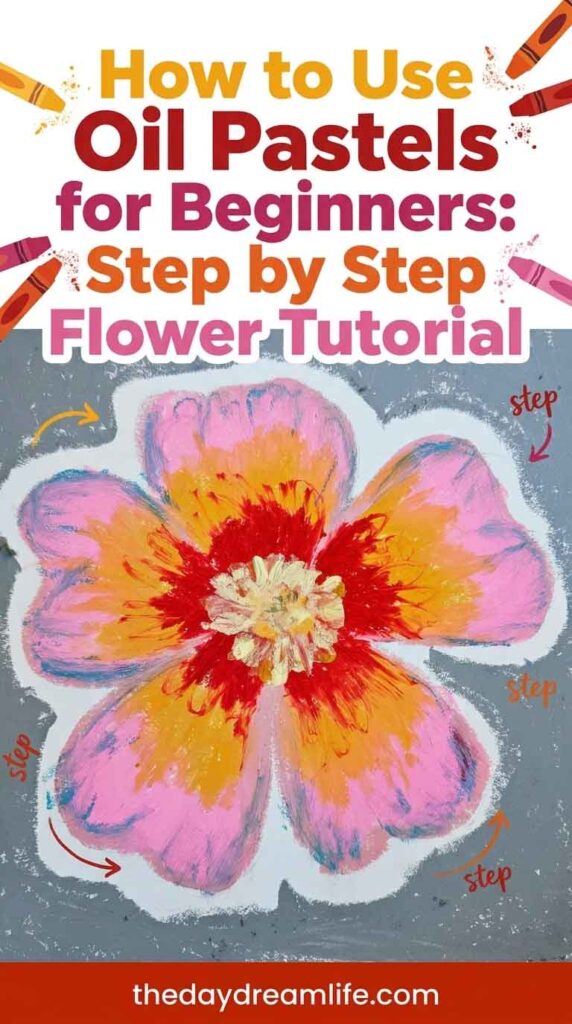
If you’ve never worked with oil pastels before, this is a lovely place to start. They’re forgiving, blendable, and there’s no “wrong” way to layer the colours — a bit of messiness is part of the charm.
In this step-by-step tutorial, I’ll walk you through exactly how I built up this flower, layer by layer, so you can create your own version (in whatever colours make you happy).
Grab your oil pastels and a piece of paper, and let’s get started.
Tutorial: Step by step
In this oil pastels tutorial, I have used an affordable set of ‘Paul Rubon’ oil pastels in the flower set series. These oil pastels are lovely and creamy to work with but at the same time affordable.
I have also worked on a regular mixed media sketchbook.
Before starting, we have to pick out a reference picture and I chose this vibrant flower I saw on pinterest.
Step 1
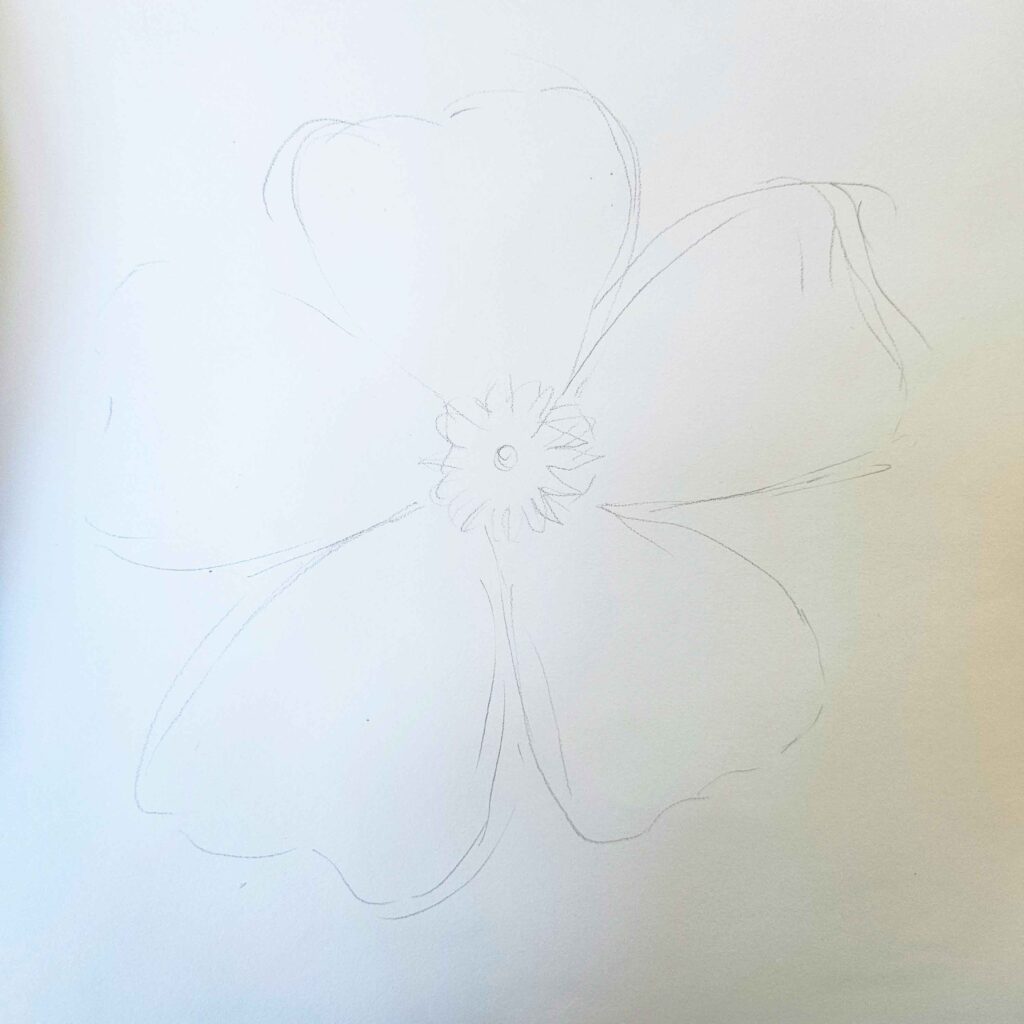
I first very lightly sketched out the shape of the flower to give me something to work with.
Step 2
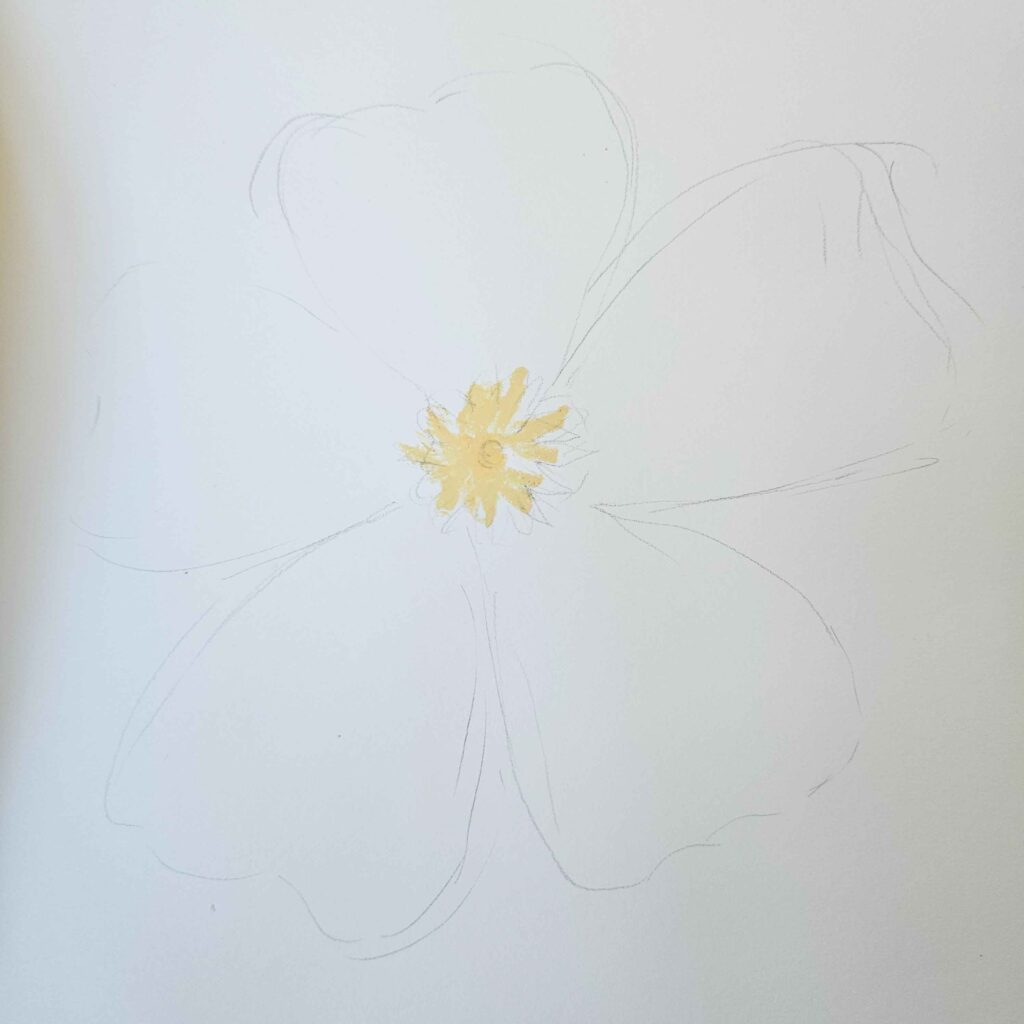
I then drew little lines in yellow to form the centre.
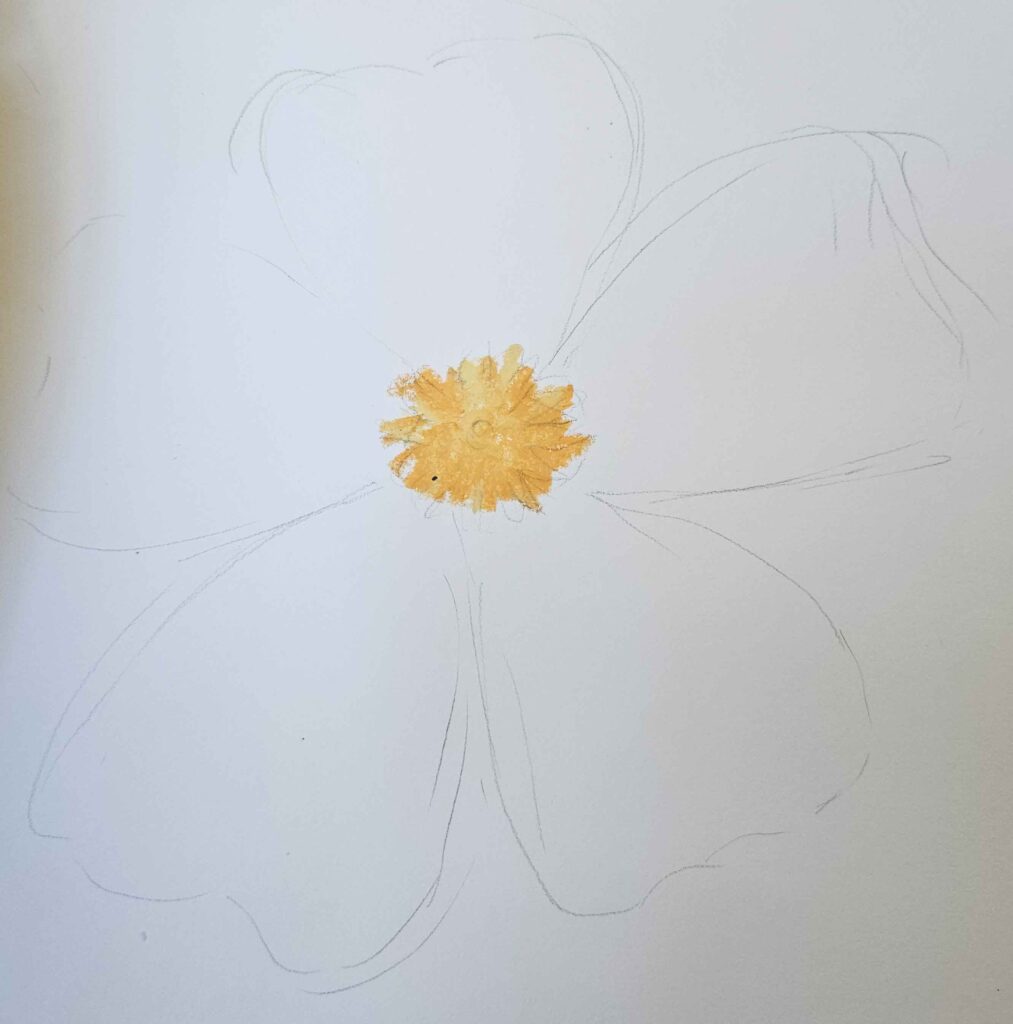
I then added a bit of a darker shade of yellow that almost looks orange to give it some more depth.
Step 3
With a light shade of pink, I drew out the outline of the petals to form the flower.
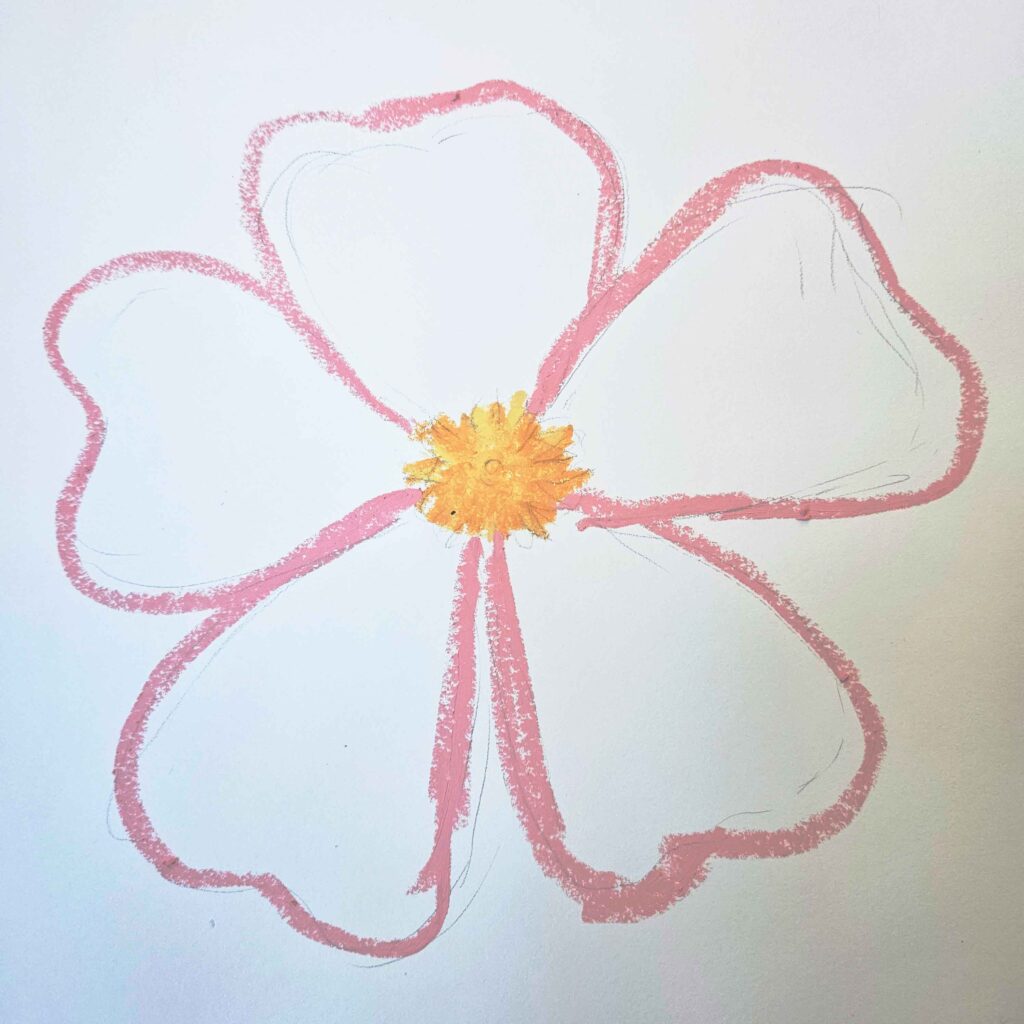
Step 4
Using a bright pink, I started to shade in the top part of the petals.
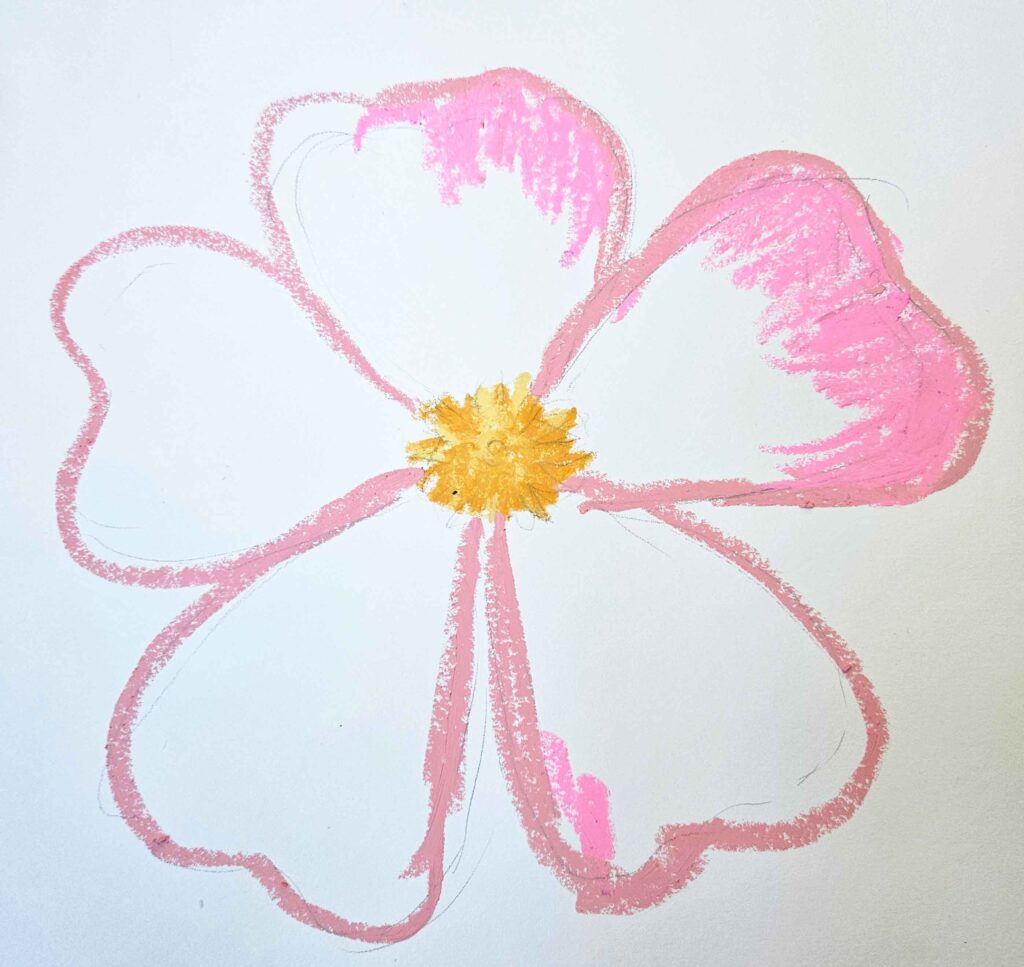
Blend in the the pink as you go along to give it that oil pastel look. Towards the middle of the petal, give a ‘pointy’ look so that the next color can be blended into it.
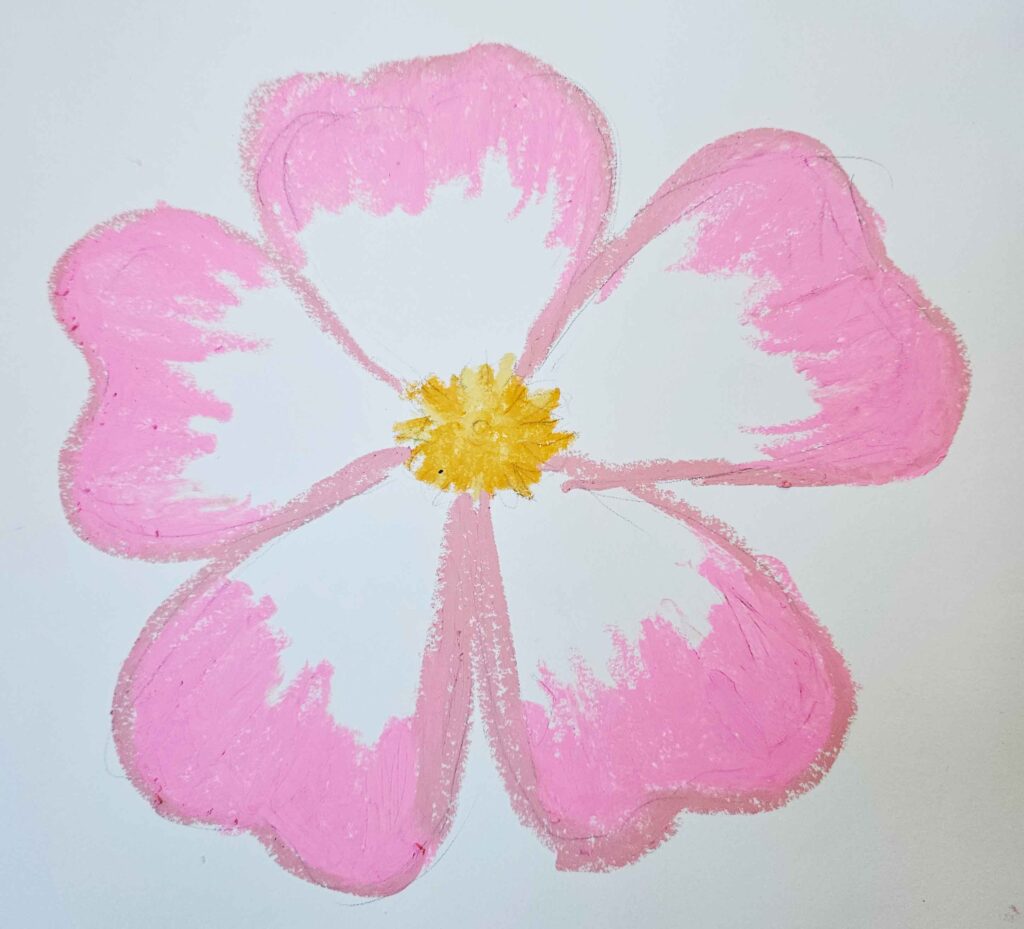
Step 5
Next, using a bright orange, start to shade in the middle section of the petal.
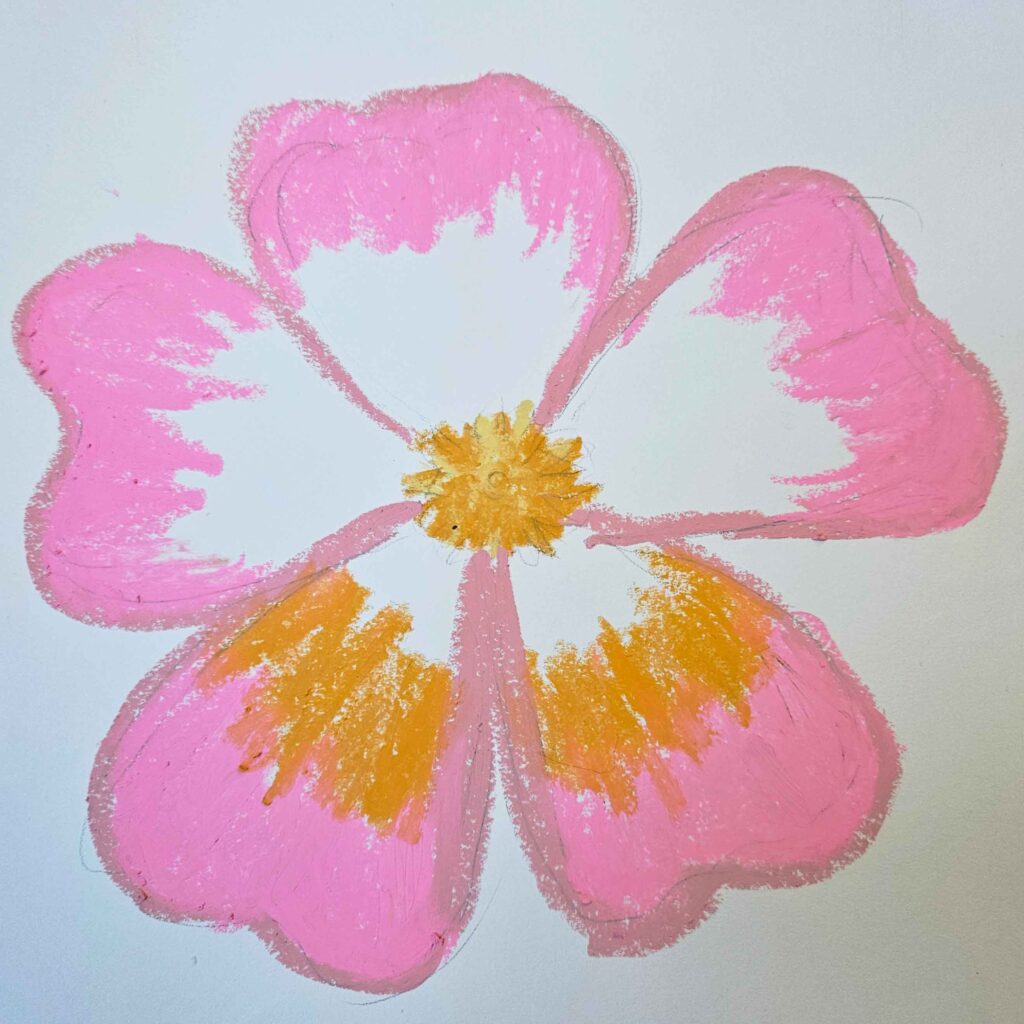
Oil pastels tend to have a ‘sketched’ look once initially down on paper, but they have to then be blended in with a blended tool or your fingers.
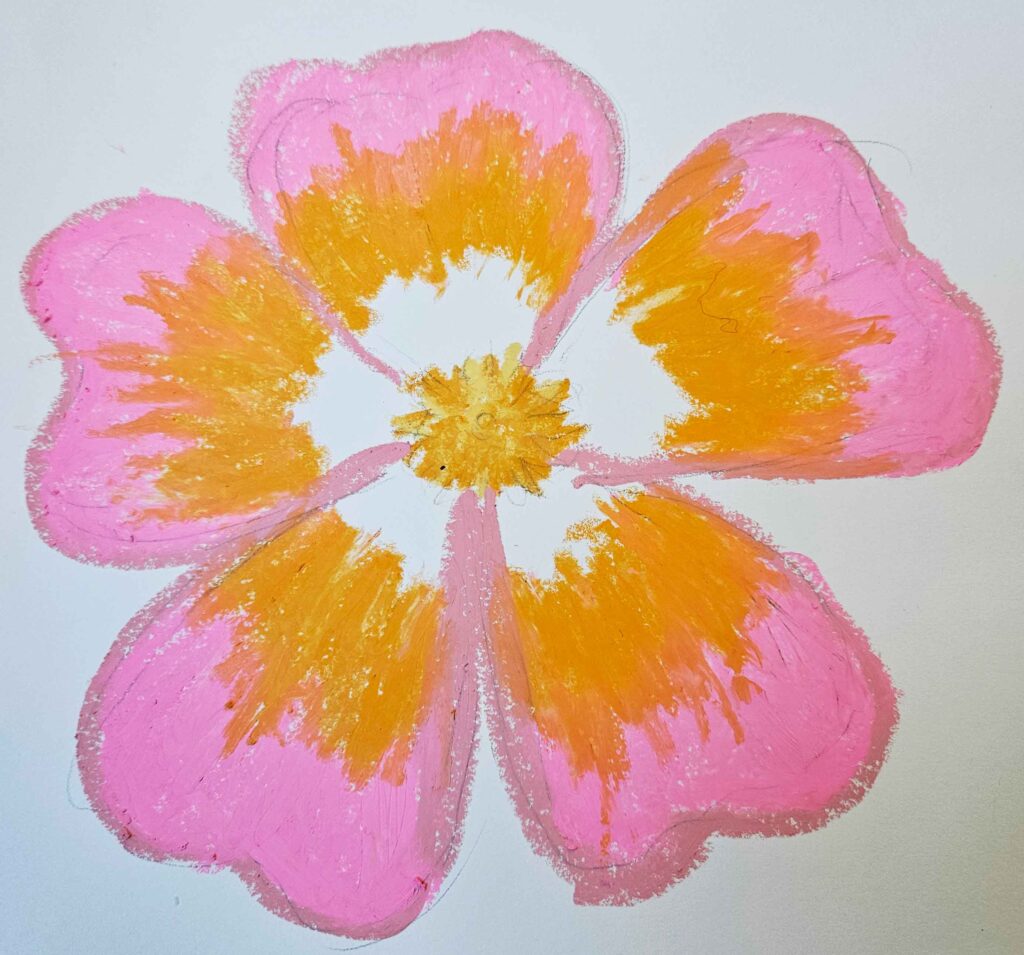
Step 6
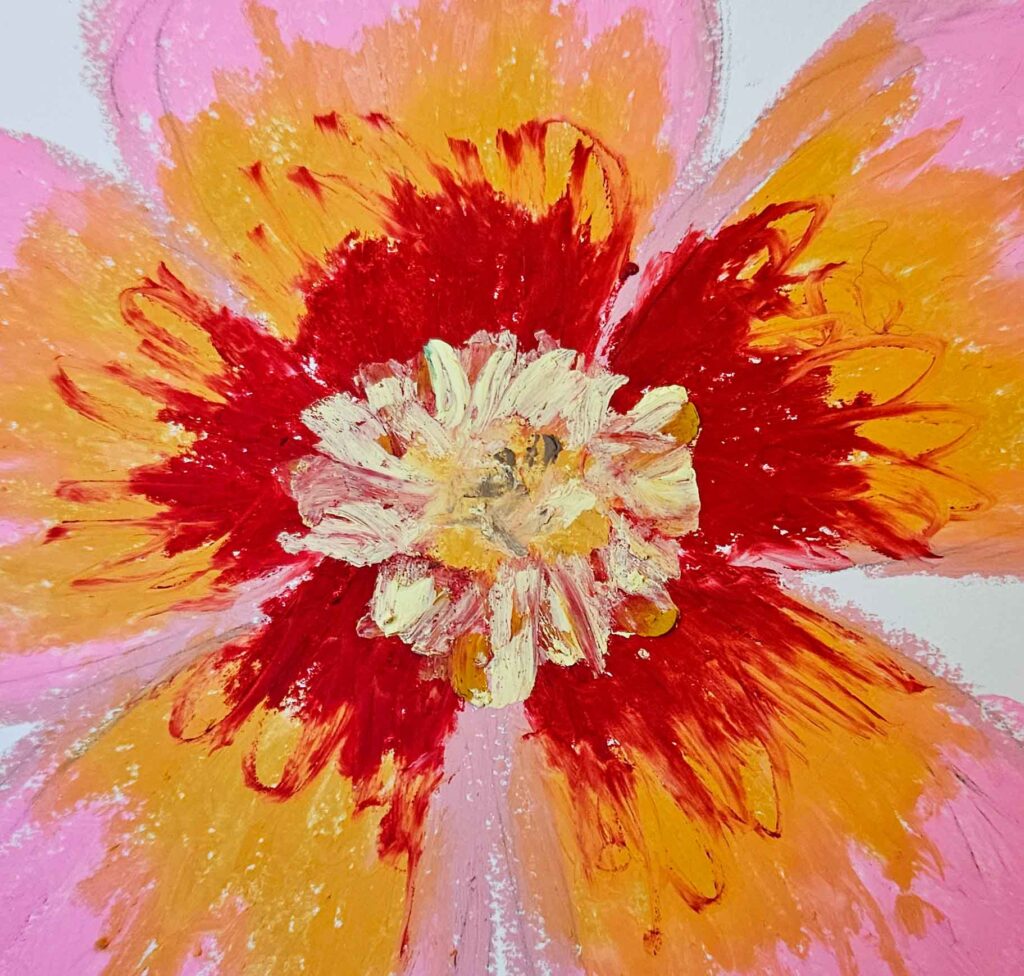
Use a deep red color for the centre of the flower.
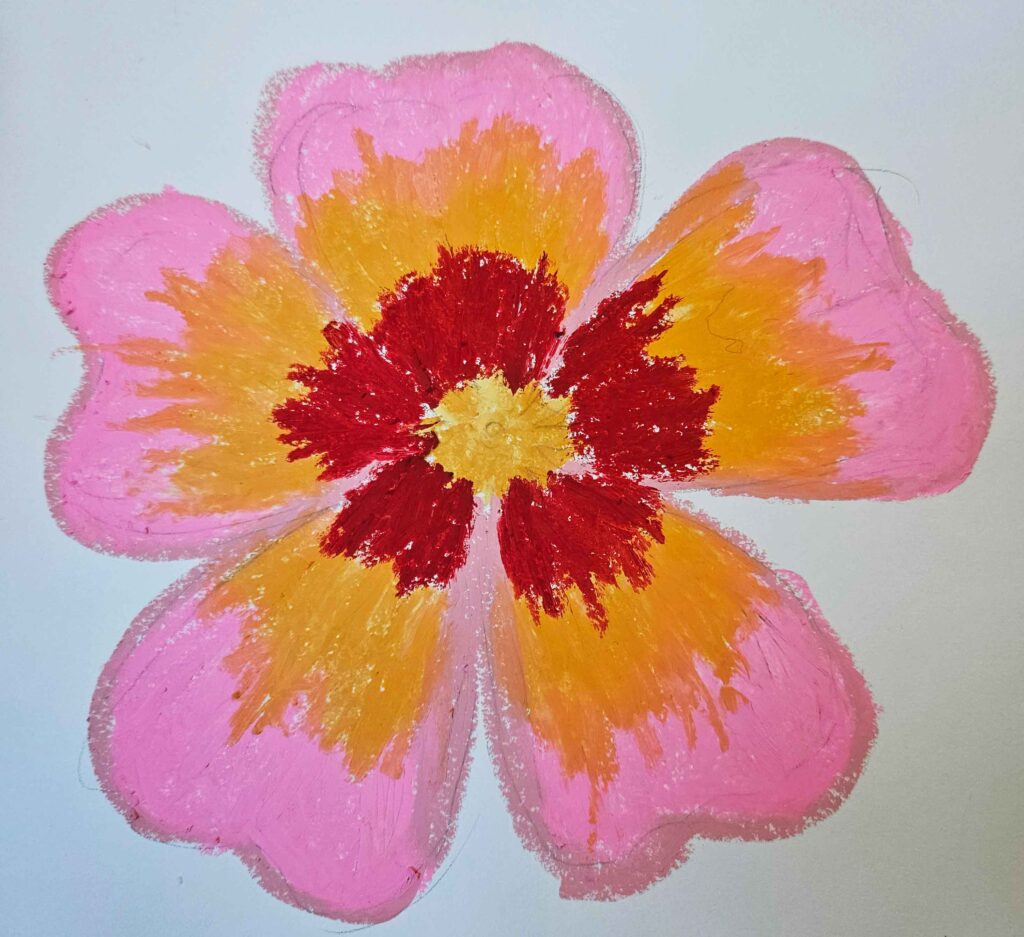
Using the oil pastel stick, I created this loose drawing effect with the red to give it a bit of an artsy look.
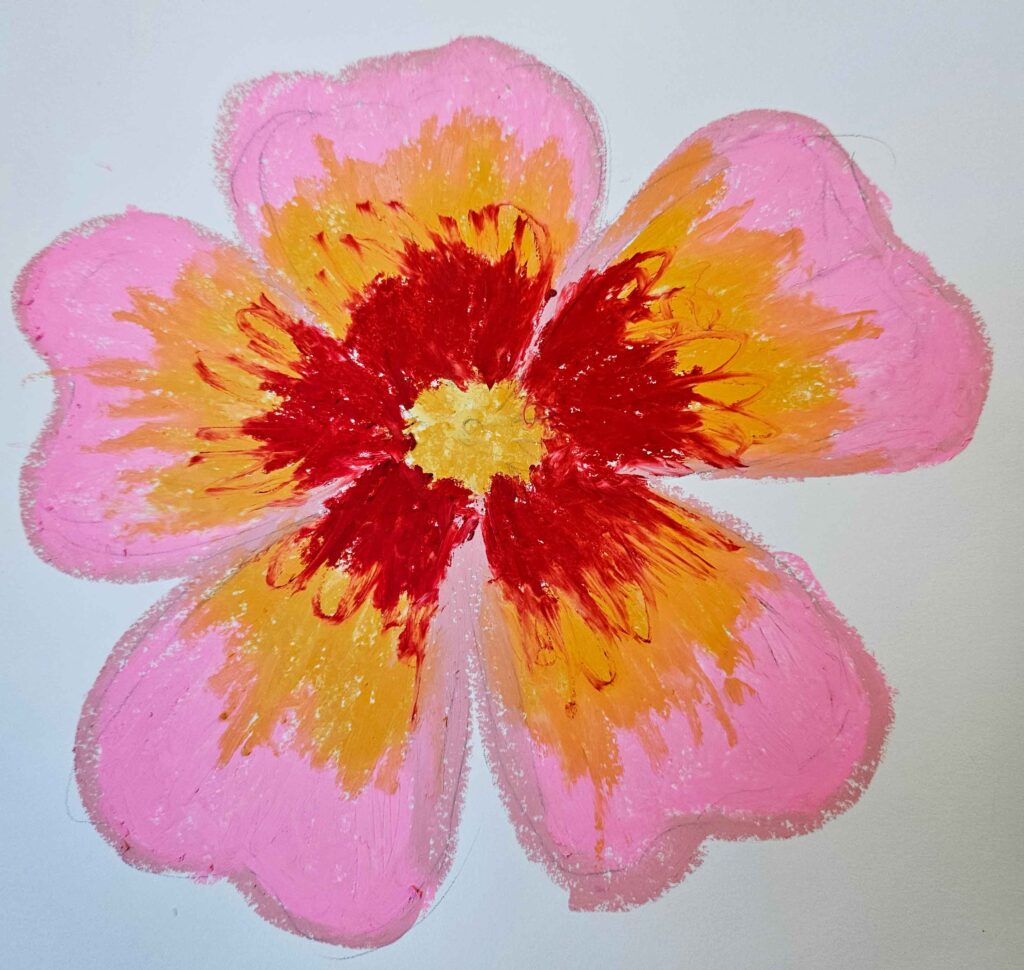
Step 7
To the centre, I added some dots of light yellow, laying it on thick to give the centre some character and develop the flower more.
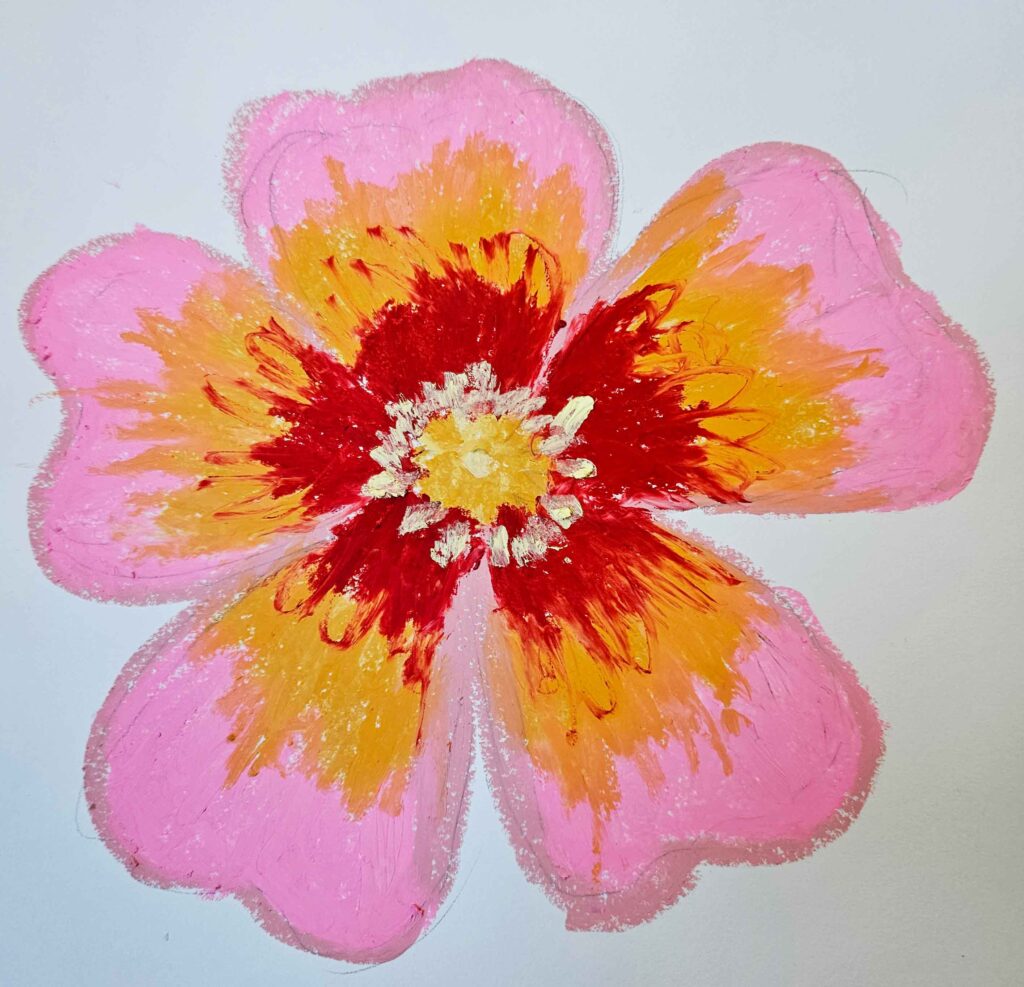
Texture in the centre.

I also added a dab of dark green to the centre.
Step 8
I added whispers of dark blue to the edges of the petals to give the flower a little dimension. Here is where our artistic license comes through!
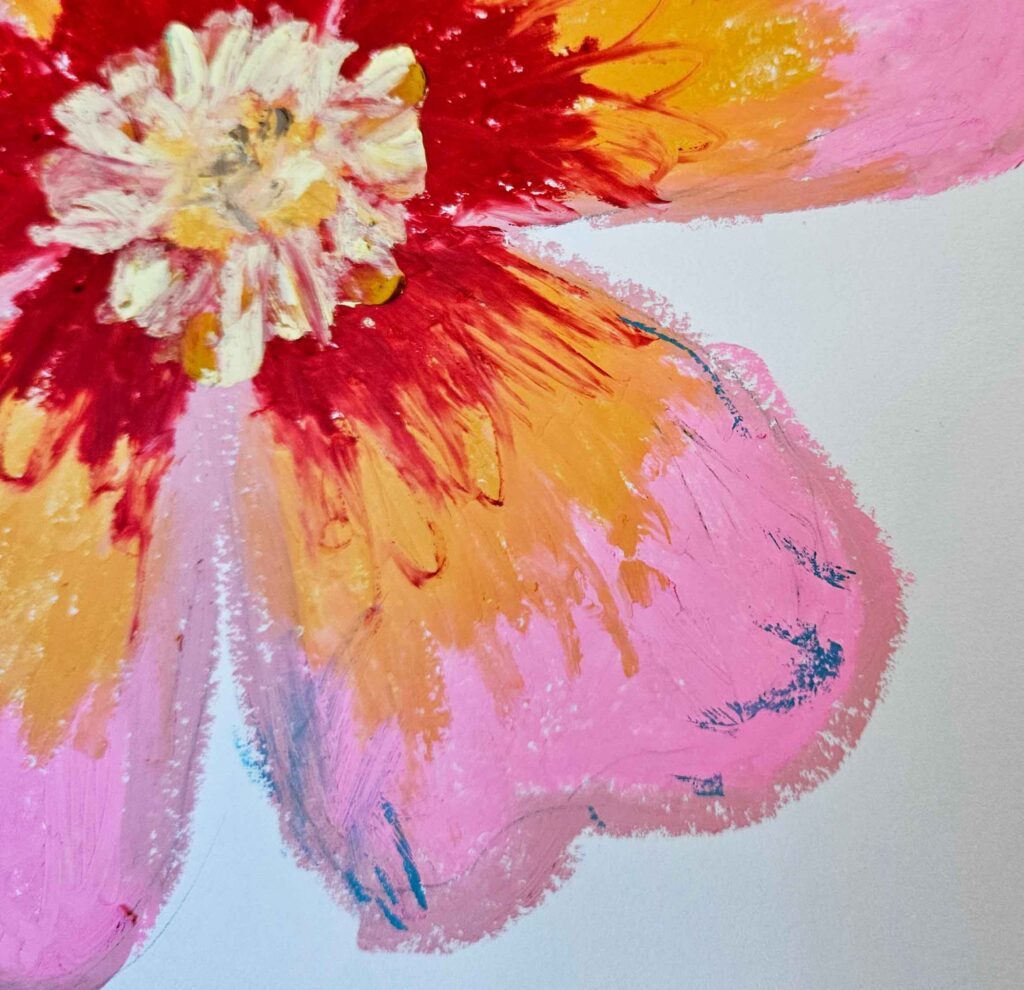
I added it on all the edges of the petals and blended it in slightly.
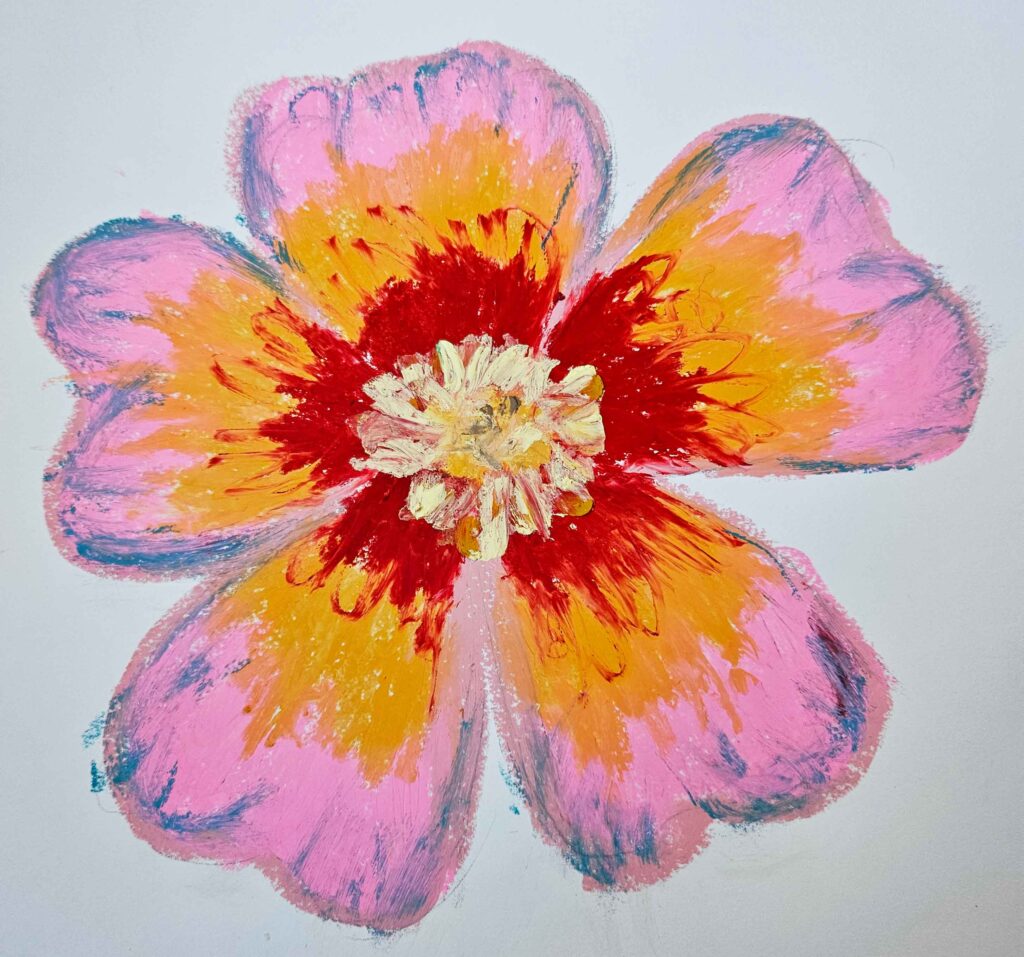
Step 9
To finish it off, I added a grey background color. I first went around the flower to know where to color in.

I then colored in the rest of the background and blend blend blend!
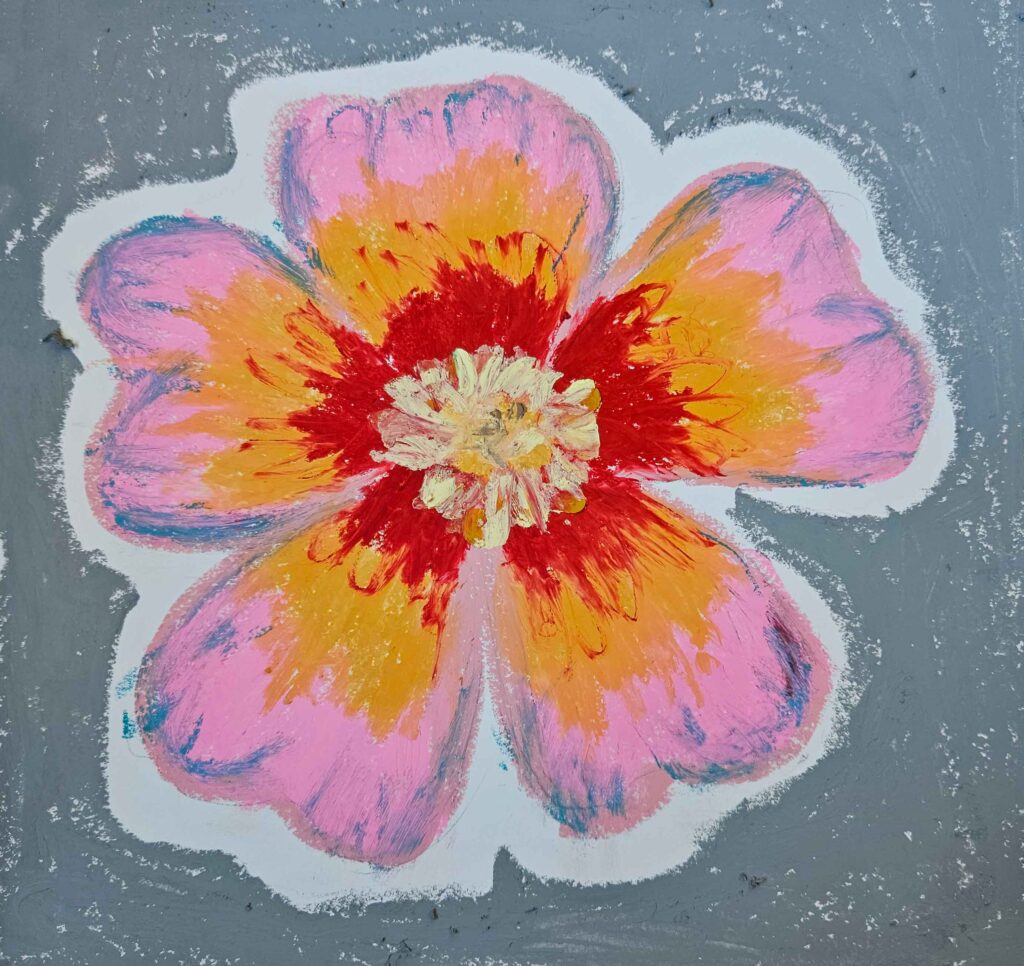
And there we have our finished oil pastel flower!
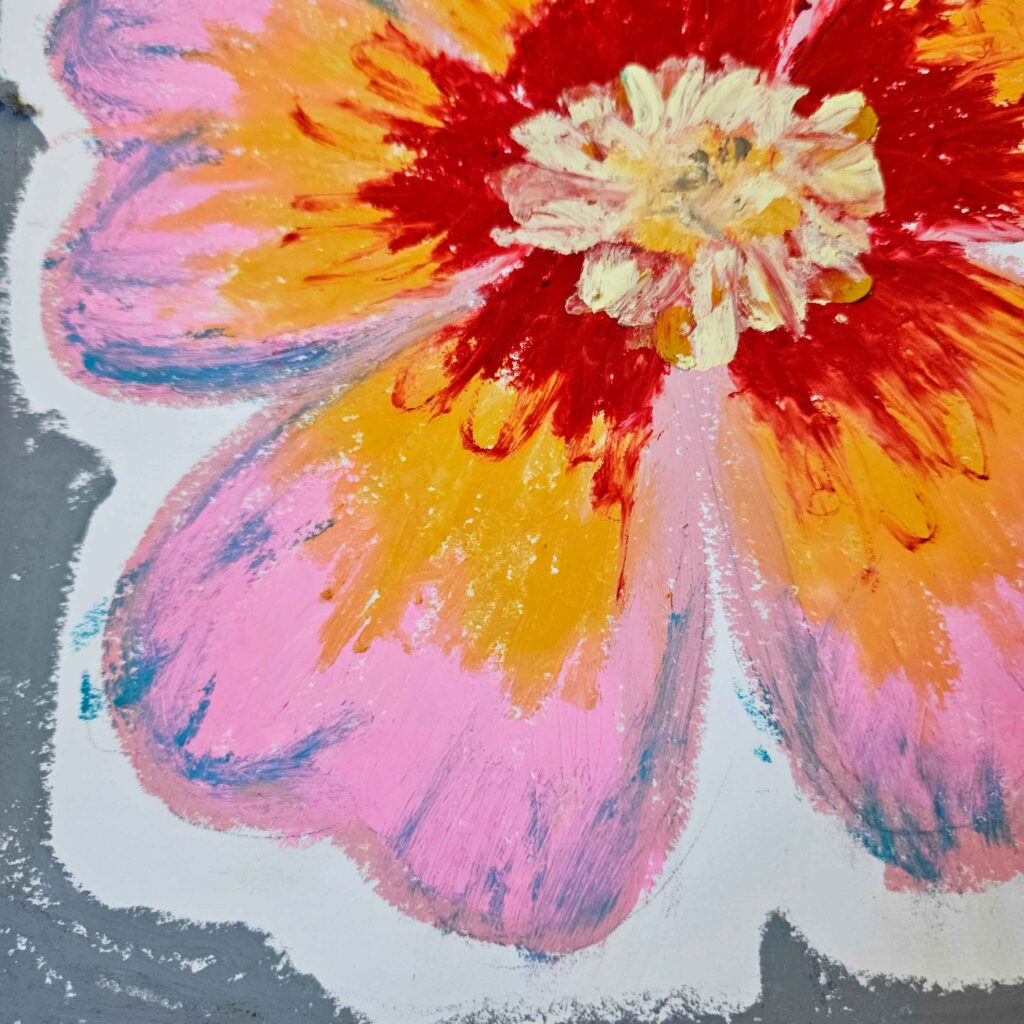
Some juicy close ups!
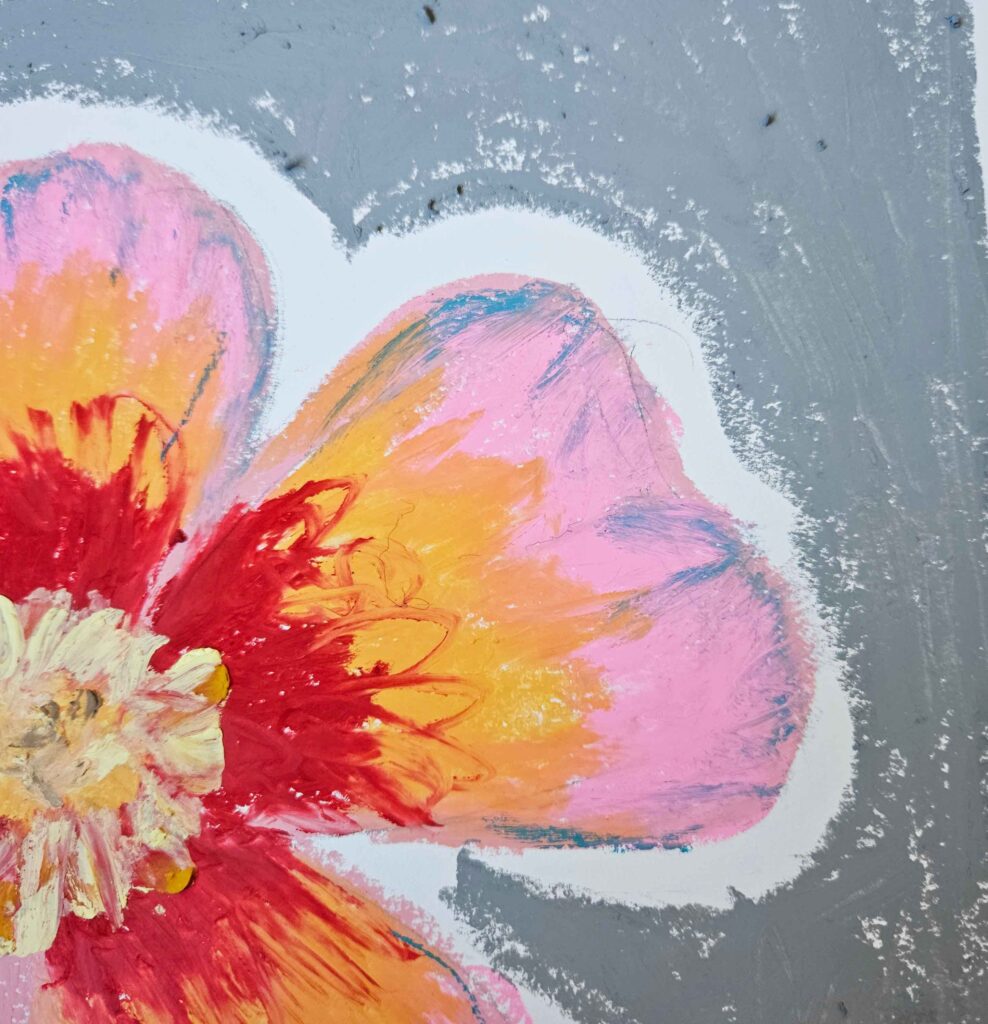
I hope you liked this tutorial and give it a try!
Oil pastels aren’t so intimidating once you just give them a go, they are really fun to work with.
If you liked this post, be sure to check out our other oil pastel and art related posted below:
15 Colorful Oil Pastel Art Ideas That Will Inspire Your Next Art Session.


Leave a Reply