If you are looking for some zentangle art guidance on how to create a beautiful full page of zentangle art, then you have landed on the right page!
The zentangle art work you will see in this post is a perfect example of what zentangle art is all about — a single page brought to life through nothing more than a collection of simple, repeating marks.
Pin me for later!

Zigzags, spirals, concentric circles, hatched lines, dots, and geometric stars: each pattern humble on its own, yet together they form something rich, intricate, and deeply satisfying to look at.
Such simple little patterns will create a stunning piece of artwork!
Zentangle was developed in the early 2000s as a structured art method, but its roots tap into something far more ancient — the human instinct to find rhythm, order, and meaning through repetitive mark-making.
Why Repetitive Patterns Are Good for the Brain
When you draw the same shape over and over — whether it’s a row of tiny spirals or a field of parallel lines — your brain enters a gentle, focused state sometimes compared to meditation.
The conscious, anxious mind quietens, while your hand and eye find a satisfying rhythm. Psychologists describe this as a “flow state”: a place of absorbed concentration where stress hormones drop, breathing slows, and creativity opens up naturally.
Unlike other art forms that can feel intimidating (portraits, perspective drawing, colour theory), zentangle has no rules about talent or skill.
Every pattern is built from a handful of basic strokes — a curve, a line, a dot — repeated patiently until the section fills. The act of repetition itself is the meditation.
You don’t need to think about what comes next; you simply trust the pattern.
What makes this page so visually striking is also what makes it so approachable to create: it is made entirely of sections, each filled with just one pattern.
The page was never drawn all at once — it was built bit by bit, one small area of repeating marks at a time..
Art Supplies
Below are some art supplies to get you starting on your zentangle doodles.
Sketchbook – This Moleskin Art sketchbook, is hardcover 5”x8.25 and has 104 pages. This is what all the ‘artists’ use and is great because the paper isn’t too thin, it can handle ink and sketches.
Drawing Pens – Check out these fineliners to draw with. These black pens vary in lines, making it great for different looks.
Step By Step Guide:
Let’s take a look at how to create this beautiful zentangle artwork, a little bit at a time.
Step one
Start by drawing a rectangle around the page, then draw flowing, organic curves across the inside to divide it into sections.
Use a pen and paper or work digitally with apps like Procreate — either way, simply let your hand move freely with no rulers or precision needed.
These sweeping lines carve your page into unique spaces, each one ready to be filled with its own repeating pattern. The simpler you keep this step, the better your foundation will be.

Step two
Draw wavy lines as your starting point, running them across your section from edge to edge.
Then fill the space between them with alternating patterns — diagonal hatch lines in one channel, evenly spaced dots in the next.
Add a thick solid black band at the top as a bold anchor to ground the design.

Keep repeating these alternating bands until the section is completely filled, maintaining consistent spacing and wave rhythm throughout.
The natural variation in your hand-drawn lines is what gives the pattern its charm, so don’t worry about perfection.

step three
Draw straight parallel lines across your section at a diagonal angle, keeping the spacing even and consistent.
Where two sets of lines meet from different directions, let them intersect naturally to create a bold chevron or arrow-like point.

The pattern is as simple as it looks — just keep drawing evenly spaced lines that follow the edges of your section until it is completely filled.

This is one of the easiest zentangle patterns to master and creates a striking, graphic result with minimal effort.
step three
Next, draw a zigzag lines across another section at a diagonal, keeping each point sharp and the peaks and valleys evenly sized.
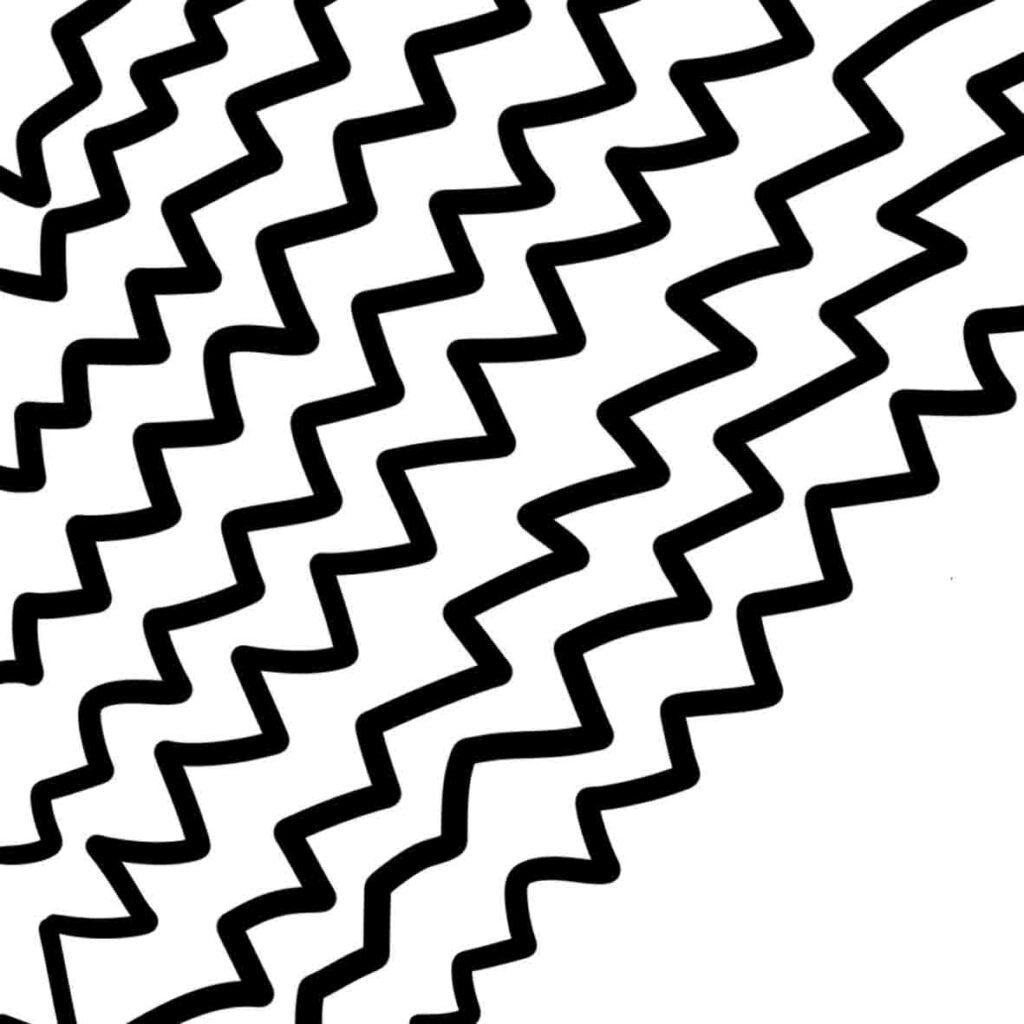
Then simply repeat that same zigzag line parallel to the first, keeping the spacing consistent so the teeth of each line nearly interlock with the next.
Keep adding rows until the entire section is filled.

The result is a bold, energetic pattern that looks complex but is really just the same single zigzag line repeated over and over.
step four
Draw a small rectangle, then draw another rectangle inside it, and another inside that, spiraling inward until you reach the centre.

Rotate each shape slightly as you go to give it that loose, hand-drawn feel.
Then place the next spiral rectangle right beside it and keep repeating, filling your section with these clustered, maze-like shapes scattered at varying angles.

The pattern looks intricate but is simply the same inward-spiraling rectangle tiled across the section until it is full.
Step Five
This section combines multiple mini patterns to create a rich, layered result.
Start with wavy horizontal lines flowing across the section, then add vertical straight lines dropping down between the waves to create a striped effect.

In the spaces between, draw rows of small linked circles or bubble shapes sitting along the wave lines like a string of beads.
Alternate between these three elements — flowing waves, vertical stripes, and bubble rows — layering them until the section is completely filled.

The variety of marks keeps the eye moving while the consistent wave rhythm ties it all together.
Step Six
Next up is a flowy curvy lines!
Start by drawing a flowing curved line through your section, then branch off from it with smaller curving lines, ending each one in a loose spiral or swirl.

Vary the size of the swirls — some large and round, some smaller and tighter — to give the pattern a natural, organic feel like a climbing vine.
Keep branching and spiraling until the section is filled, letting the lines flow freely in any direction.

This is one of the most relaxing patterns to draw as there are no rules, just a continuous curling motion guided by your hand.
Step Seven
With the next section, start with a small solid dot in the centre of your section, then draw a loose rounded shape around it.
Keep drawing larger and larger rings around that, each one echoing the shape of your section’s edges.

The lines don’t need to be perfectly even — the slight wobble in each ring is what gives this pattern its organic, tree-ring quality.

Keep expanding outward until the rings reach the edges of the section and it is completely filled. Simple, hypnotic, and deeply satisfying to draw.
Step Eight
Draw a wavy vertical line from the top of your section to the bottom, letting it wiggle loosely as it travels down.
Then repeat that same line alongside it, keeping the spacing even, until the entire section is filled from left to right.
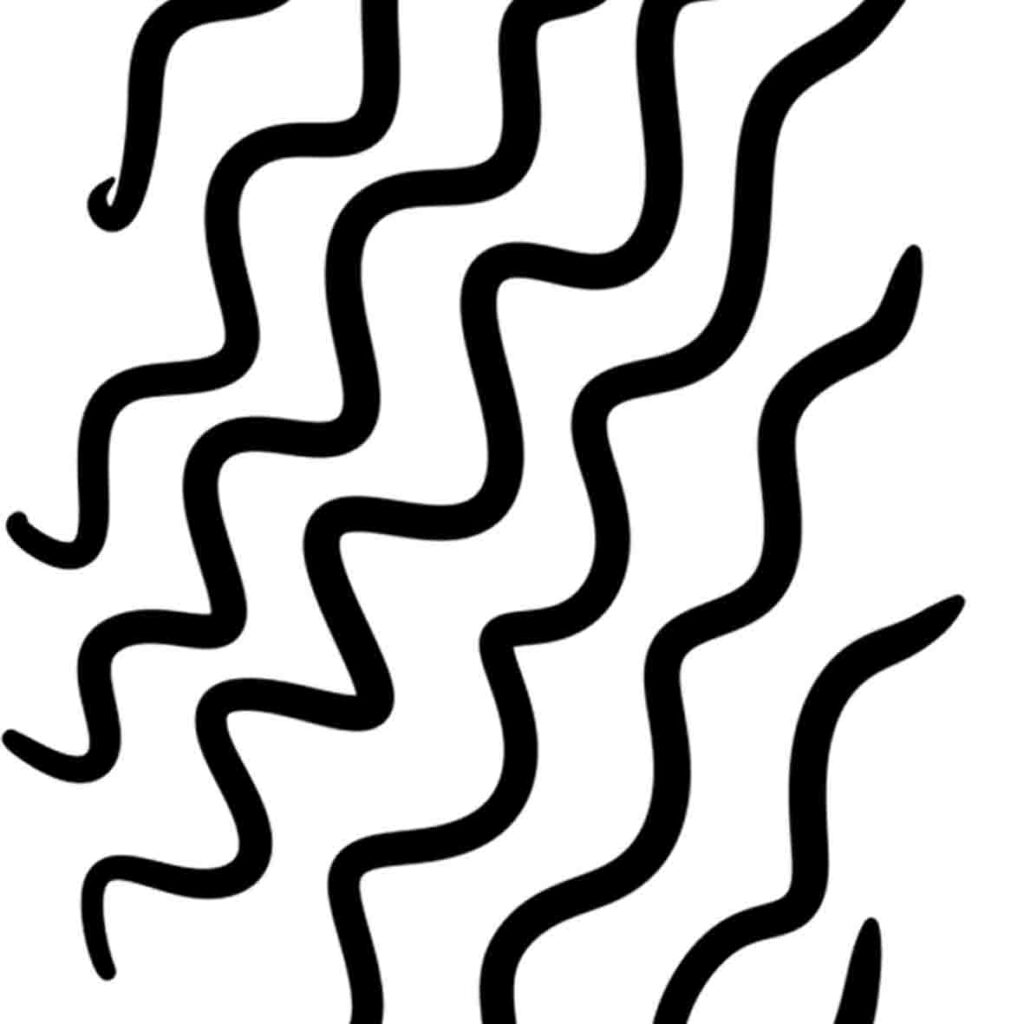
Unlike the earlier wave pattern which runs horizontally, these waves flow vertically, giving the section a completely different feel — like tall grass blowing in the wind.

Keep the rhythm of each line consistent and the result will be effortlessly fluid and calming.
Step Nine
Start by drawing a small solid dot, then draw a loose rounded ring around it, then another, and another, spiraling outward to create one organic circular shape.

Place the next one right beside it, fitting them together like pebbles, and keep going until the entire section is packed full.
Vary the sizes slightly — some larger, some smaller — to fill any awkward gaps between them.

The sections between each swirl naturally fill with black, creating a bold, eye-catching contrast that makes the pattern look far more complex than it really is.
Pin me for later!

Step Ten
Last up is this triangle filled section.
Start with drawing a triangle, then draw a smaller triangle inside it, and keep repeating inward until you reach the centre, filling the innermost point with solid black.

Place the next inward-spiraling triangle right beside it at a slightly different angle, and keep tiling them across the section until it is completely full.
The gaps between each triangle cluster naturally fill with black, adding bold contrast and depth.

Rotate each cluster randomly as you go — the irregular angles are what give this pattern its dynamic, energetic feel.
And there we have our finished zentangle artwork, step by step!
Now that you have worked your way through each pattern, you can see how a full page of stunning zentangle art is built one simple section at a time.
No special skills, no expensive materials, just a pen, some patience, and a willingness to let your hand move freely.
The beauty of zentangle is that every page is completely unique to the person who draws it — your lines, your rhythm, your art.
So pick up your pen, draw that first rectangle, and see where the patterns take you.
If you liked this post, be sure to check out our other zentangle art posts below:
10 Easy Zentangle Pattens: Step by Step.
Easy Zentangle Flowers: 10 Fun Patterns To Doodle.
Create Easy Zentangle Art: A 10-Step Guide to Fun Patterns.
Be sure to give this post a share on Pinterest and give us a follow. Happy drawing!